Map Studio
Map Studio provides a structure where you can digitise the project area, make necessary adjustments and feature integrations, and easily introduce the regions to the system.

When you click on the "Edit" button, you can change the name and description.

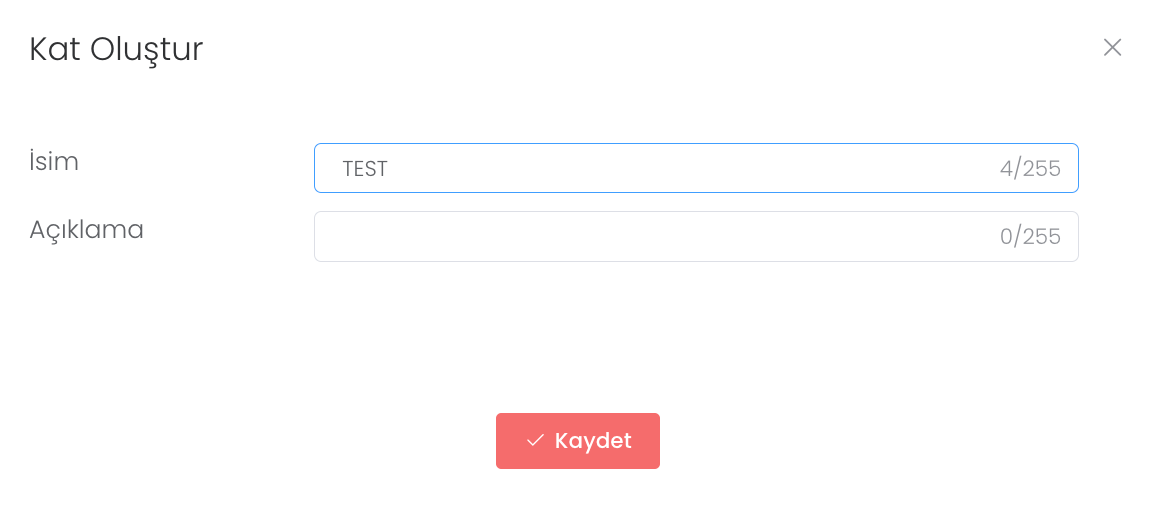
Click on the "Create" button and enter name and description to create a new floor.
When you enter any map, you will see the floors you have created. You can edit them with the "Edit" button and create a new floor with the "Create" button.

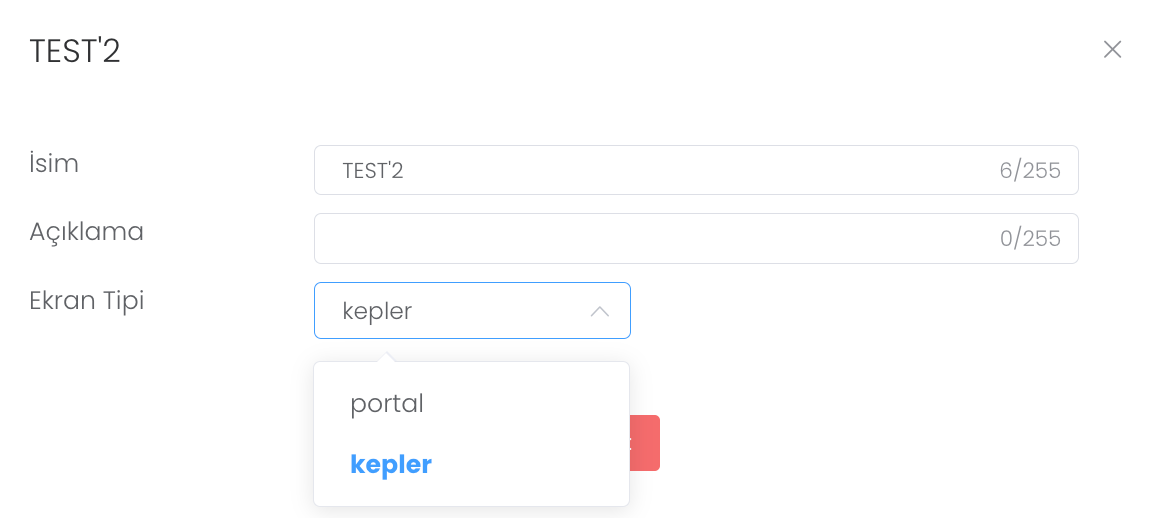
When you click the Edit button, you will see property settings such as Name, Description and Screen Type. The Portal screen type is compiled so that you can view from a computer, while kepler is compiled so that you can run on tablets.
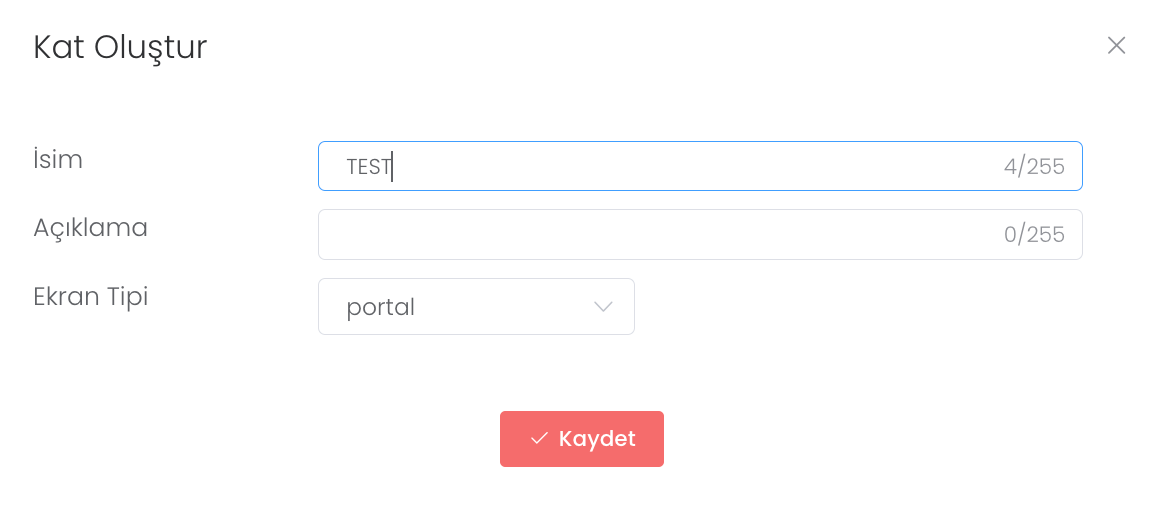
You can create a floor by setting properties such as Name, Description and Screen Type with the Create button and clicking the Save button.
When you enter any map you have created, you will see the main work area that you can edit. I will explain this area in detail.
We will easily identify these tools and their properties in the left corner by giving them numbers.
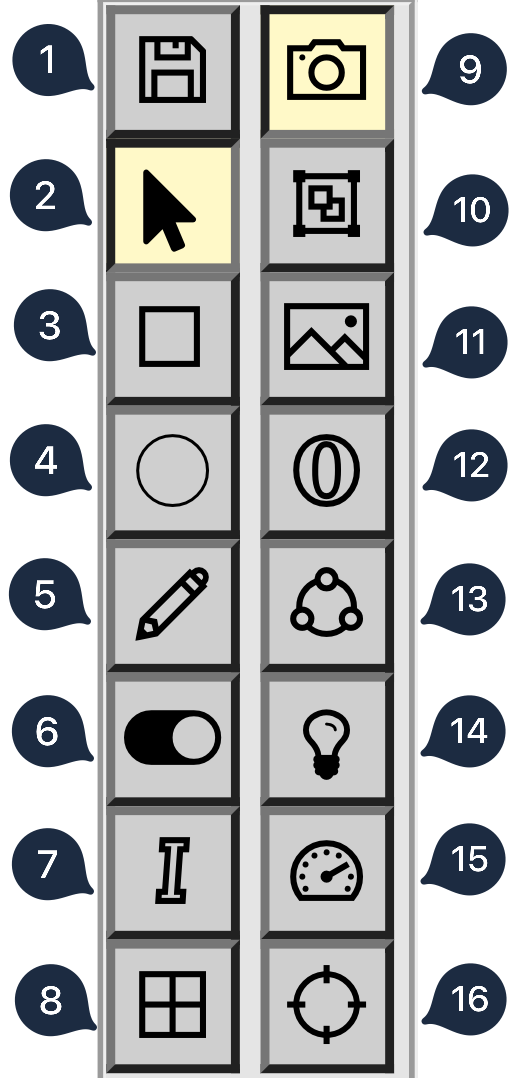
1-Save : Allows you to save all the changes you have made.
2-Pointer : It is the cursor that allows you to move on the map.
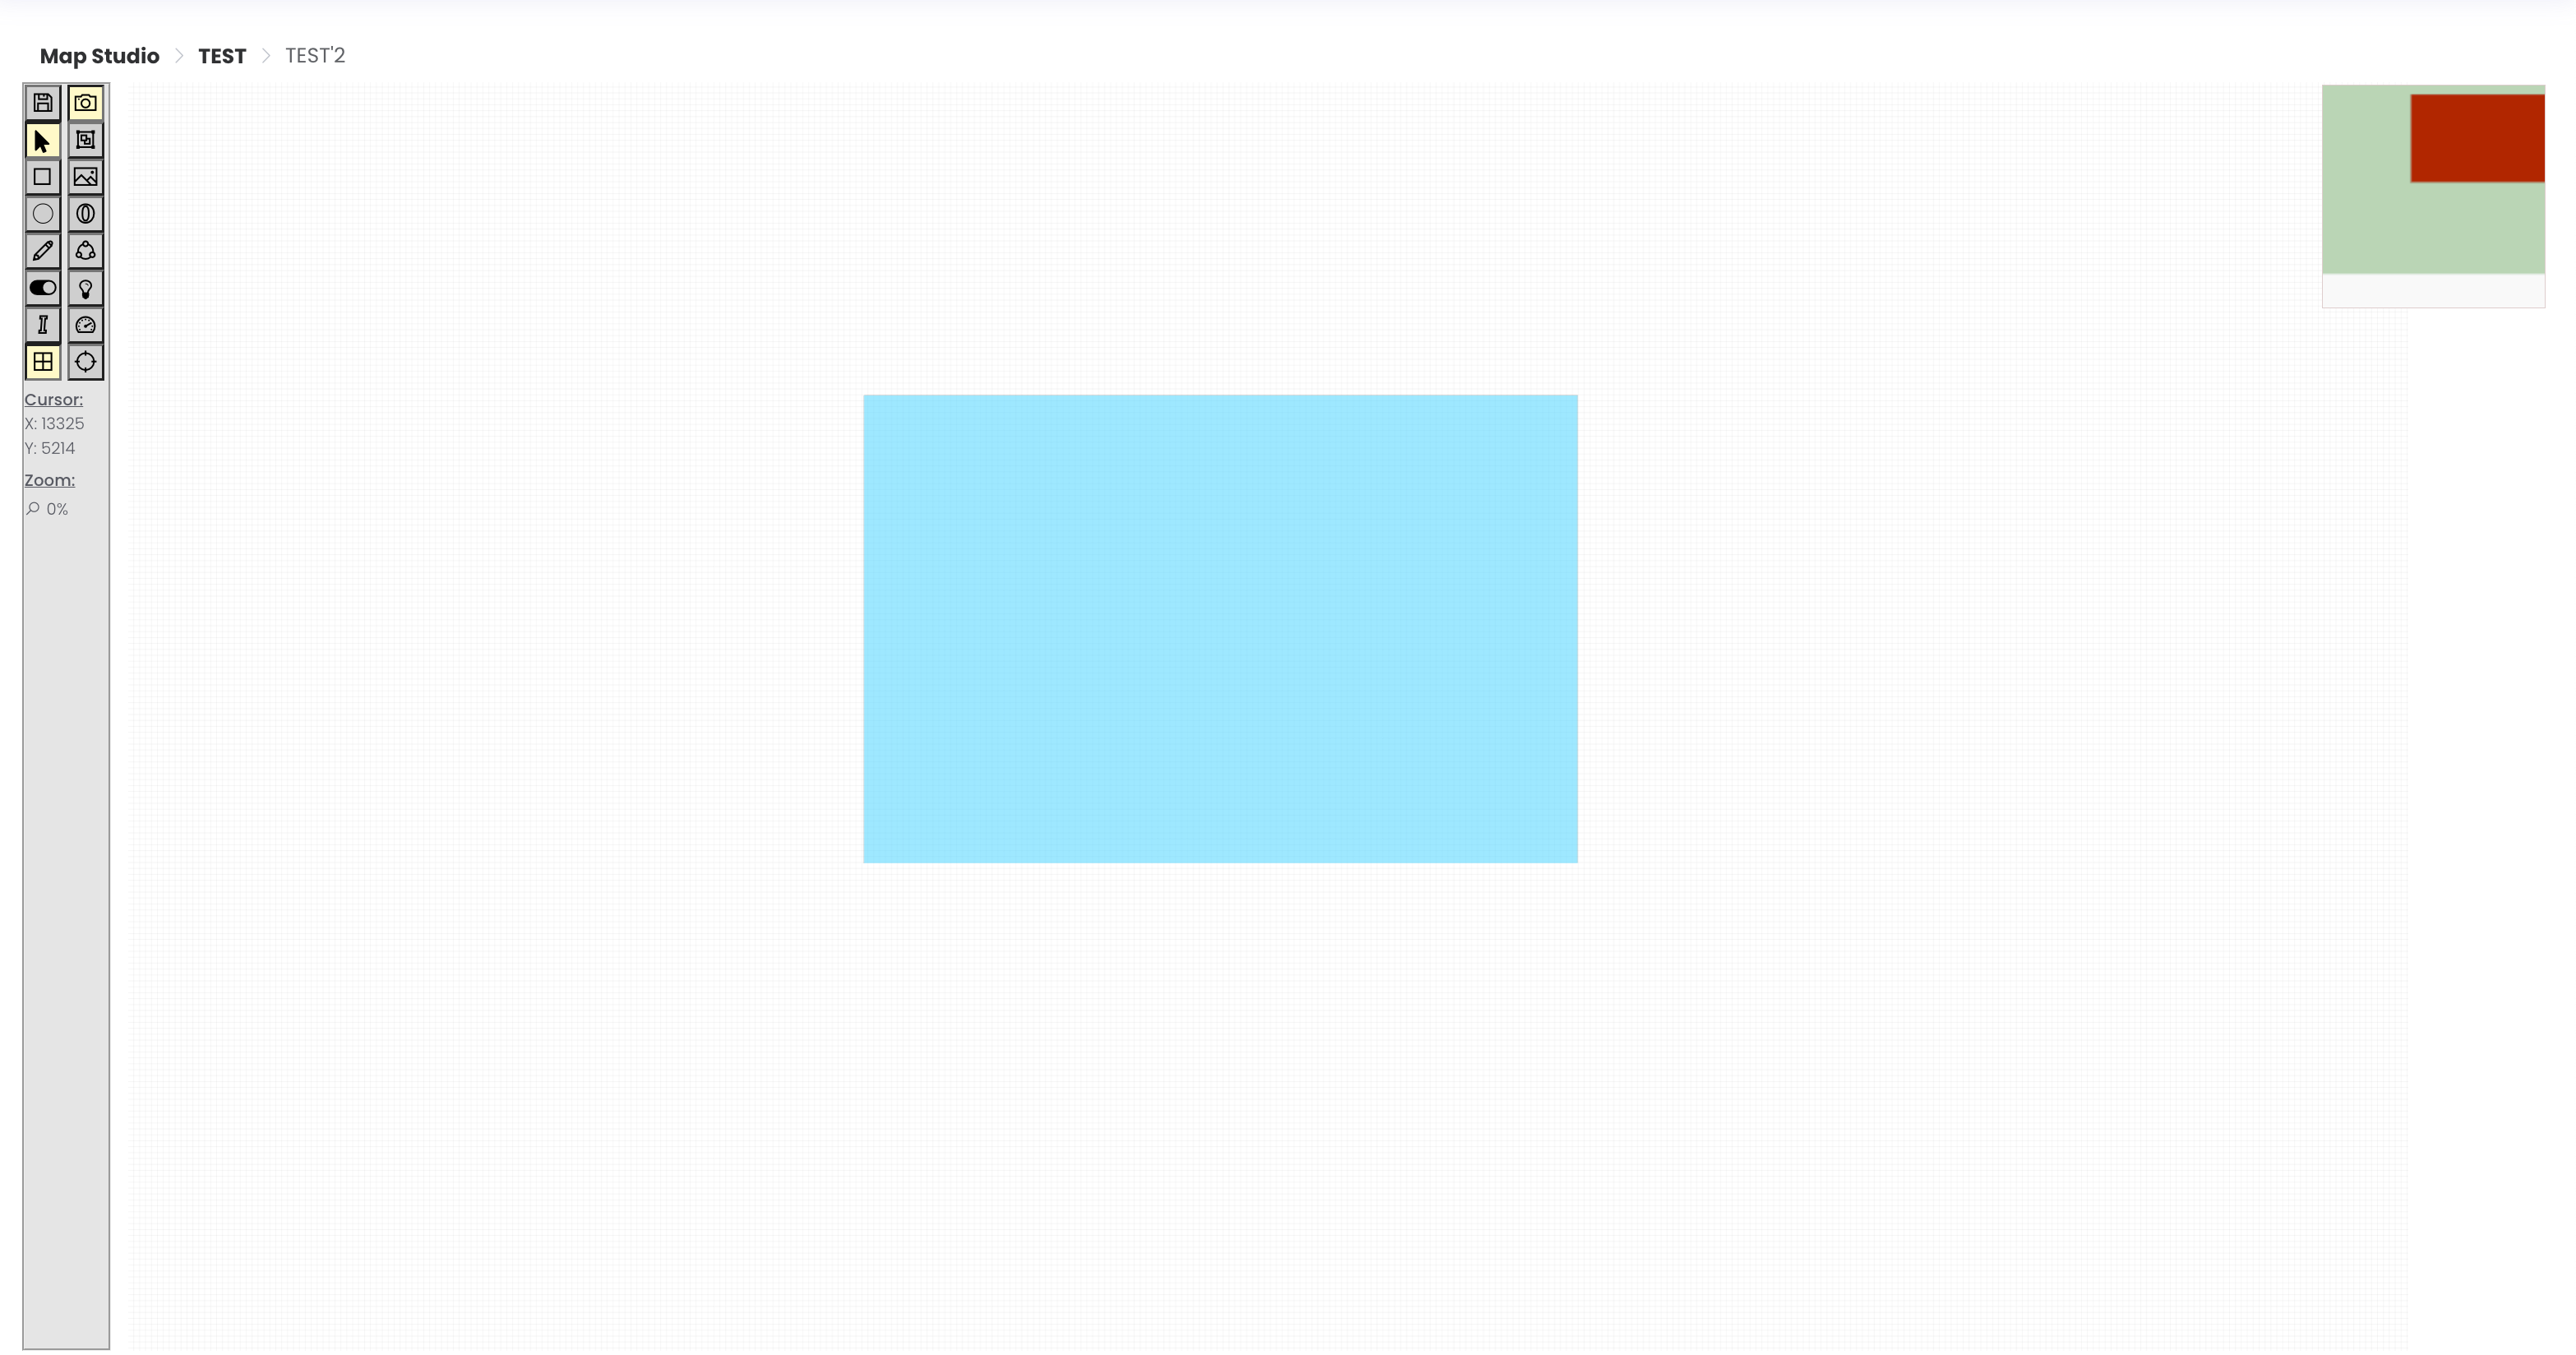
3-Rectangle Plotter : It is used to draw geometric shapes such as rectangle / square.
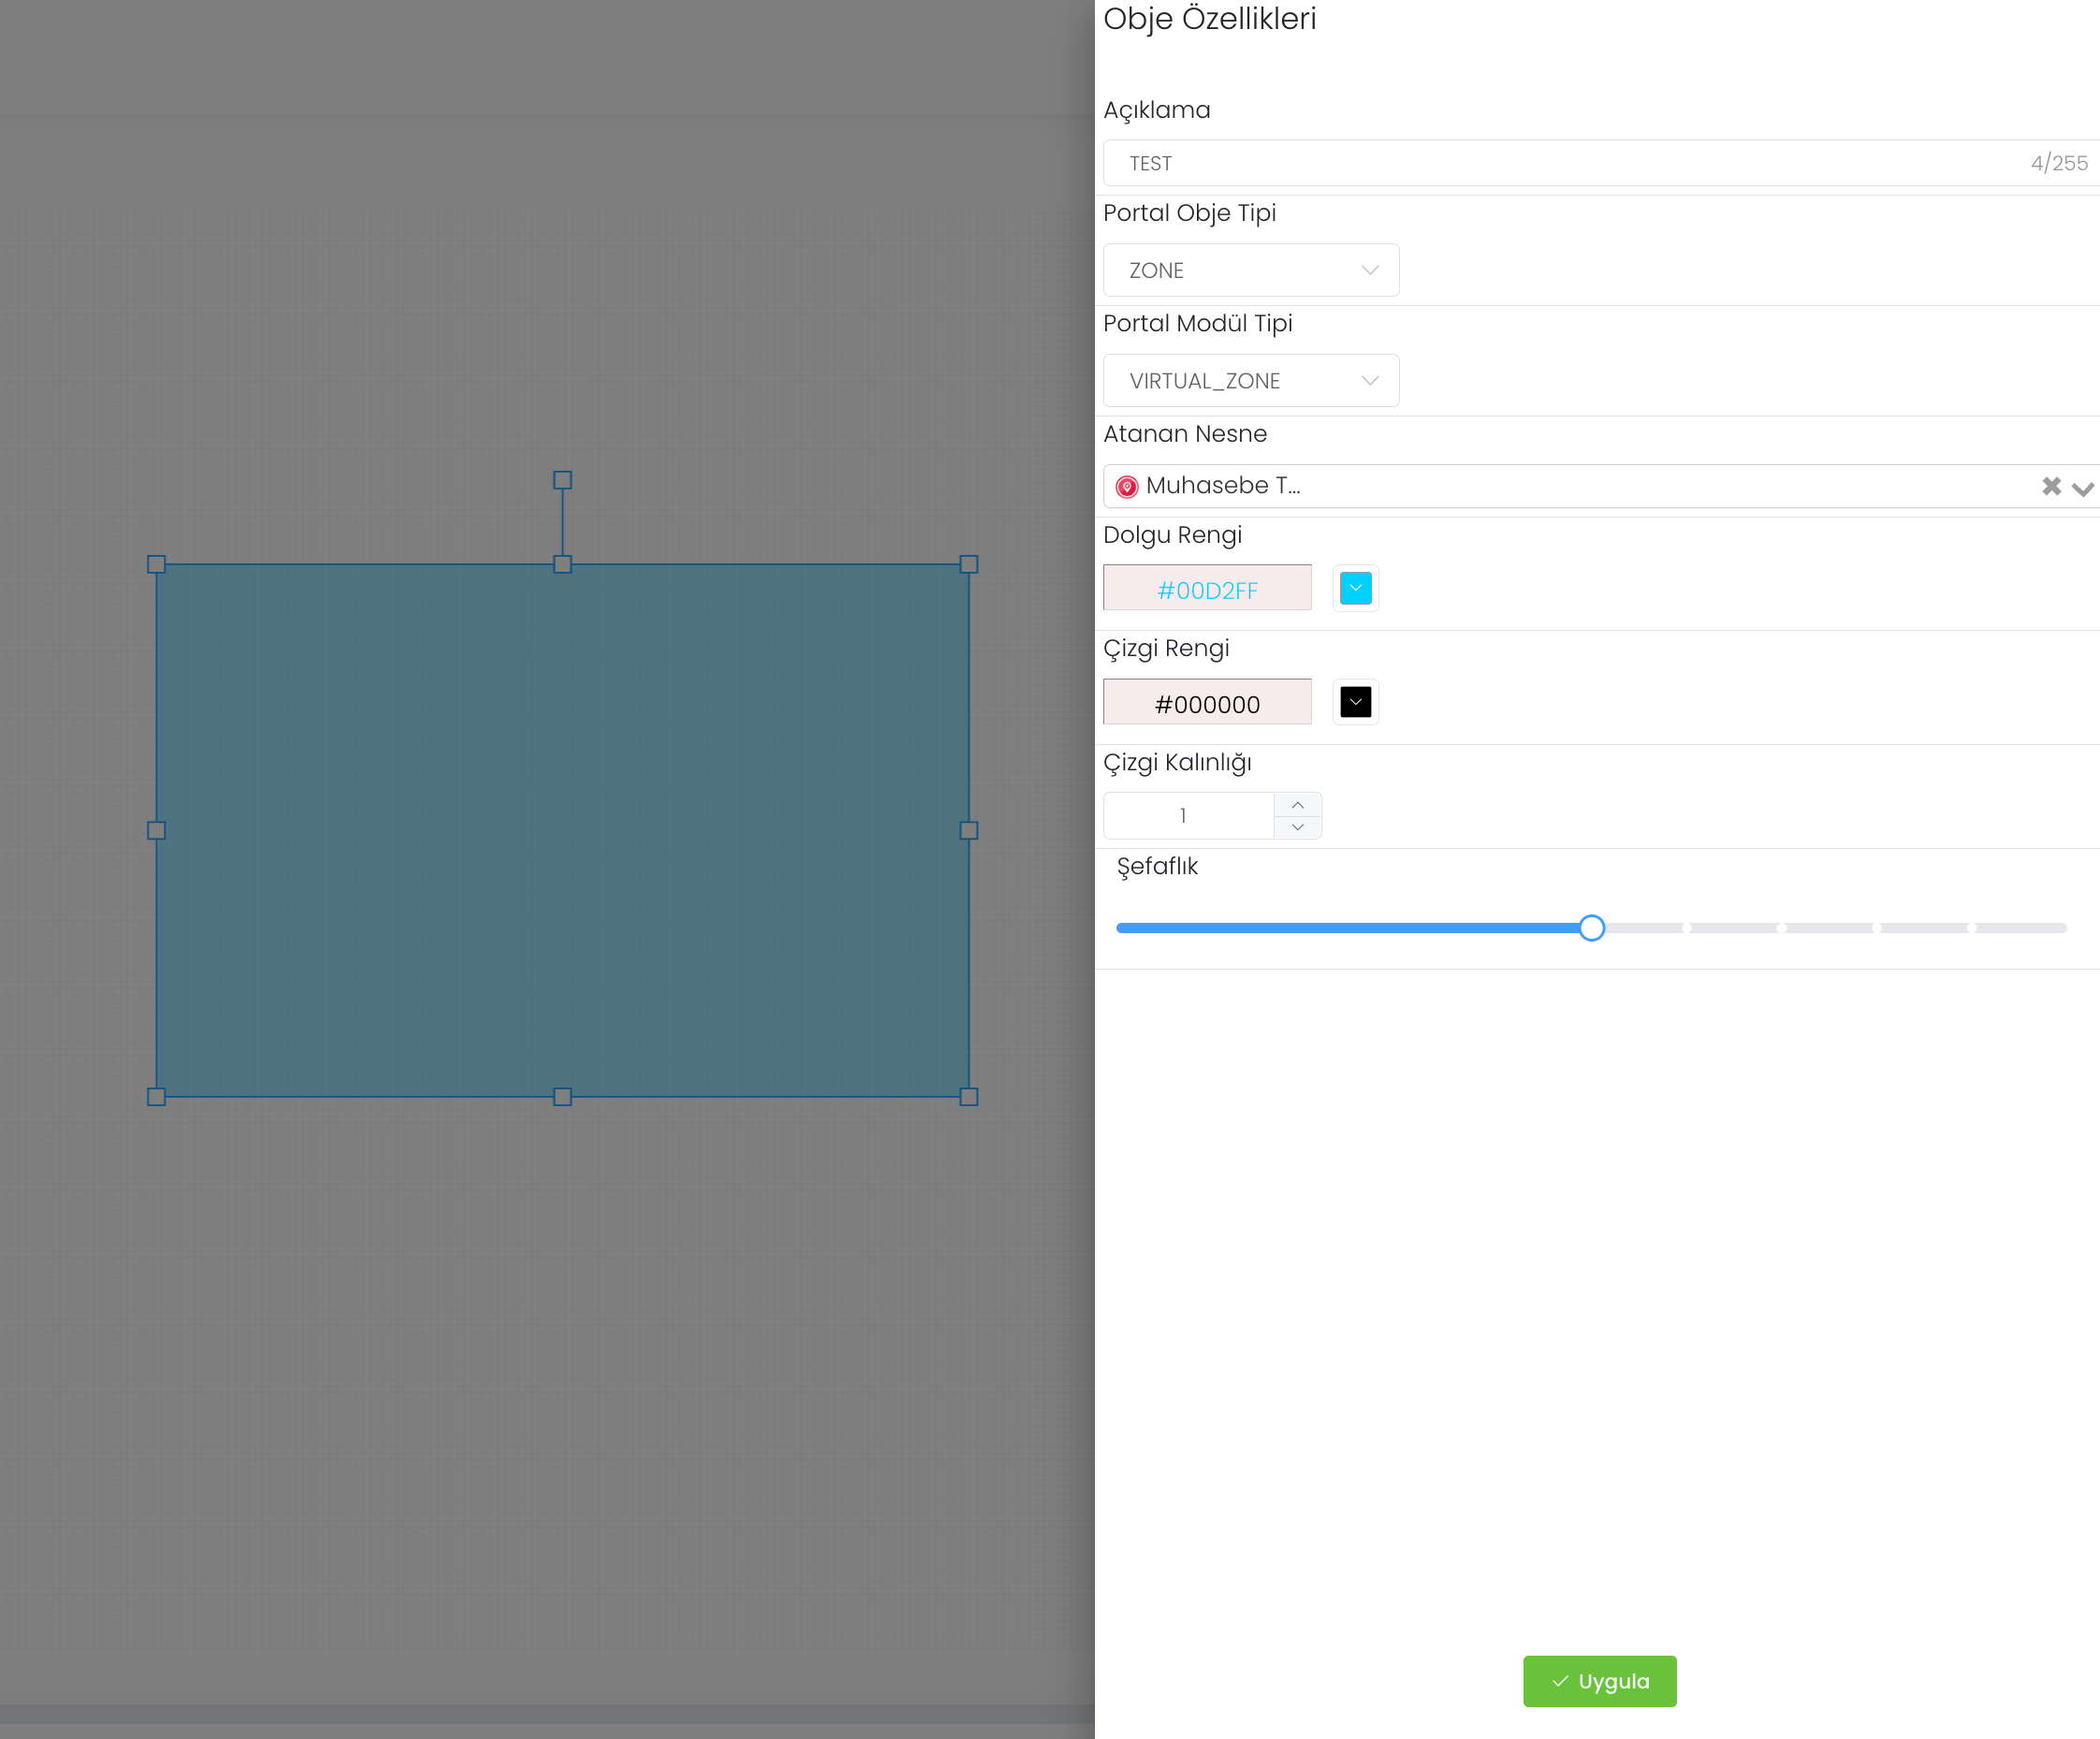
When we click on this rectangle a property page opens. This is the customisation area where we can set Description, Portal Object Type, Fill Colour, Line Colour, Line Thickness and Transparency. You can save the change you have made by clicking the Apply button.
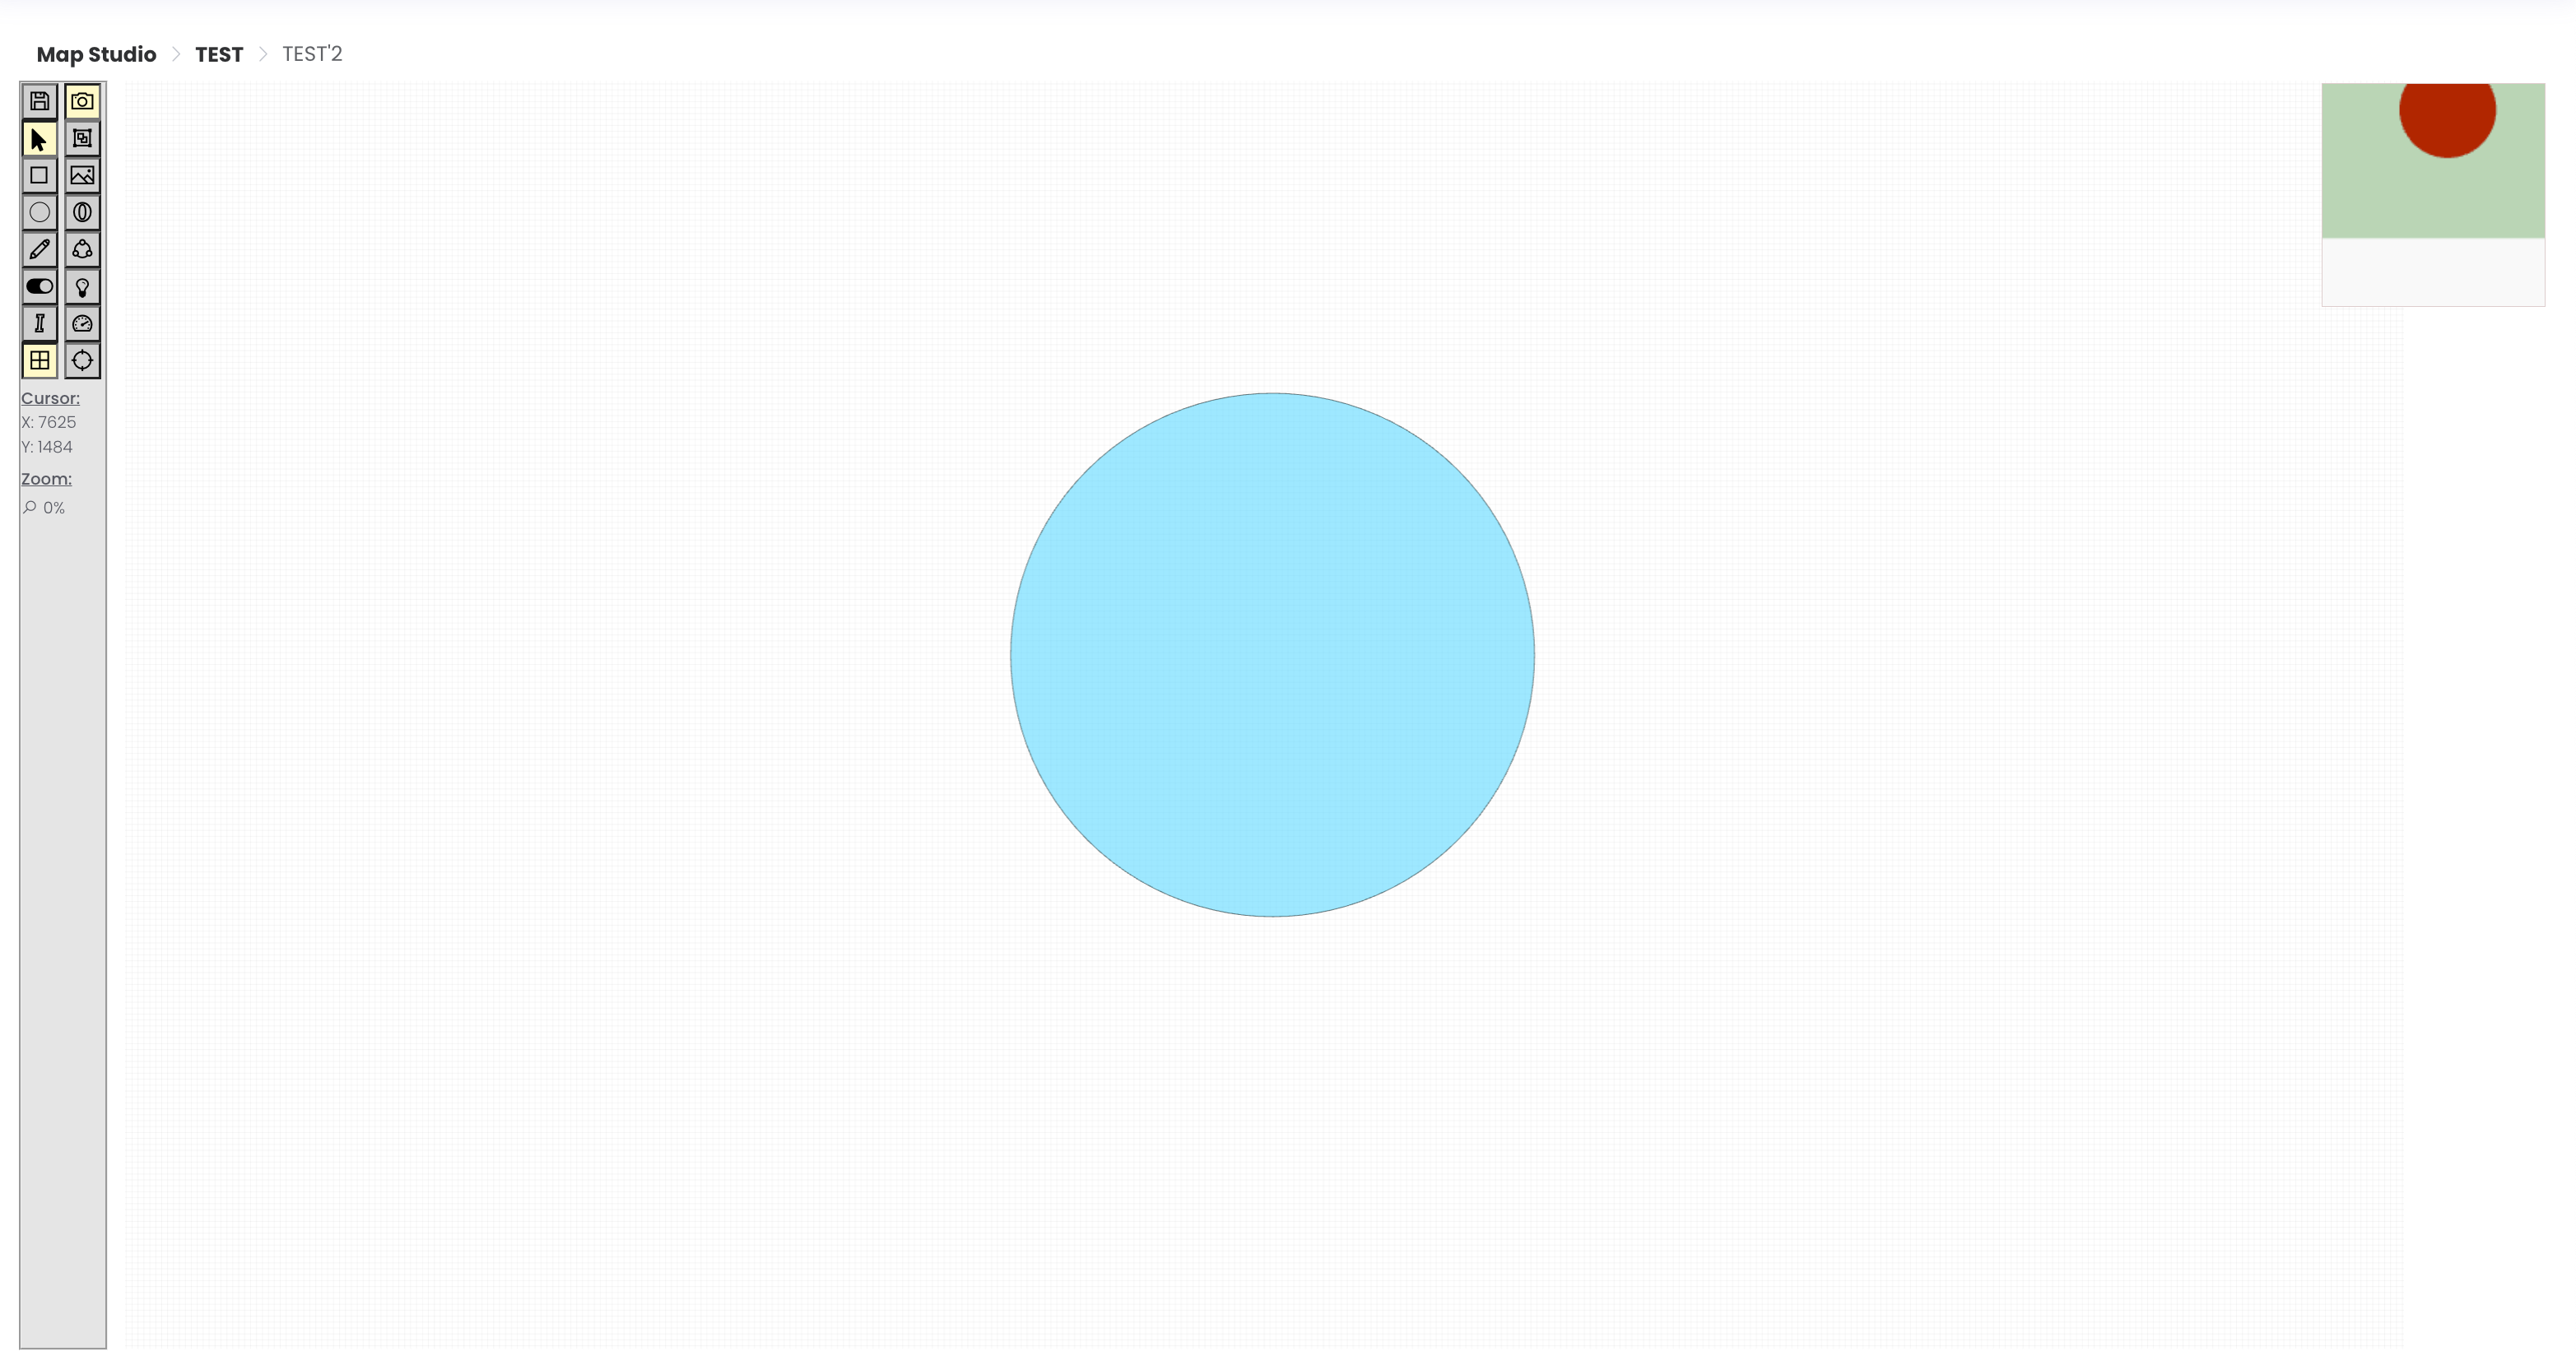
4-Circle Drawer : It is used to draw geometric shapes such as circles.
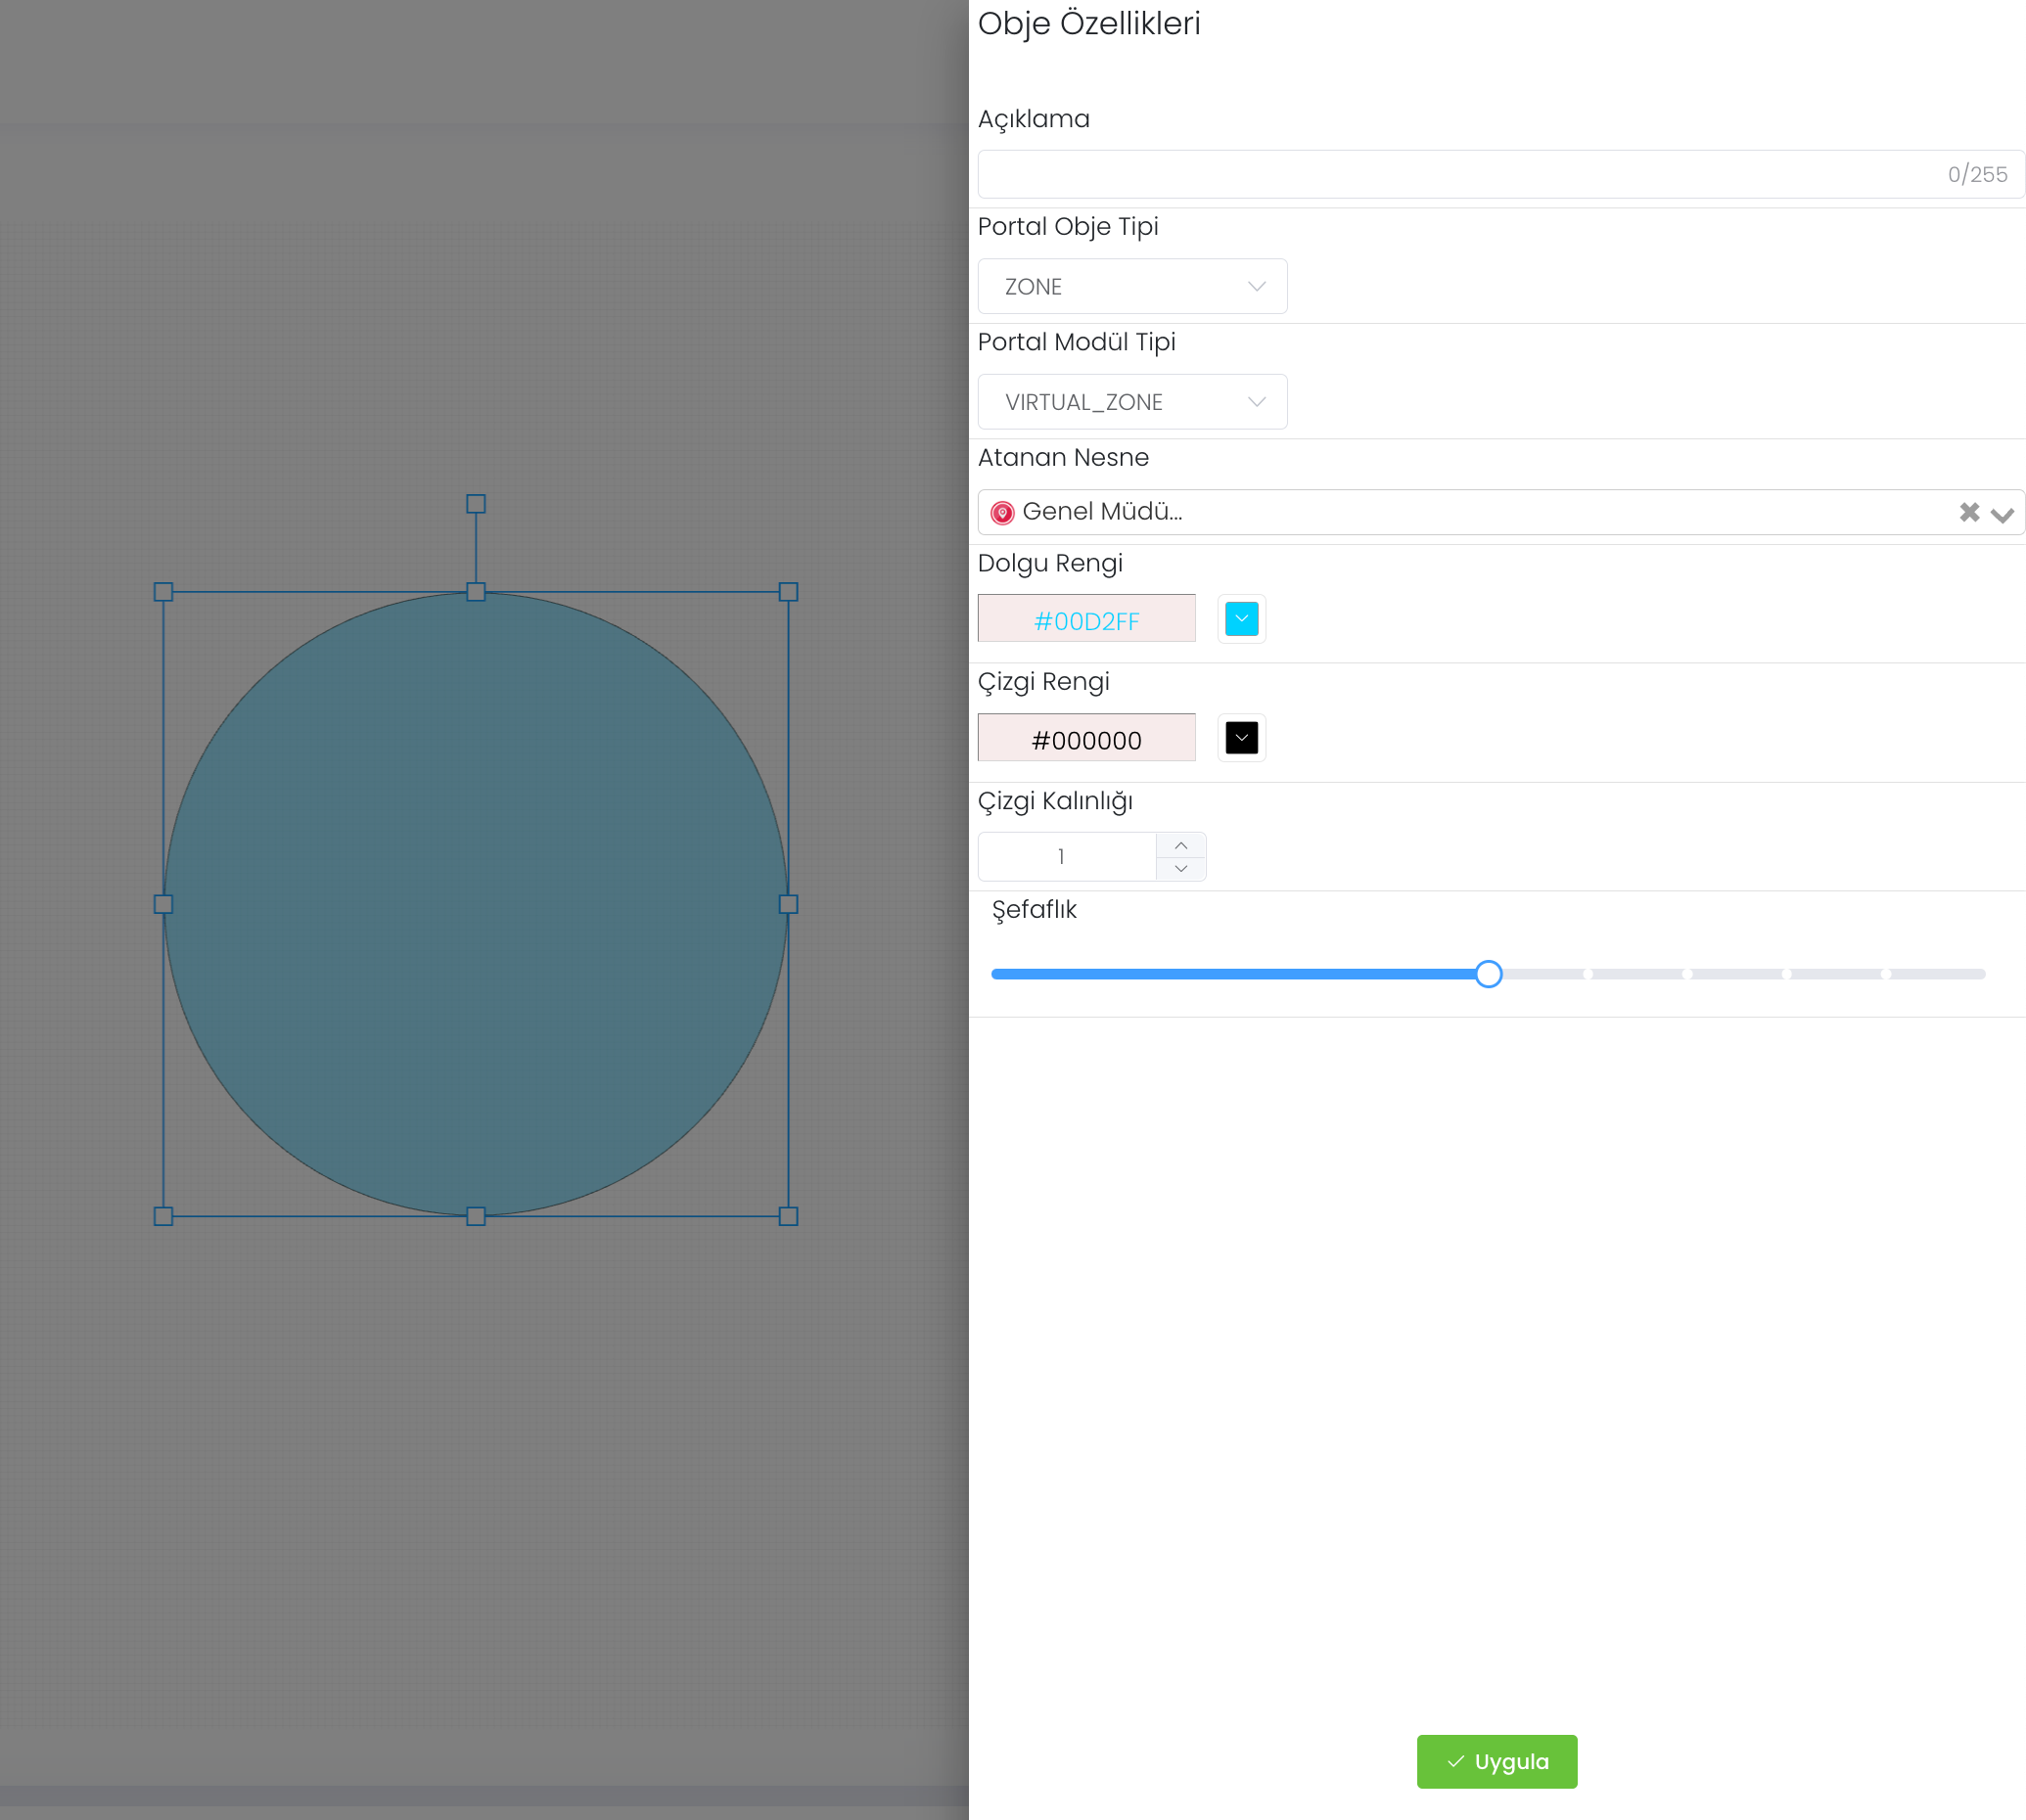
When we click on this circle a property page opens. This is the customisation area where we set Description, Portal Object Type, Fill Colour, Line Colour, Line Thickness and Transparency. You can save the change you have made by clicking the Apply button.
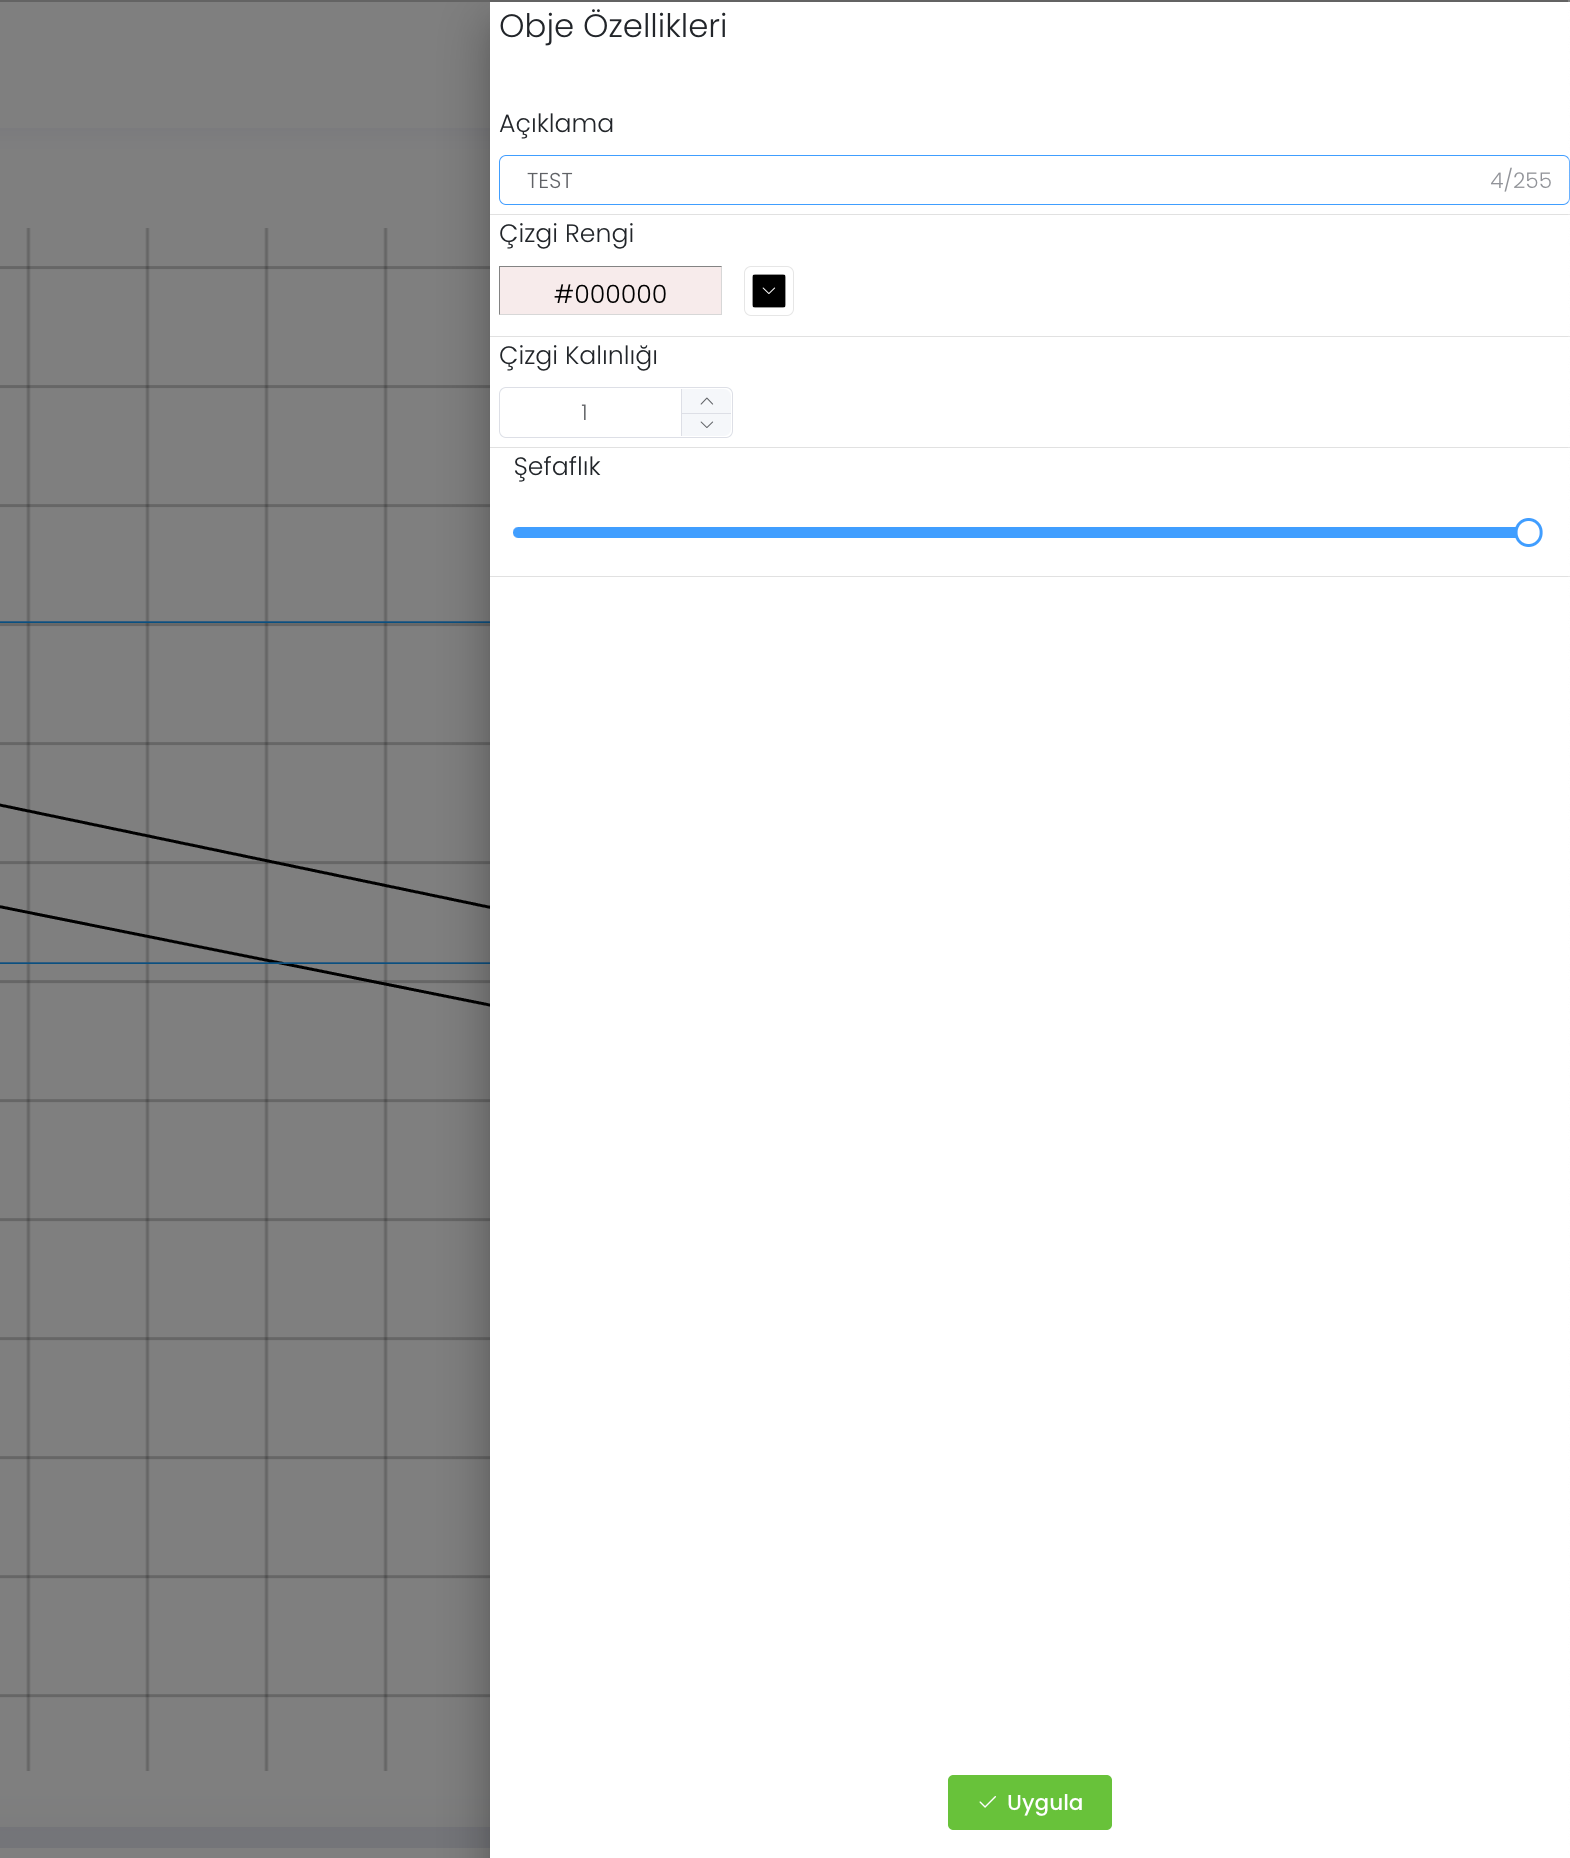
5-Line drawer: It is the tool that allows us to draw a straight line in the desired thickness.

When we click on the Line, a property page opens. This is the customisation area where we can set Description, Line Colour, Line Thickness and Transparency. You can save the change you have made by clicking the Apply button.
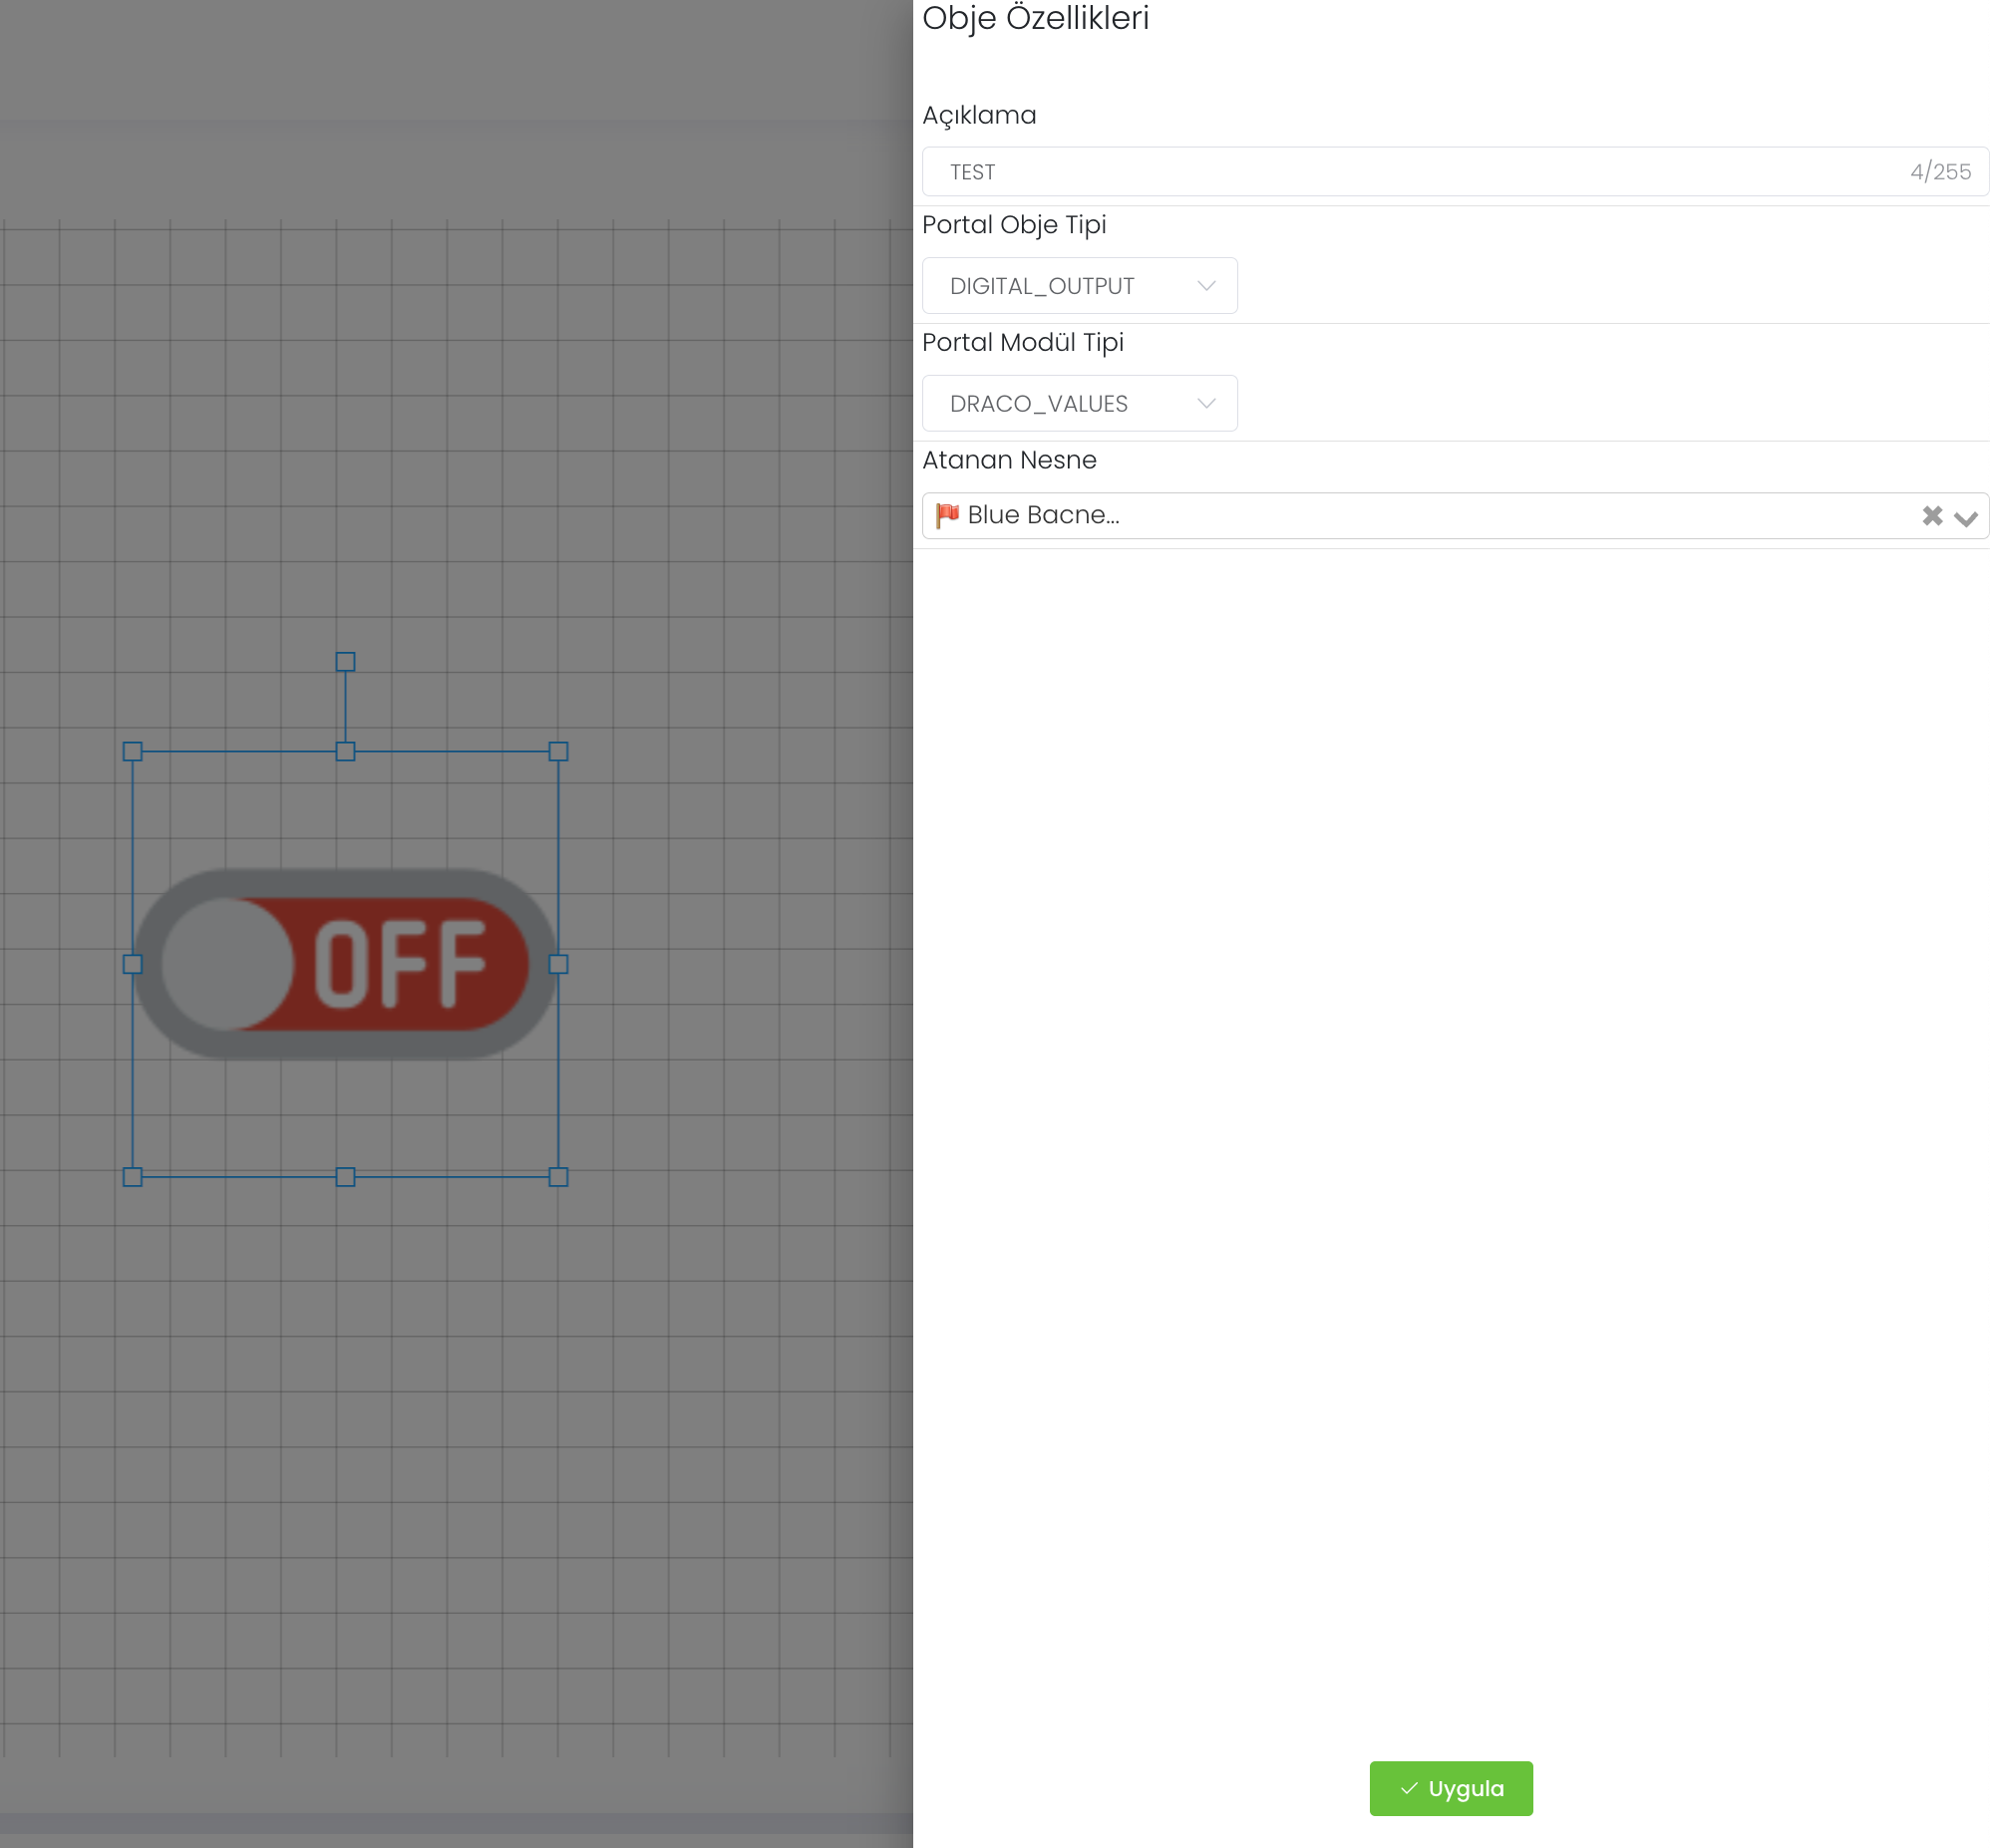
6-On/Off Key Generator : It is the digitised version of the key logic used in real life. With the necessary definitions, this key can be authorised for the desired object.
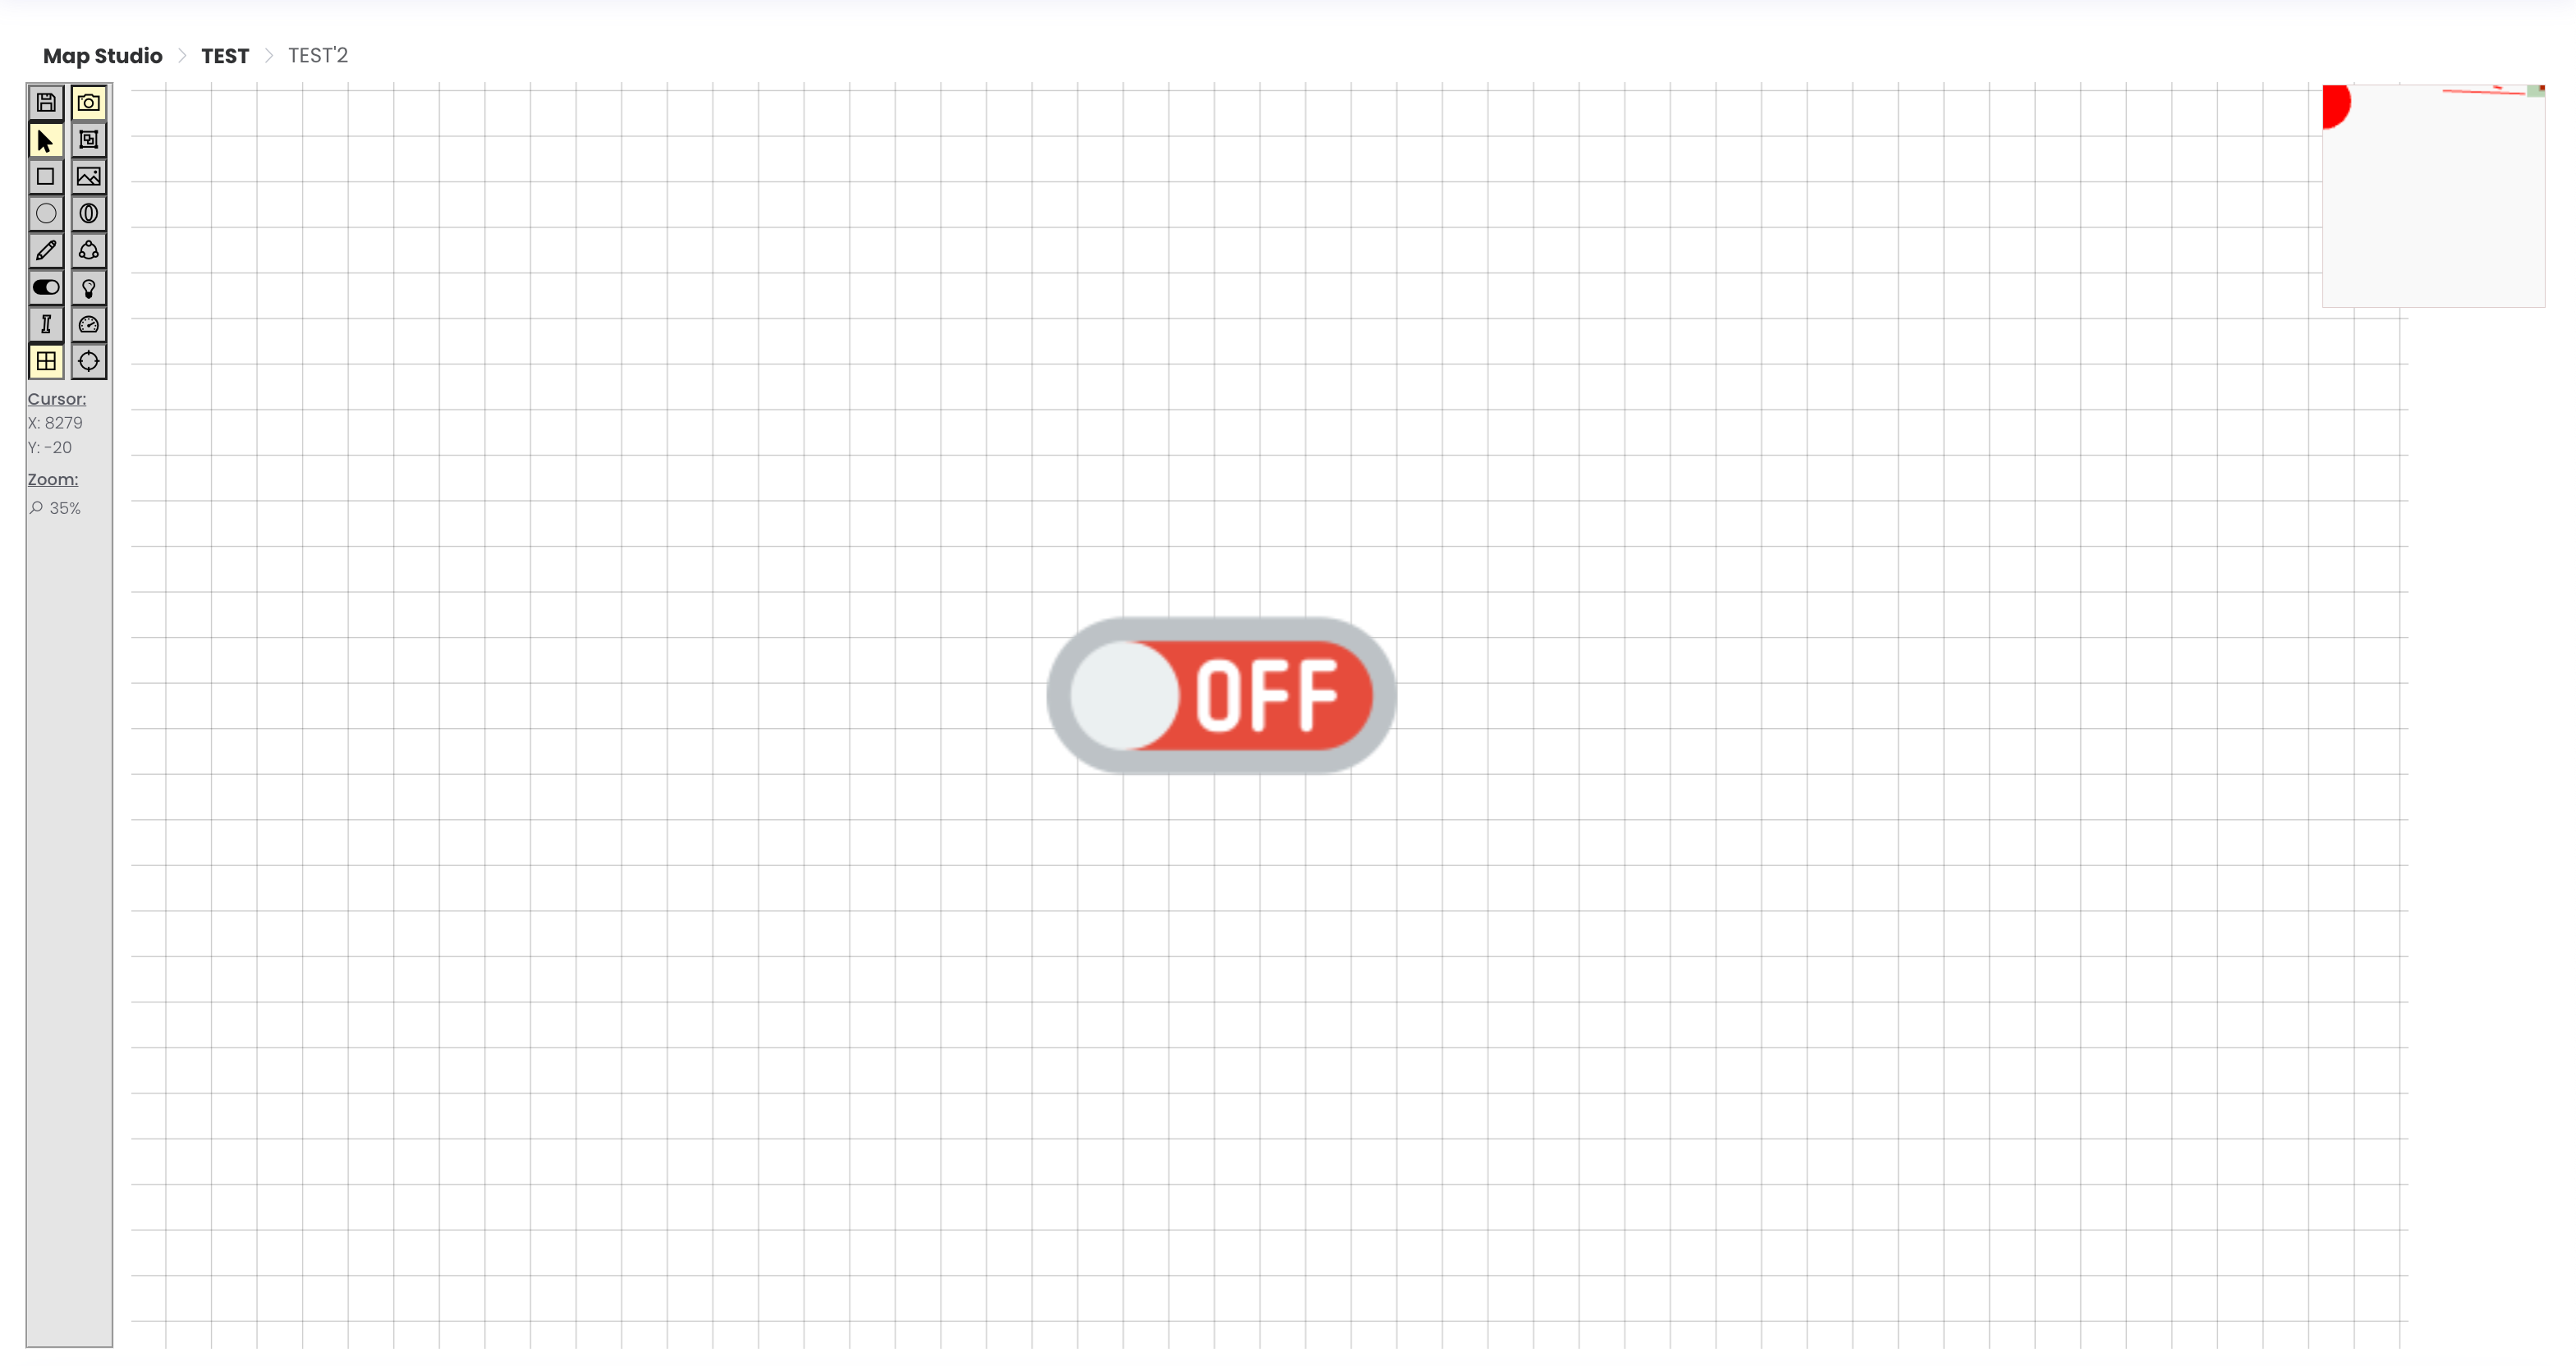
When we click on the key you created, a property page opens. This is the customisation area where we set Description, Portal Object Type, Portal Module Type and Assigned Object. With these settings, opening and closing feature can be defined in structures such as object, module, object. You can save the change you have made by clicking the "Apply"` button.
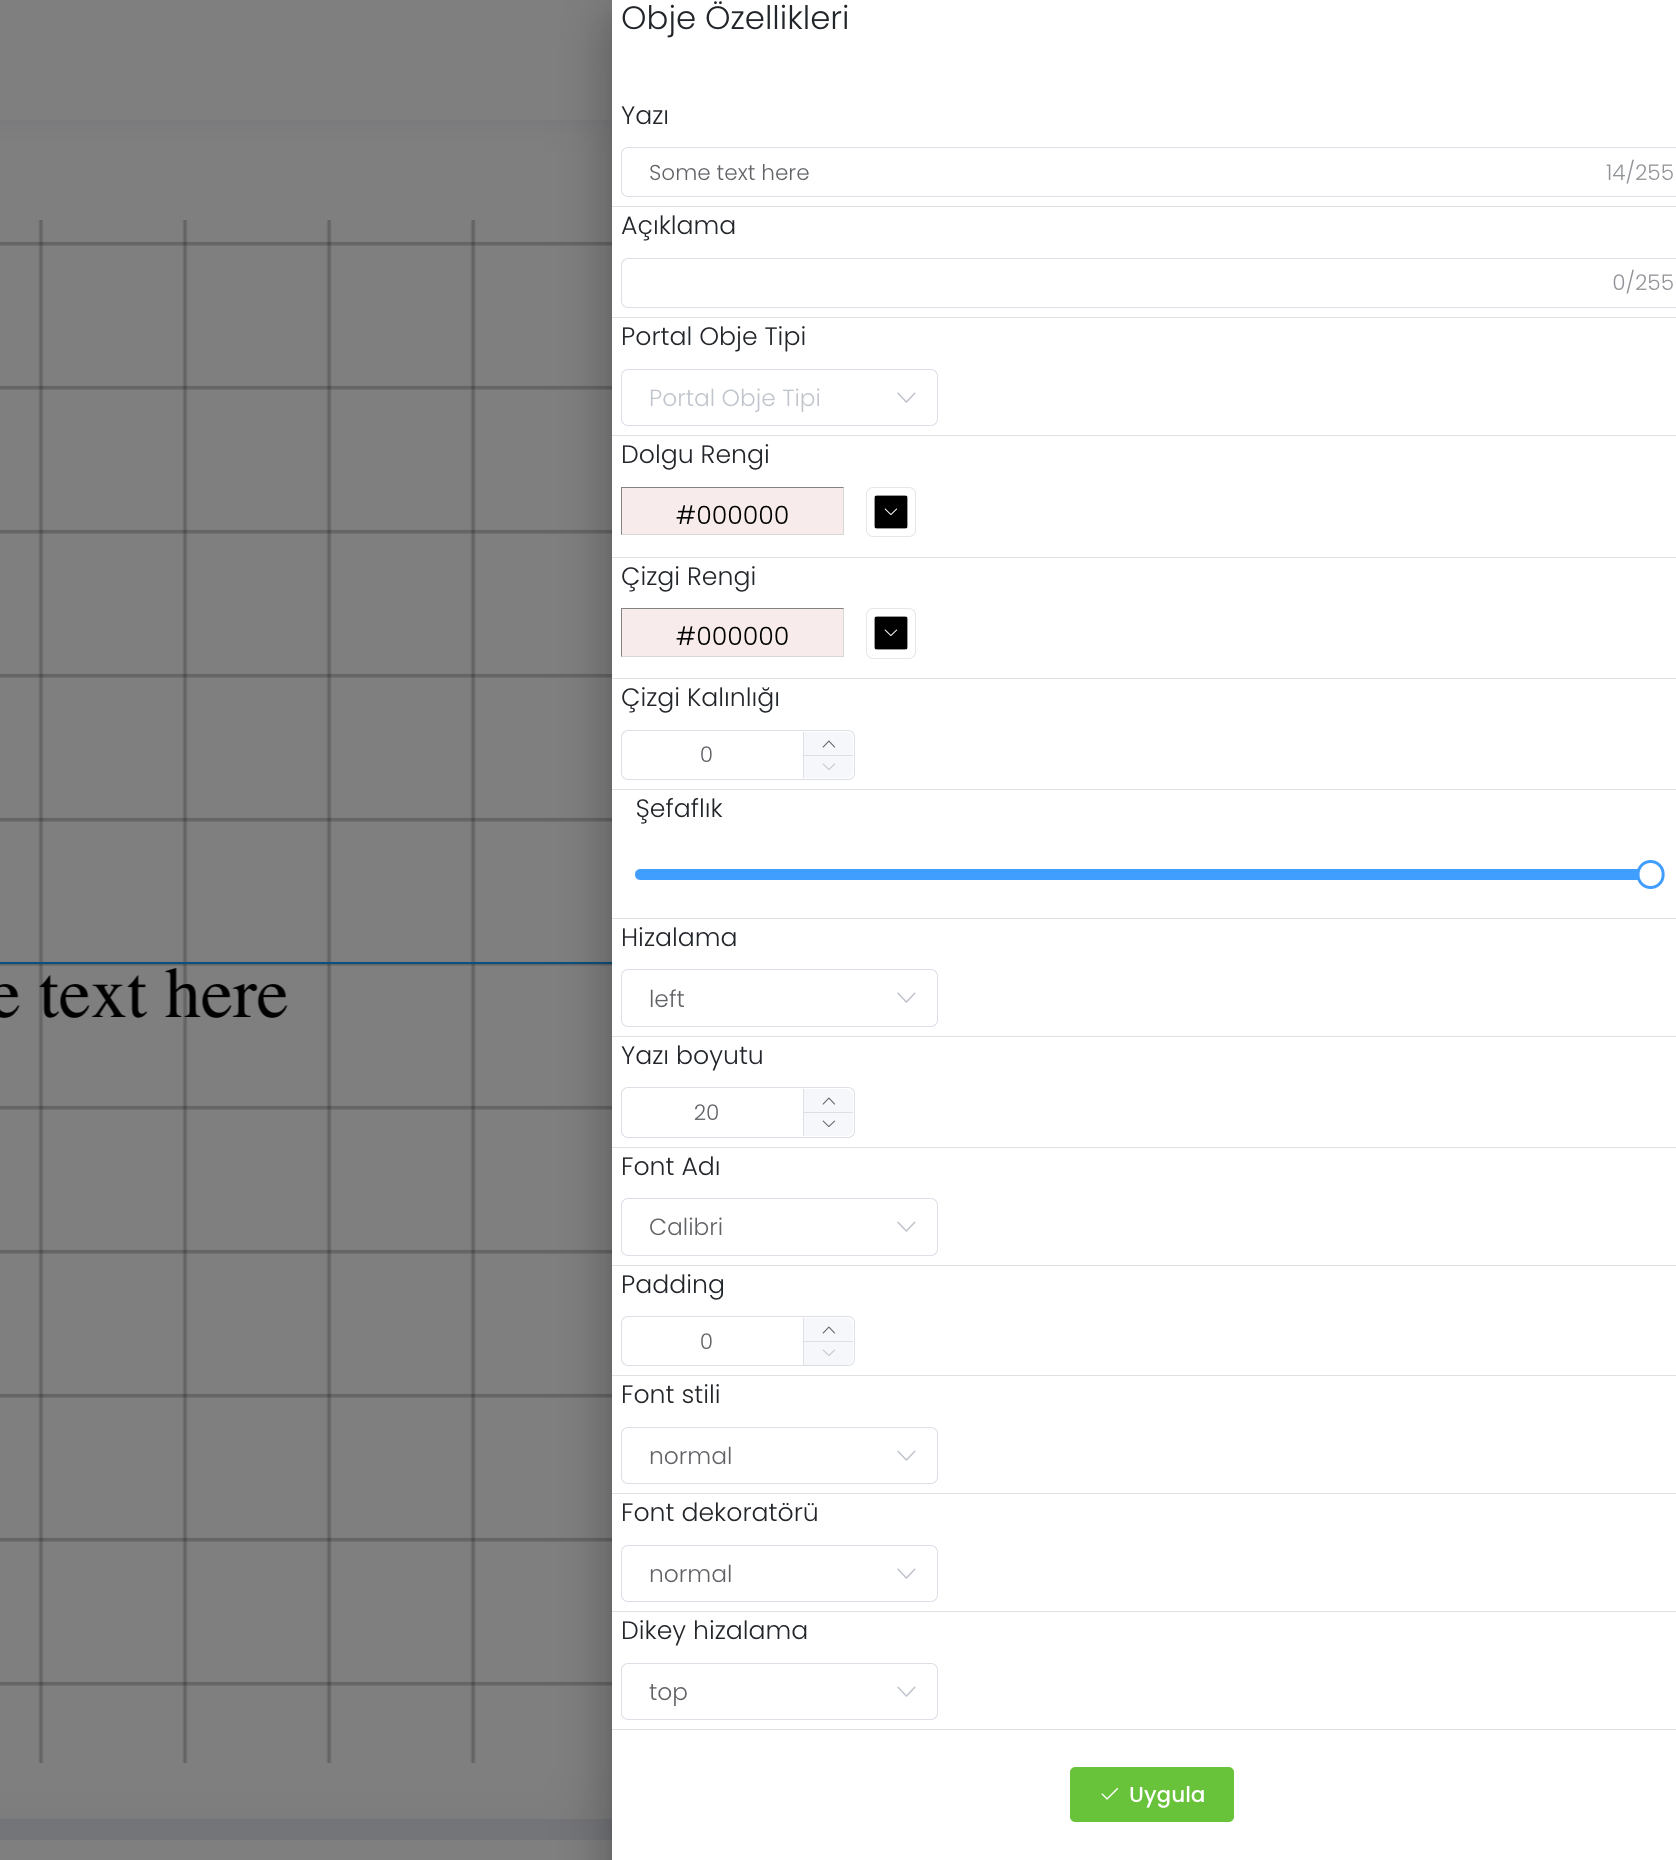
7-Letter Builder : It is the tool we use to create text in the size you specify.
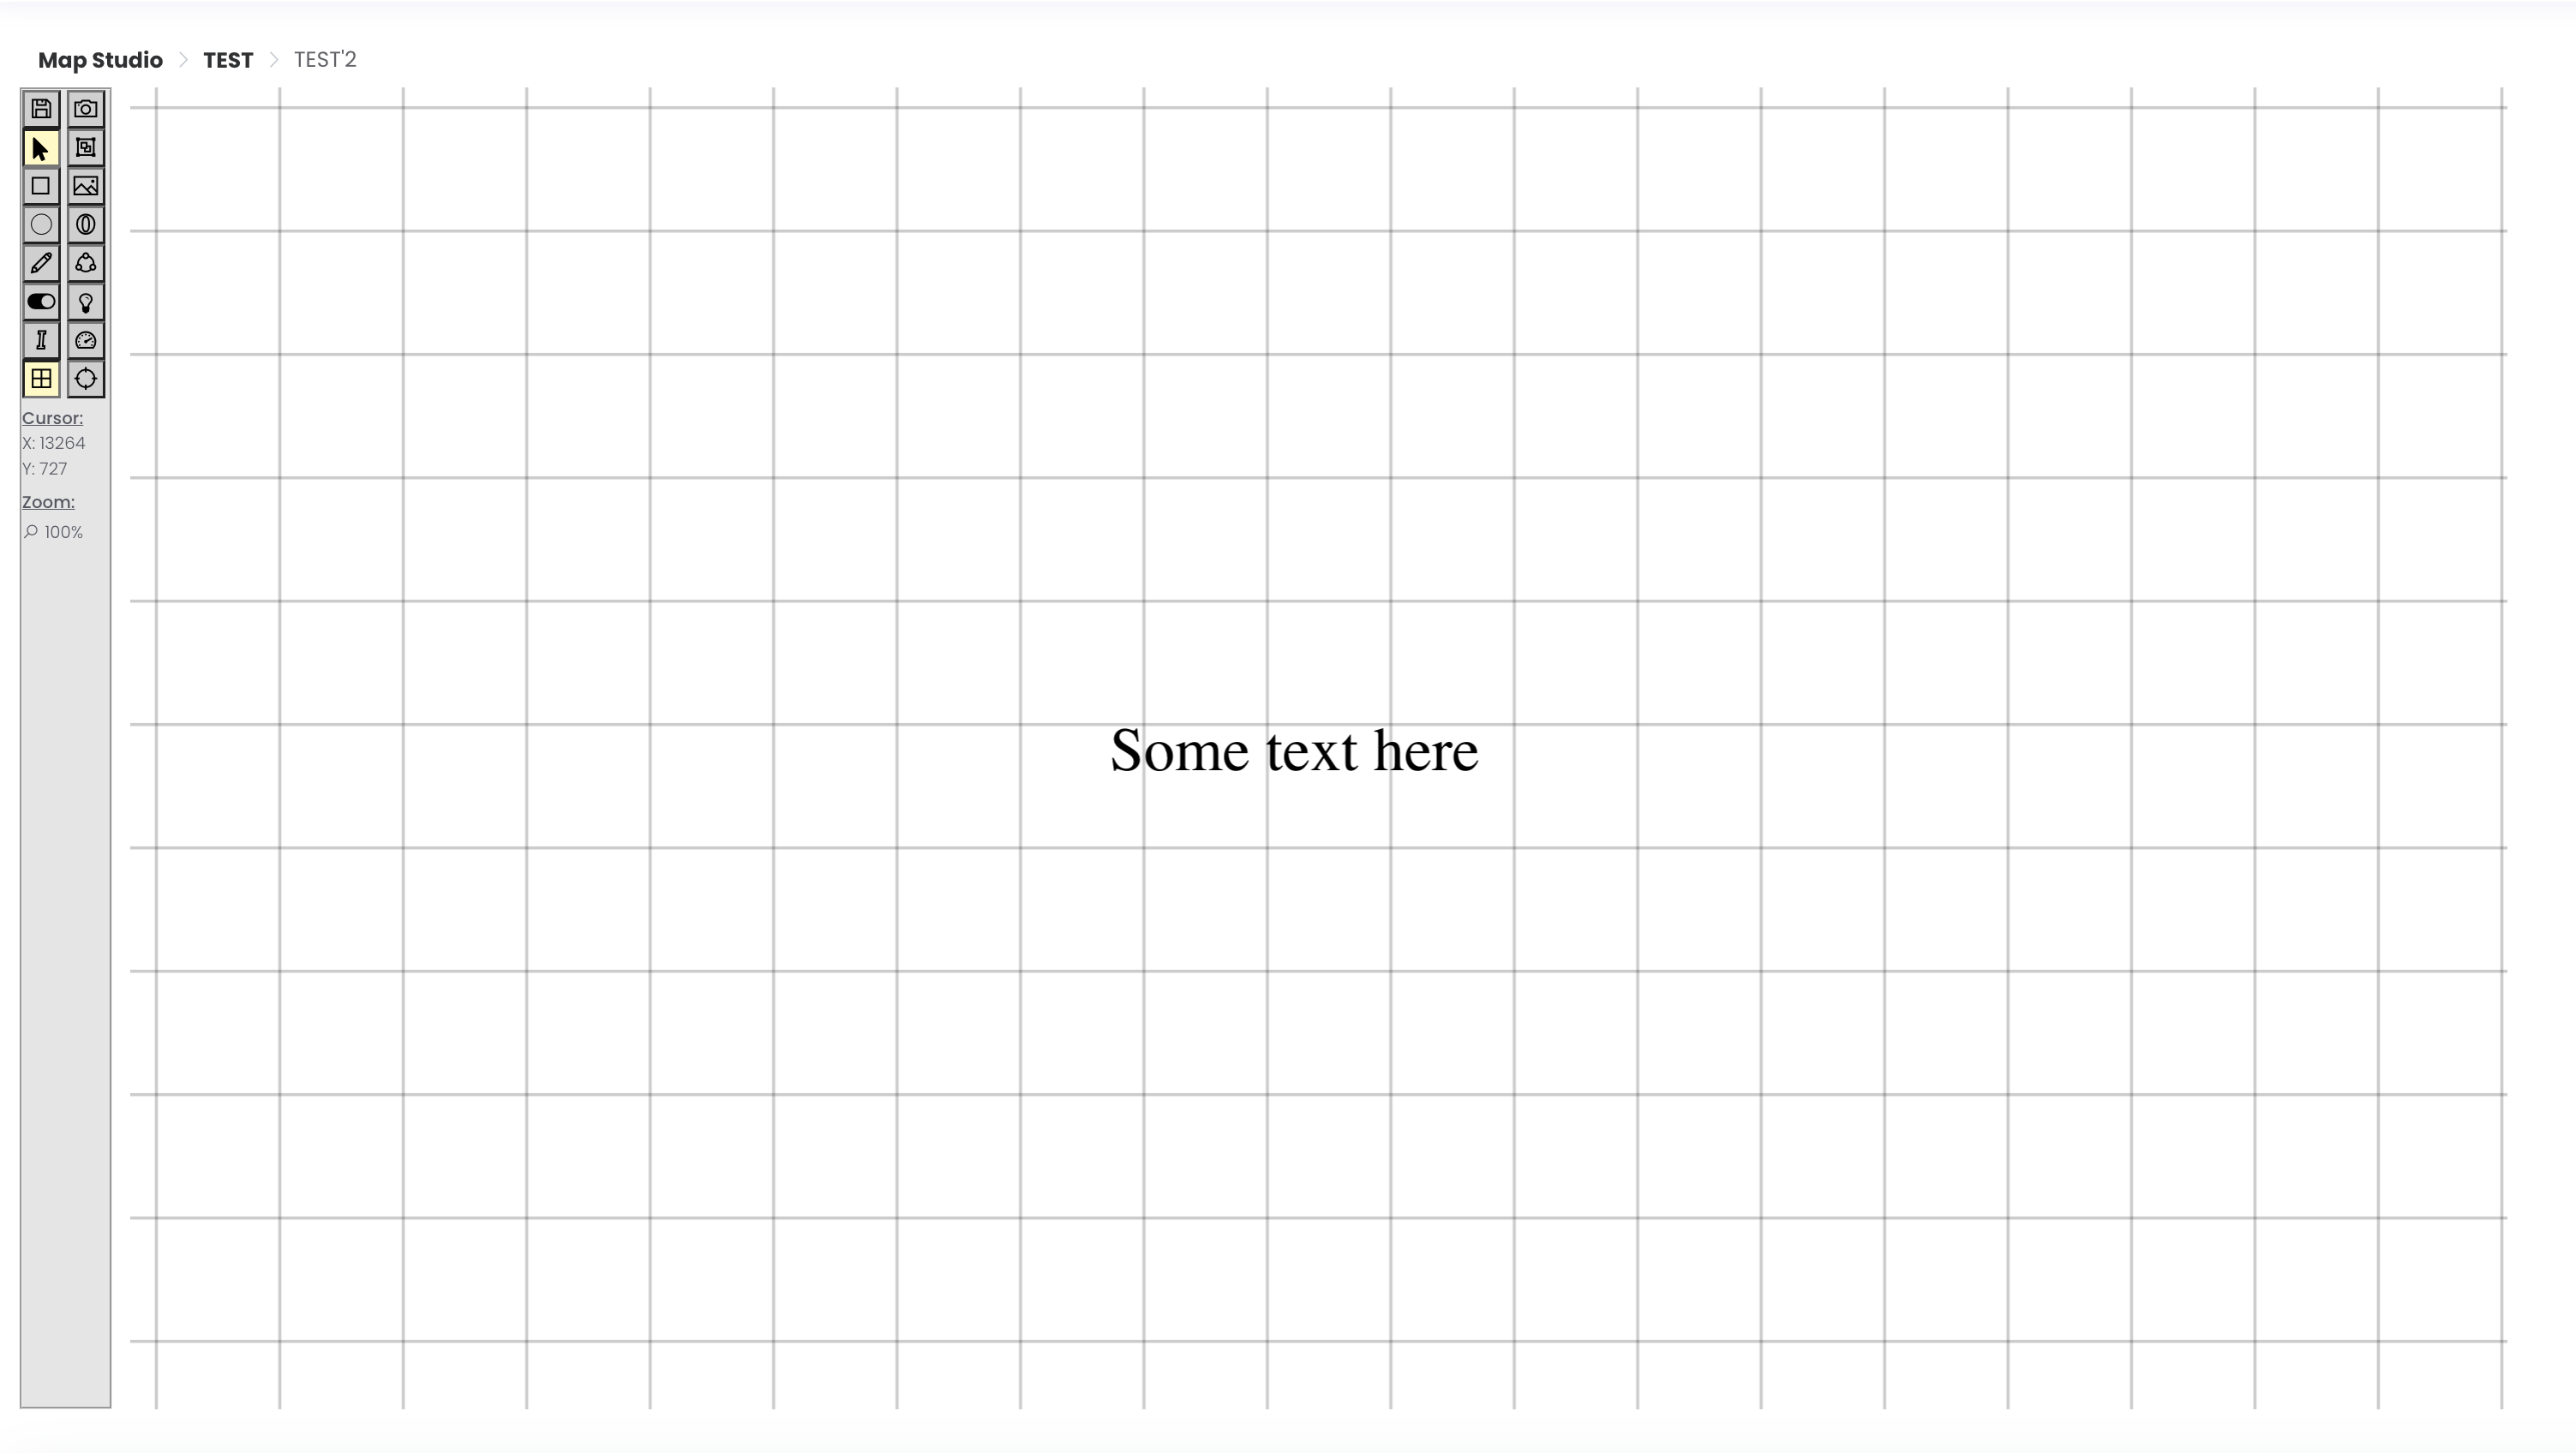
When we click on Writing, a property page opens. In this section, Description, Portal Object Type, Fill Balance, Line Colour, Line Thickness, Transparency, Alignment, Font Size, Font Name, Padding, Font Style, Font Decorator and Vertical Alignment are the customisation areas that we set. You can save the change you have made by clicking the "Apply" button.
8- Grid Mode : Grid Mode is a setting that comes off by default. When you activate this setting, 2 lines divide the screen horizontally and vertically in the camera interface. These lines help you set up a more proportional, balanced and accurate composition.
9-Preview Mode : Allows you to see how the whole of your project will look like. Opens a temporary snapshot of your work in the upper right corner.
10-Select Tool : It is used to easily select all objects or an object in an area.
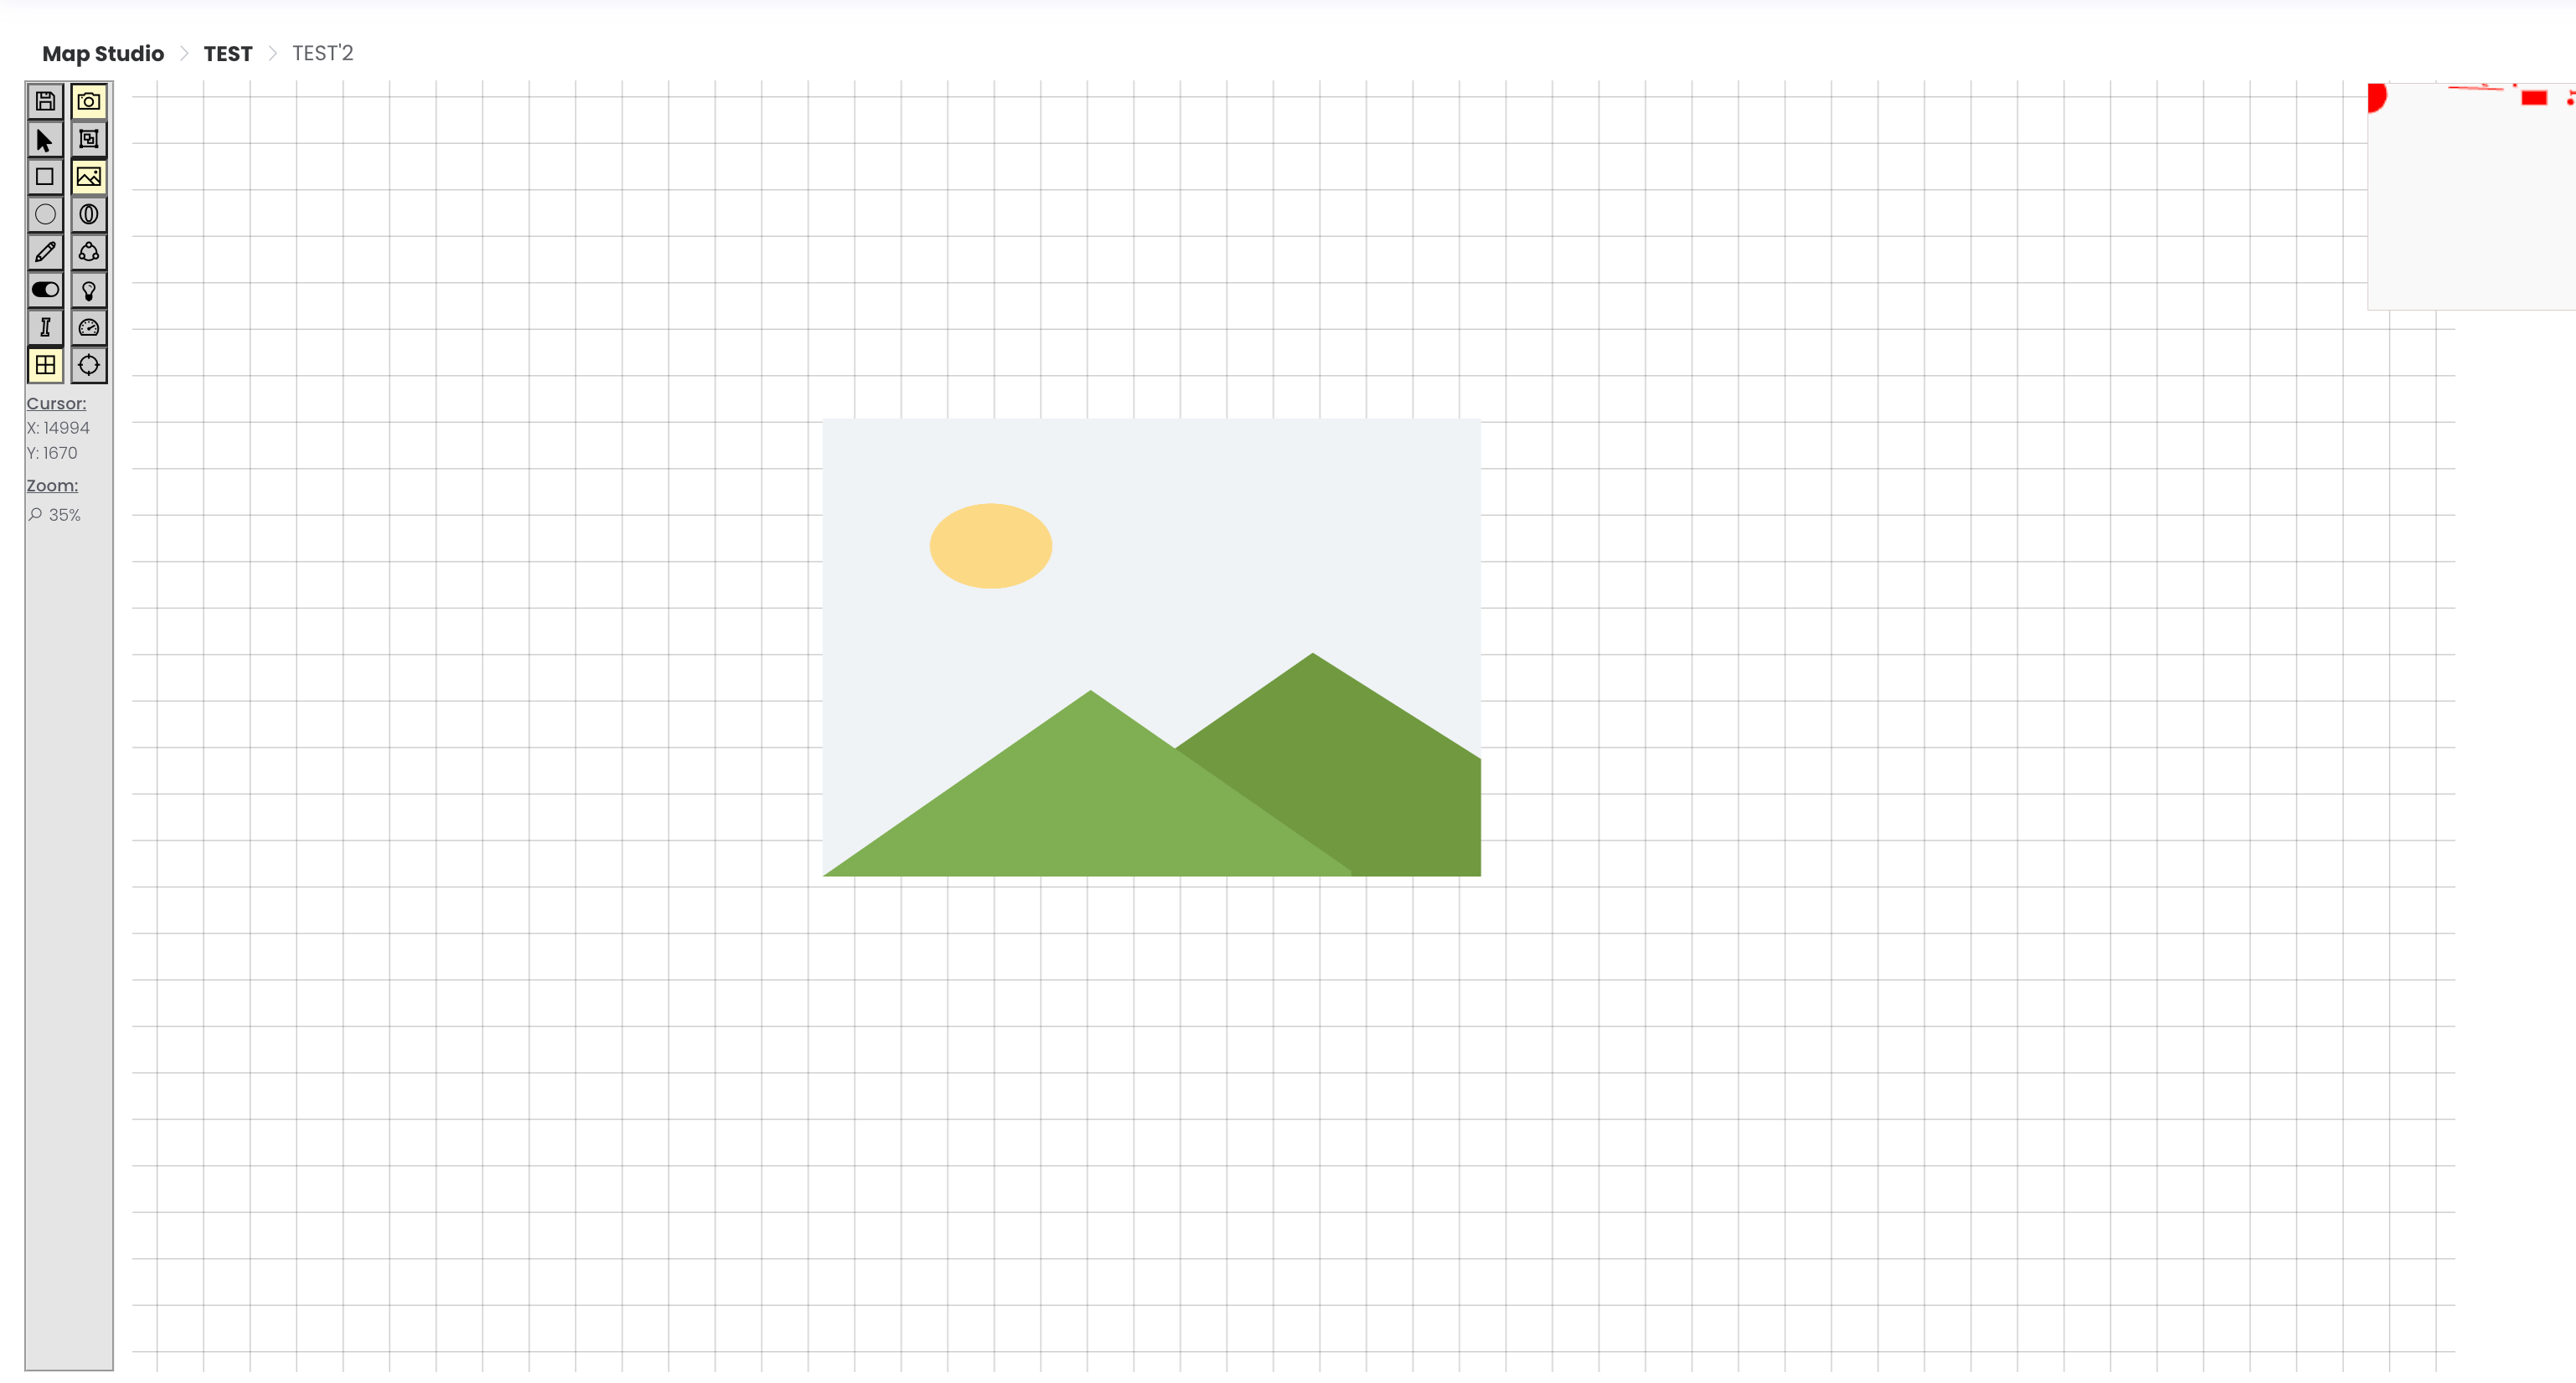
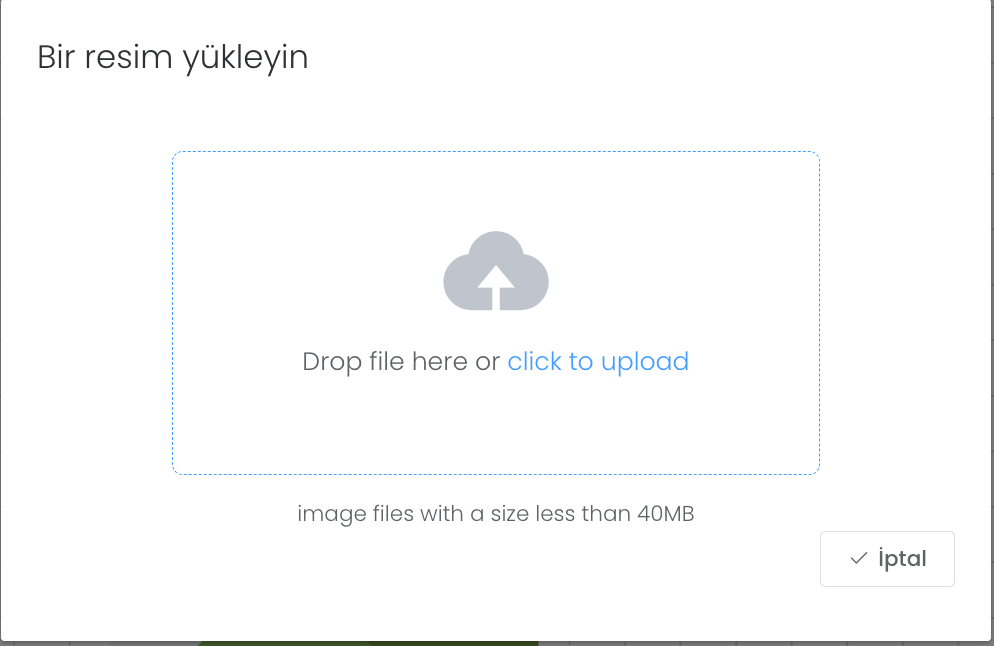
11- Image Builder : It offers a structure that we determine by dragging the area as much as we want. When it reaches the size we want, we release the mouse. It opens a new window for us.
This window is the area where you can choose which image to add to your image area where you now set your size. You can upload the image you want to use here.
12-Elips Plotter : The Elips tool allows you to create ellipses and circles in your drawing.
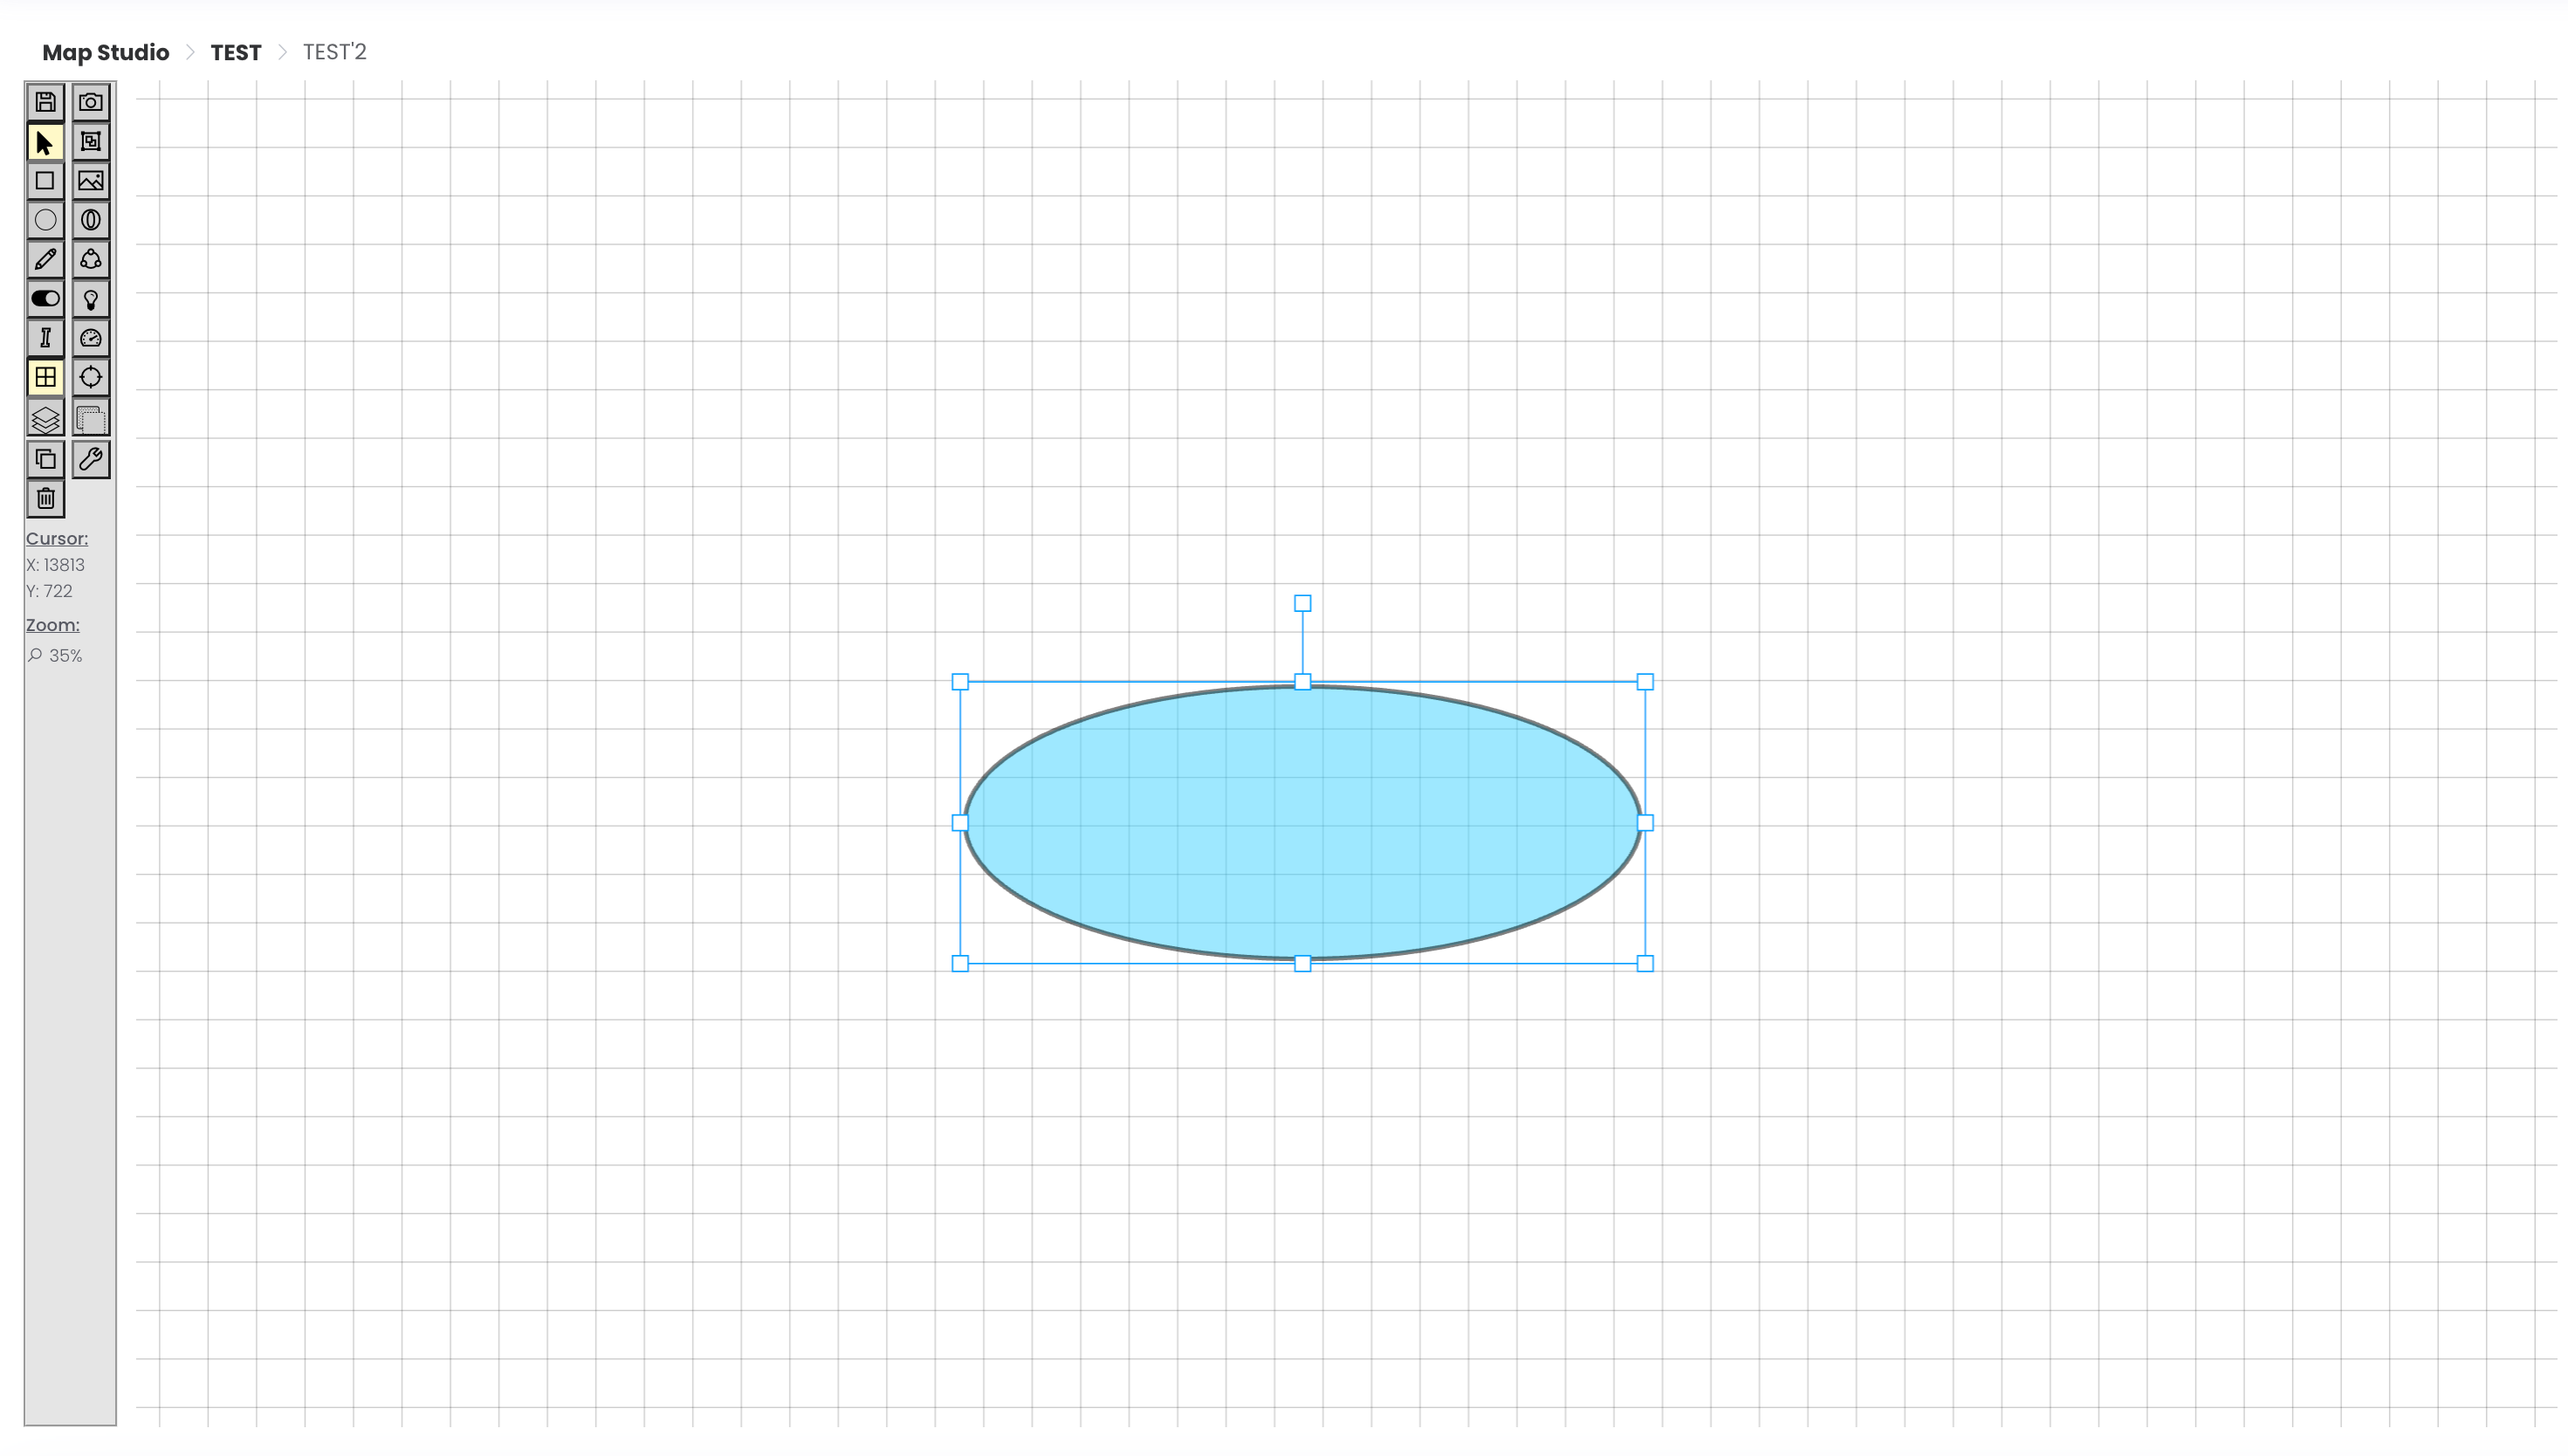
When we click on this ellipse a property page opens. This is the customisation area where we set Description, Portal Object Type, Fill Colour, Line Colour, Line Thickness and transparency. You can save the change you have made by clicking the Apply button.

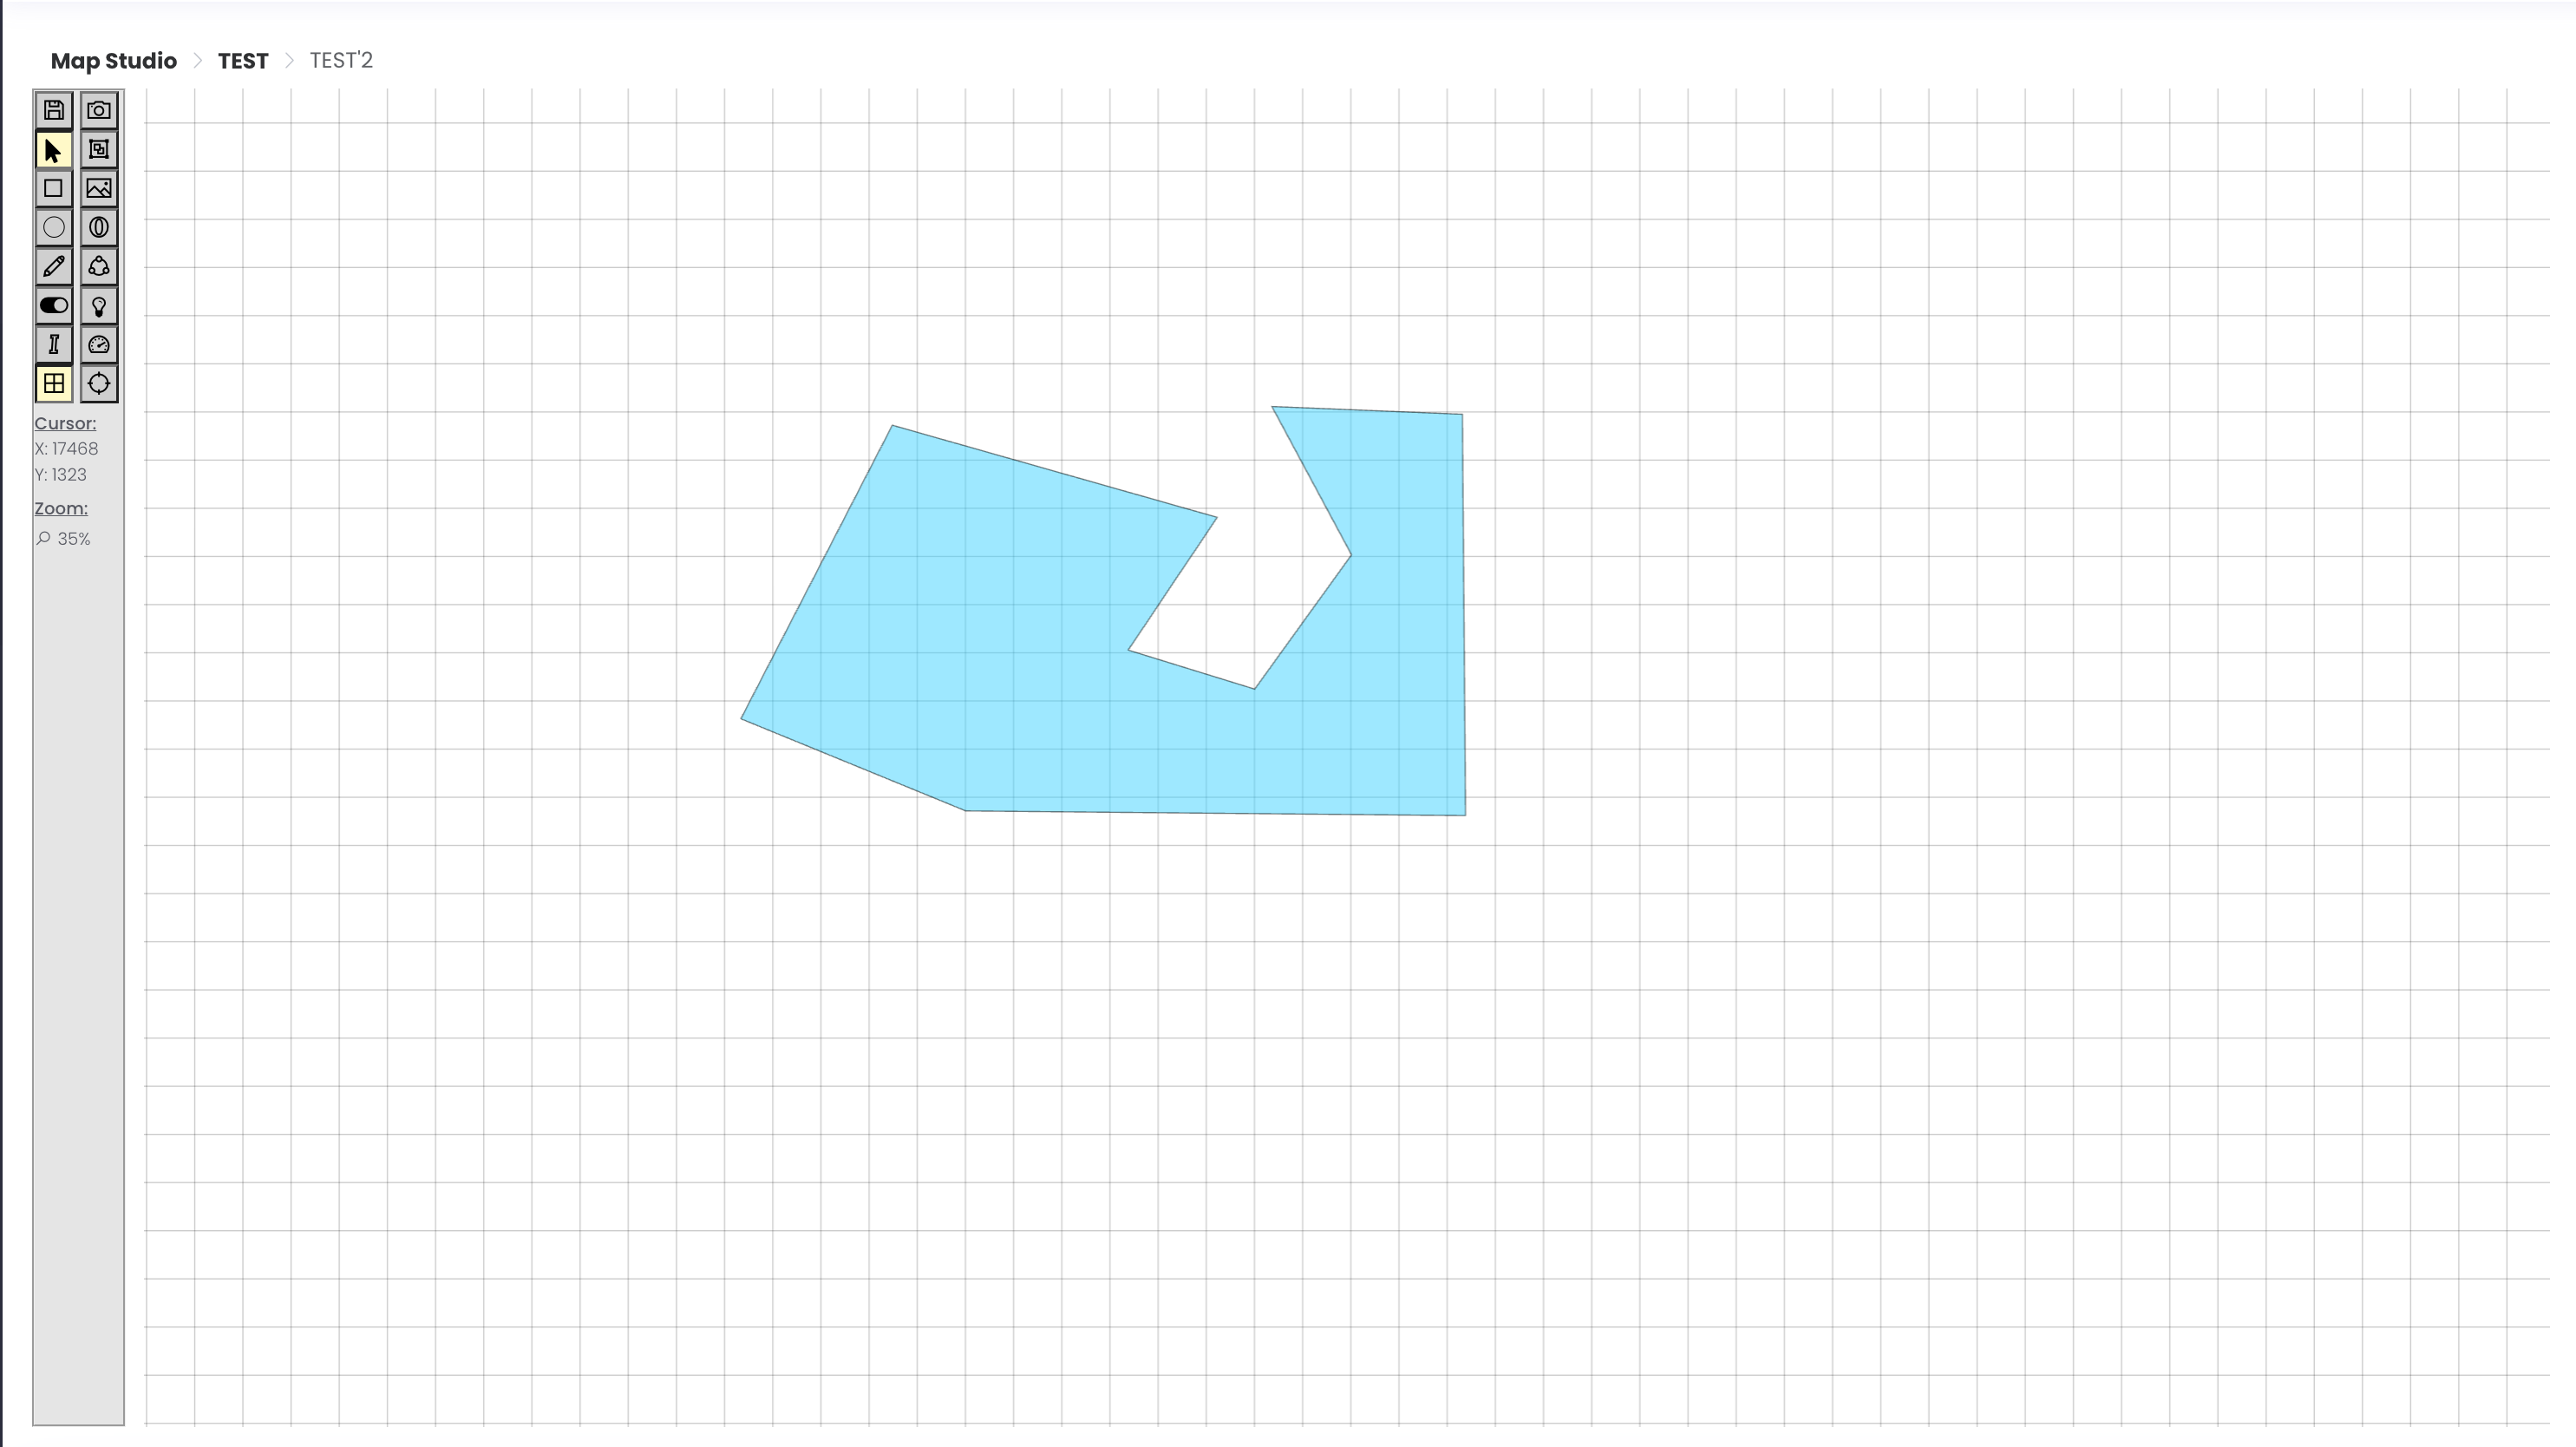
13-Polygon Plotter : It is the tool that we can draw polygons in the size and shape we want. The image is an example.
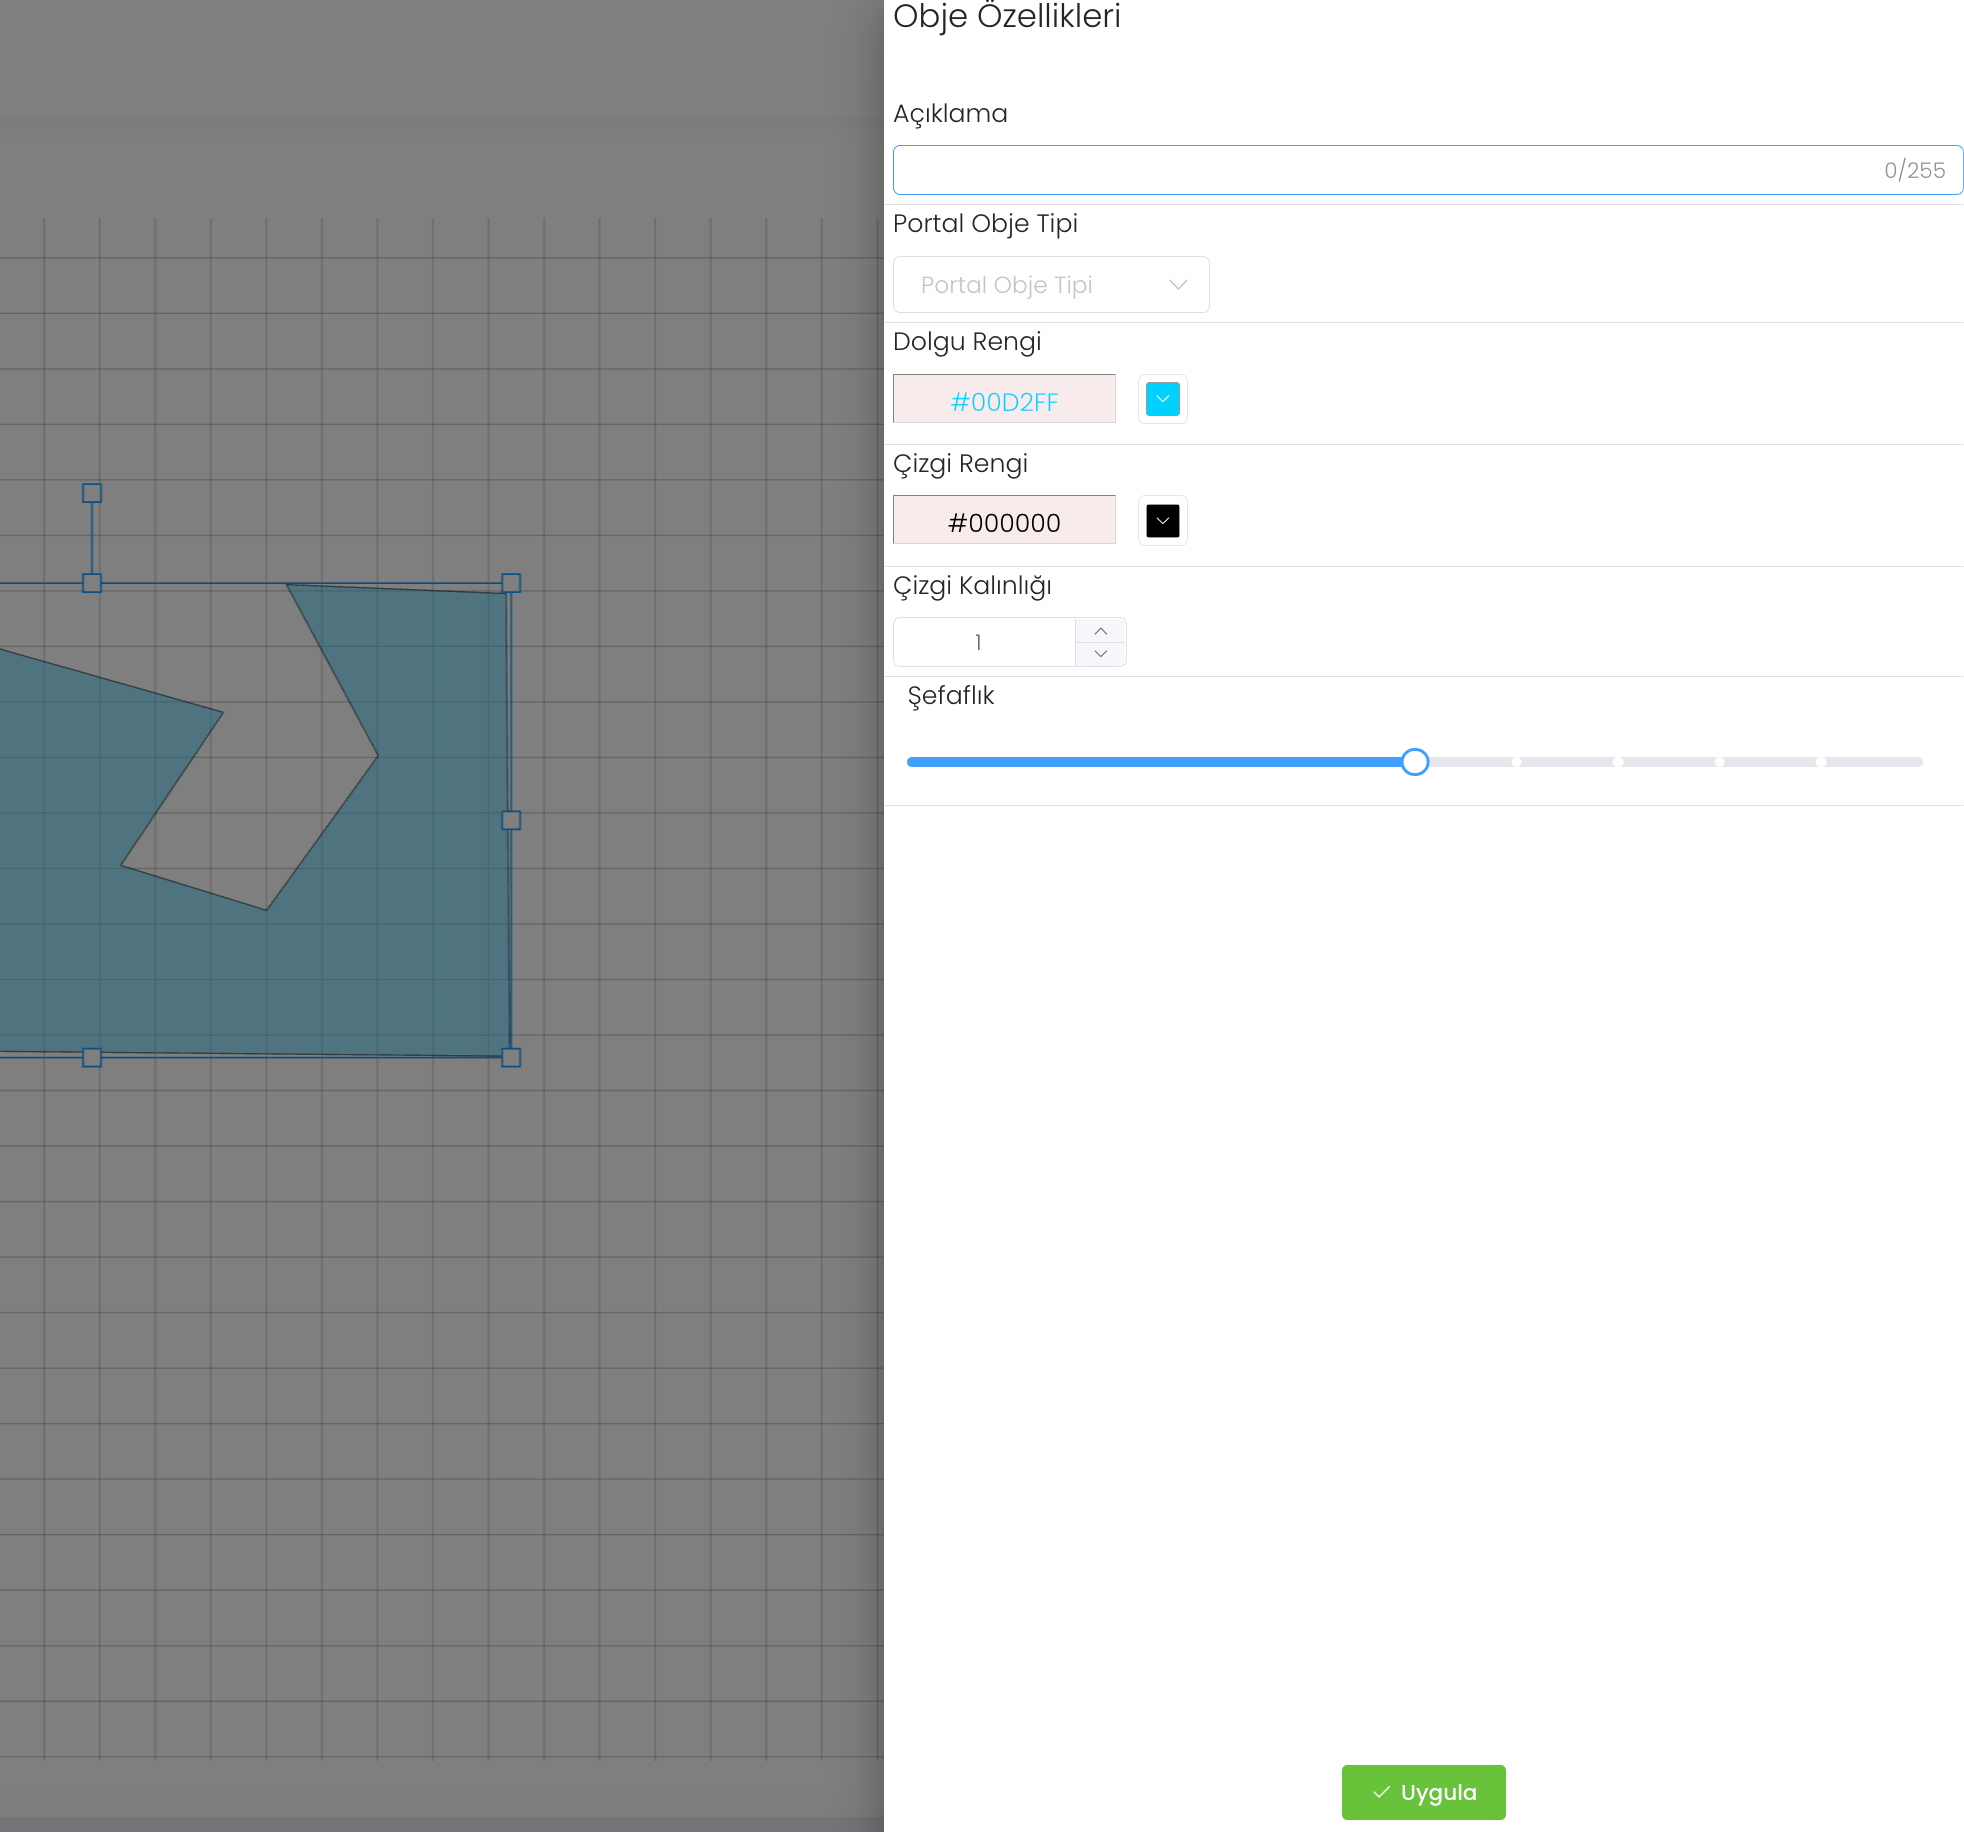
When we click on this polygon, a property page opens. This is the customisation area where we set Description, Portal Object Type, Fill Colour, Line Colour, Line Thickness and Transparency. You can save the change you have made by clicking the Apply button.
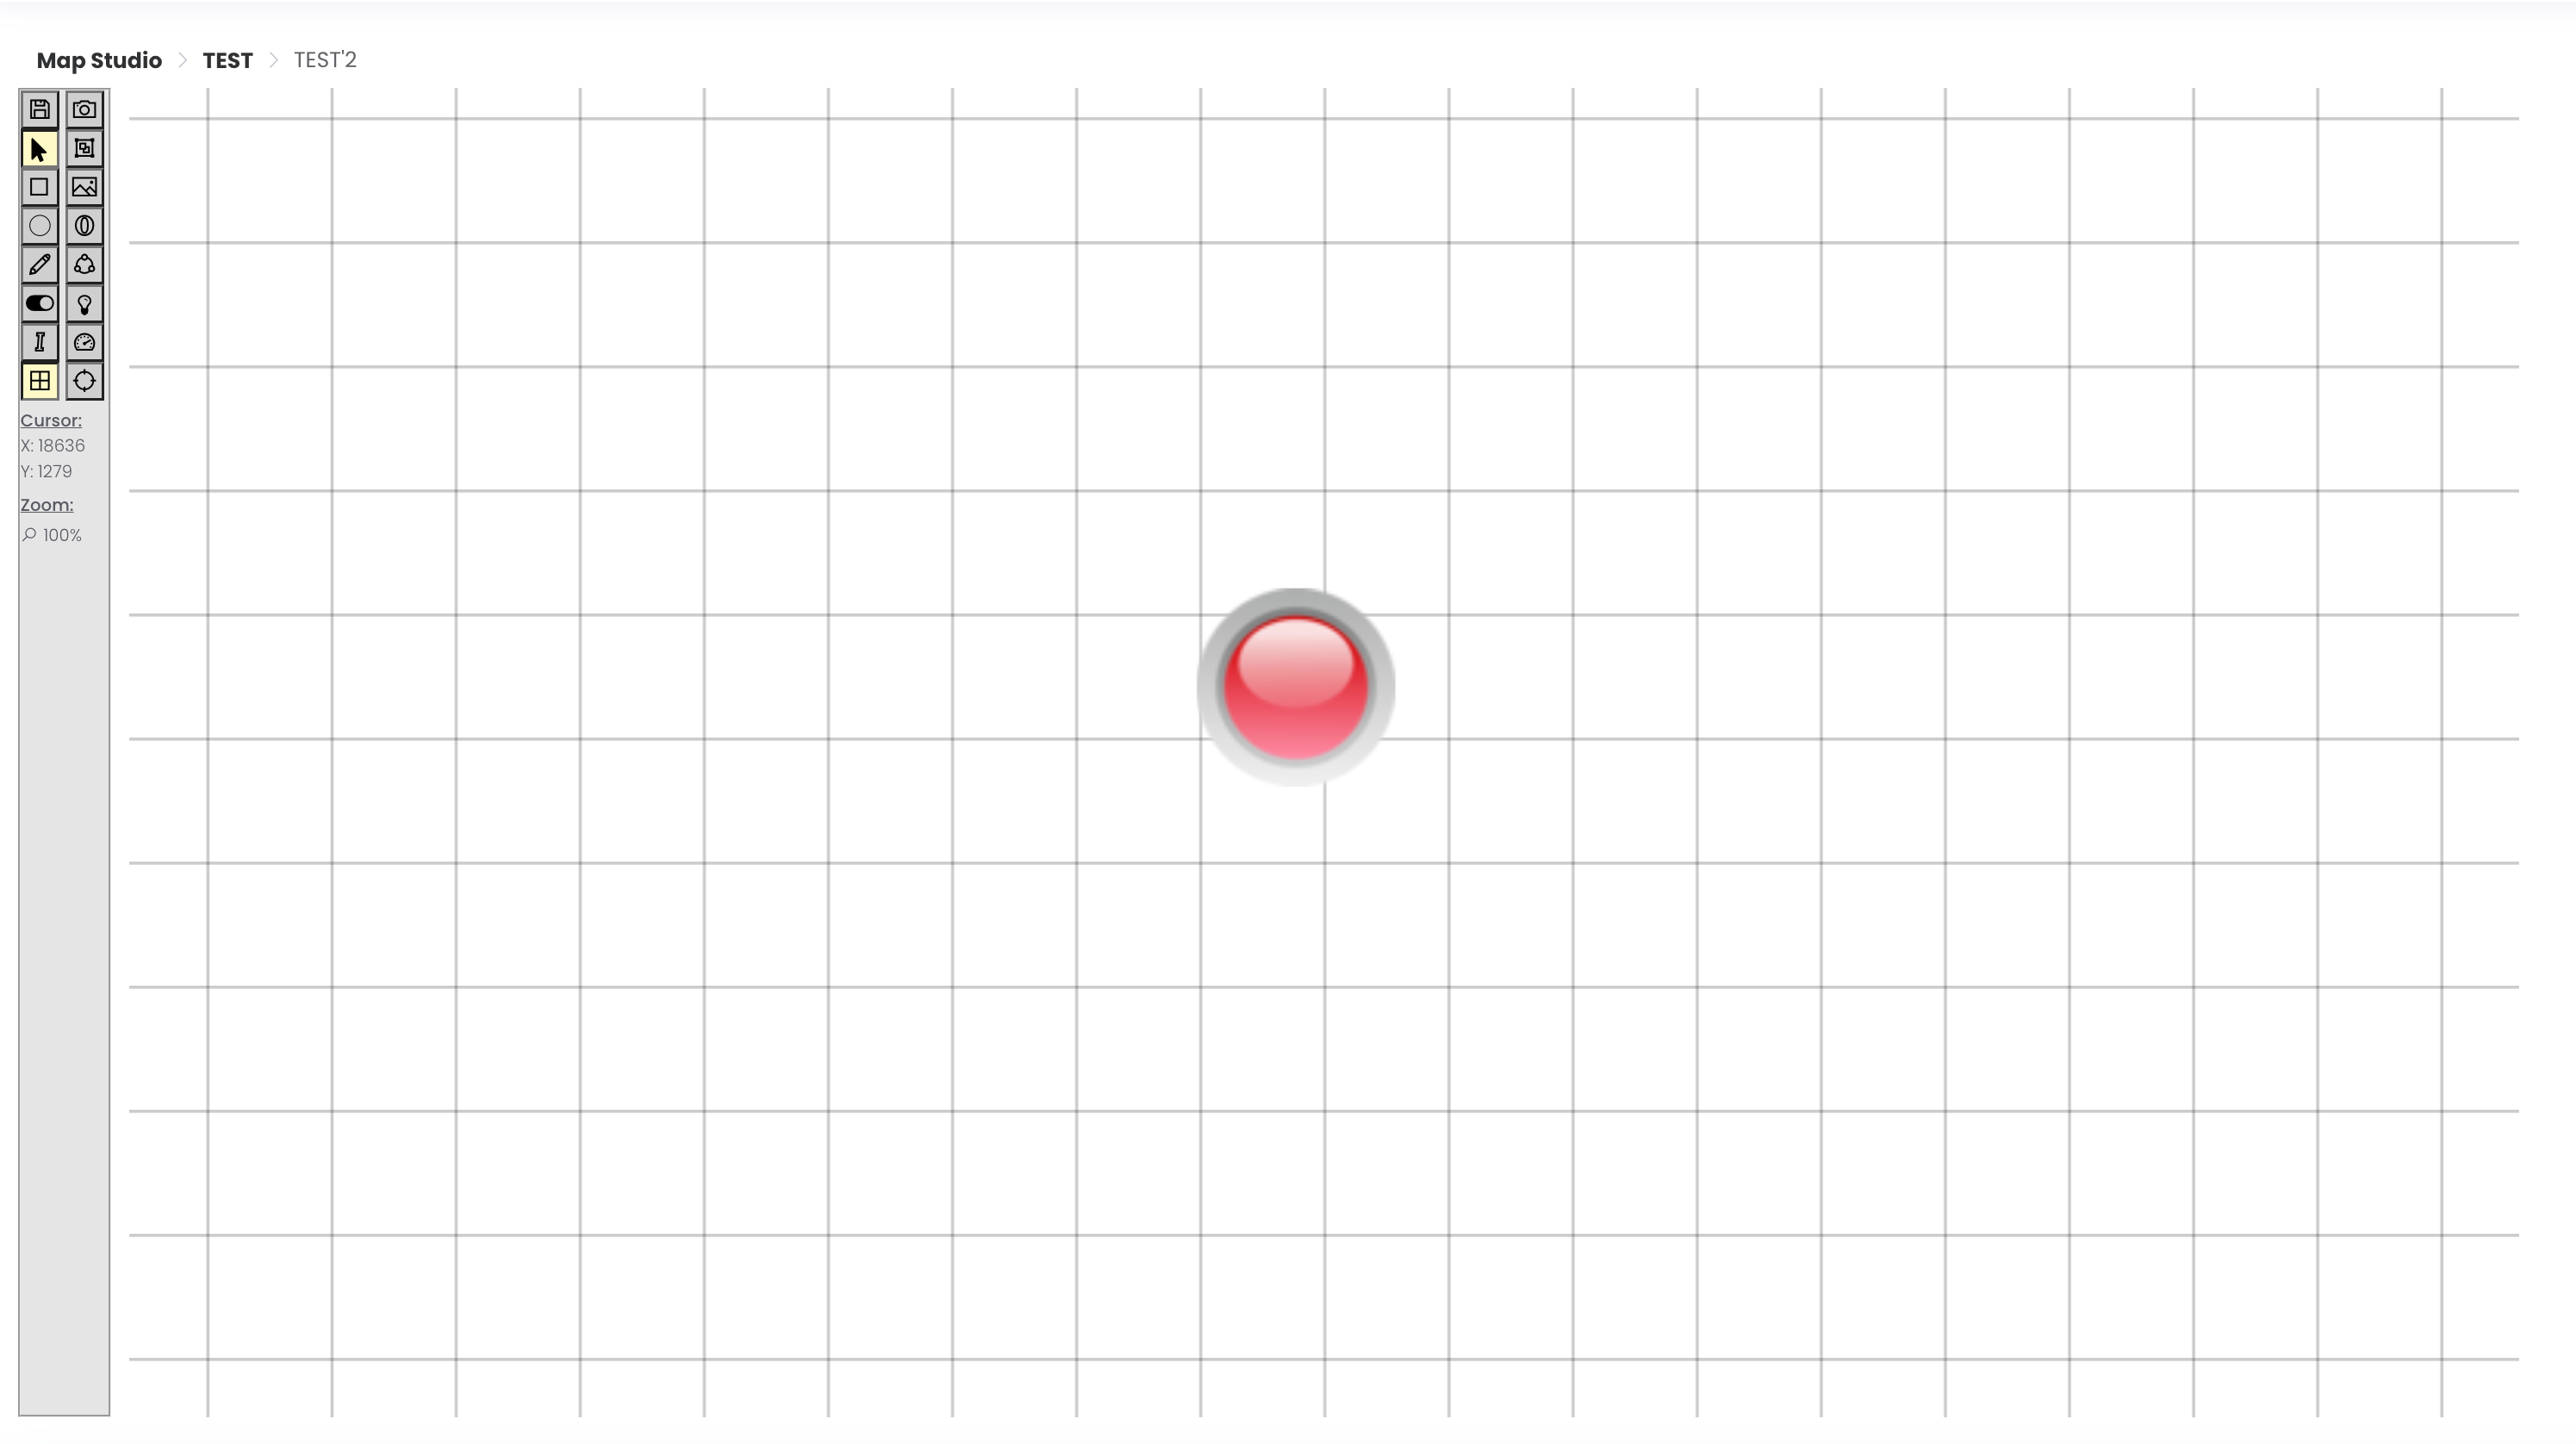
14-Digital Input Indicator Creator : This is where you create a digital input indicator by assigning properties such as object type module and object to the button you created.
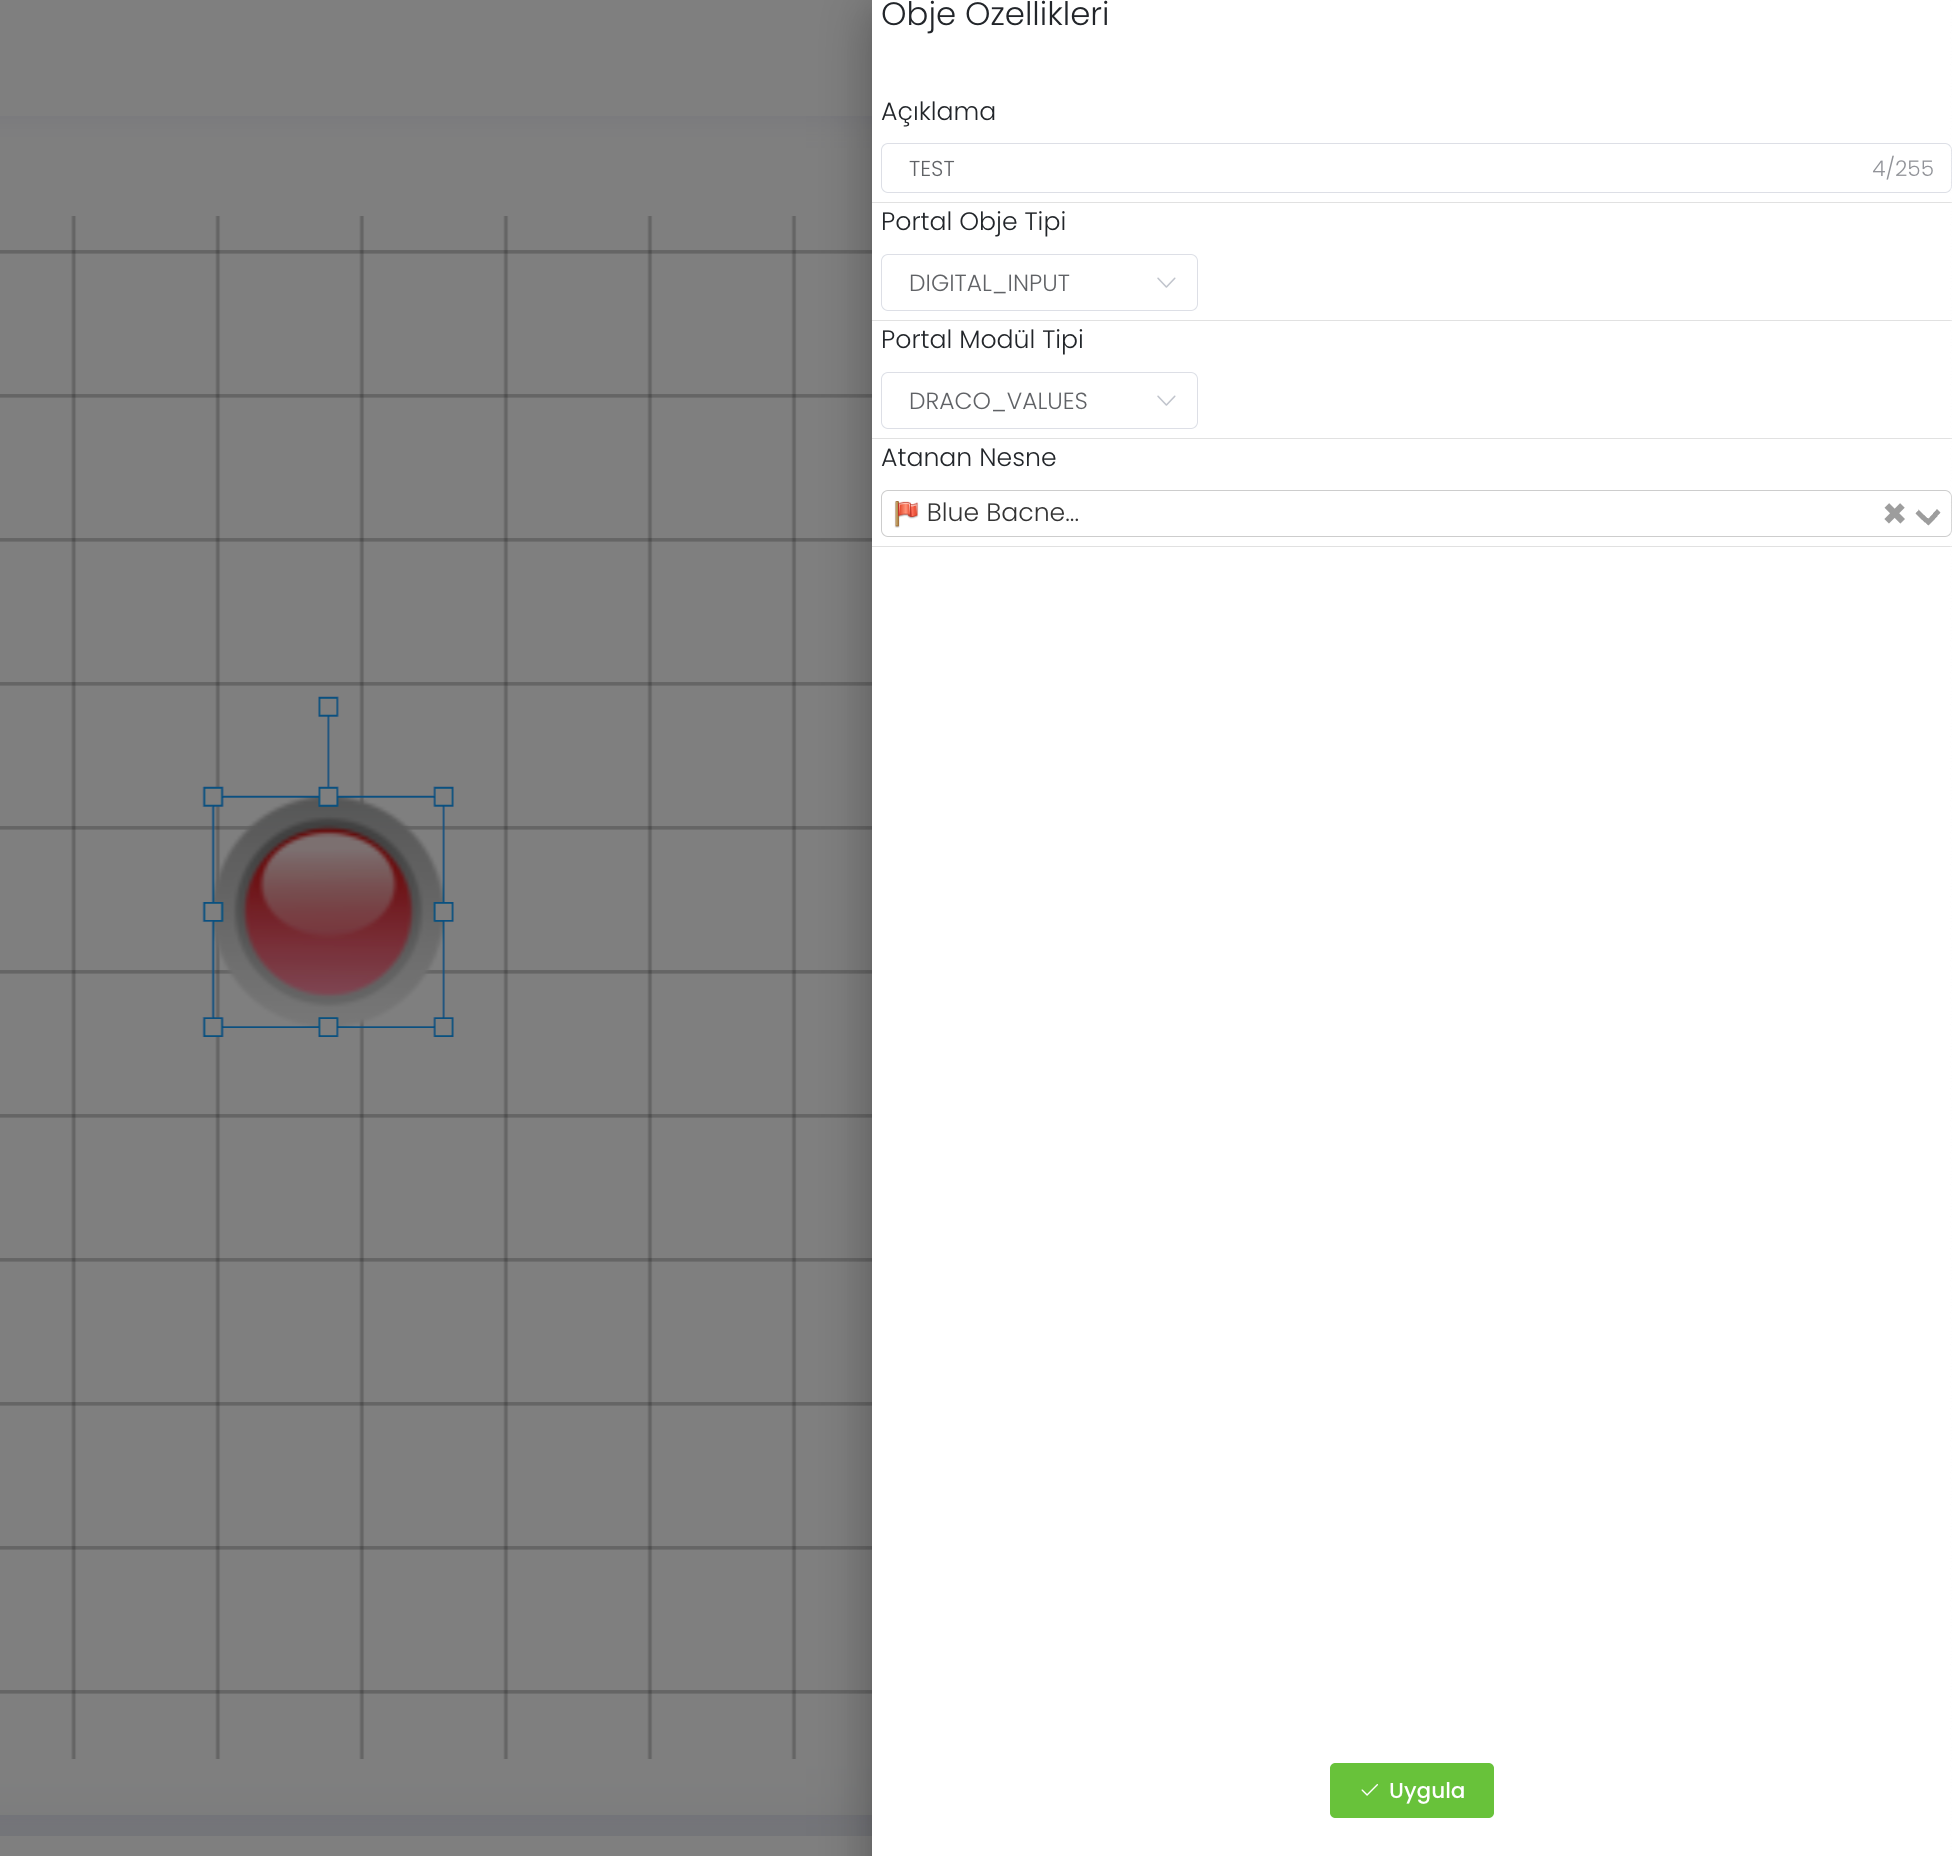
When we click on this indicator a property page opens. This is the customisation area where we set Description, Portal Object Type, Portal Module Type and Assigned Object. You can save the change you have made by clicking the Apply button.
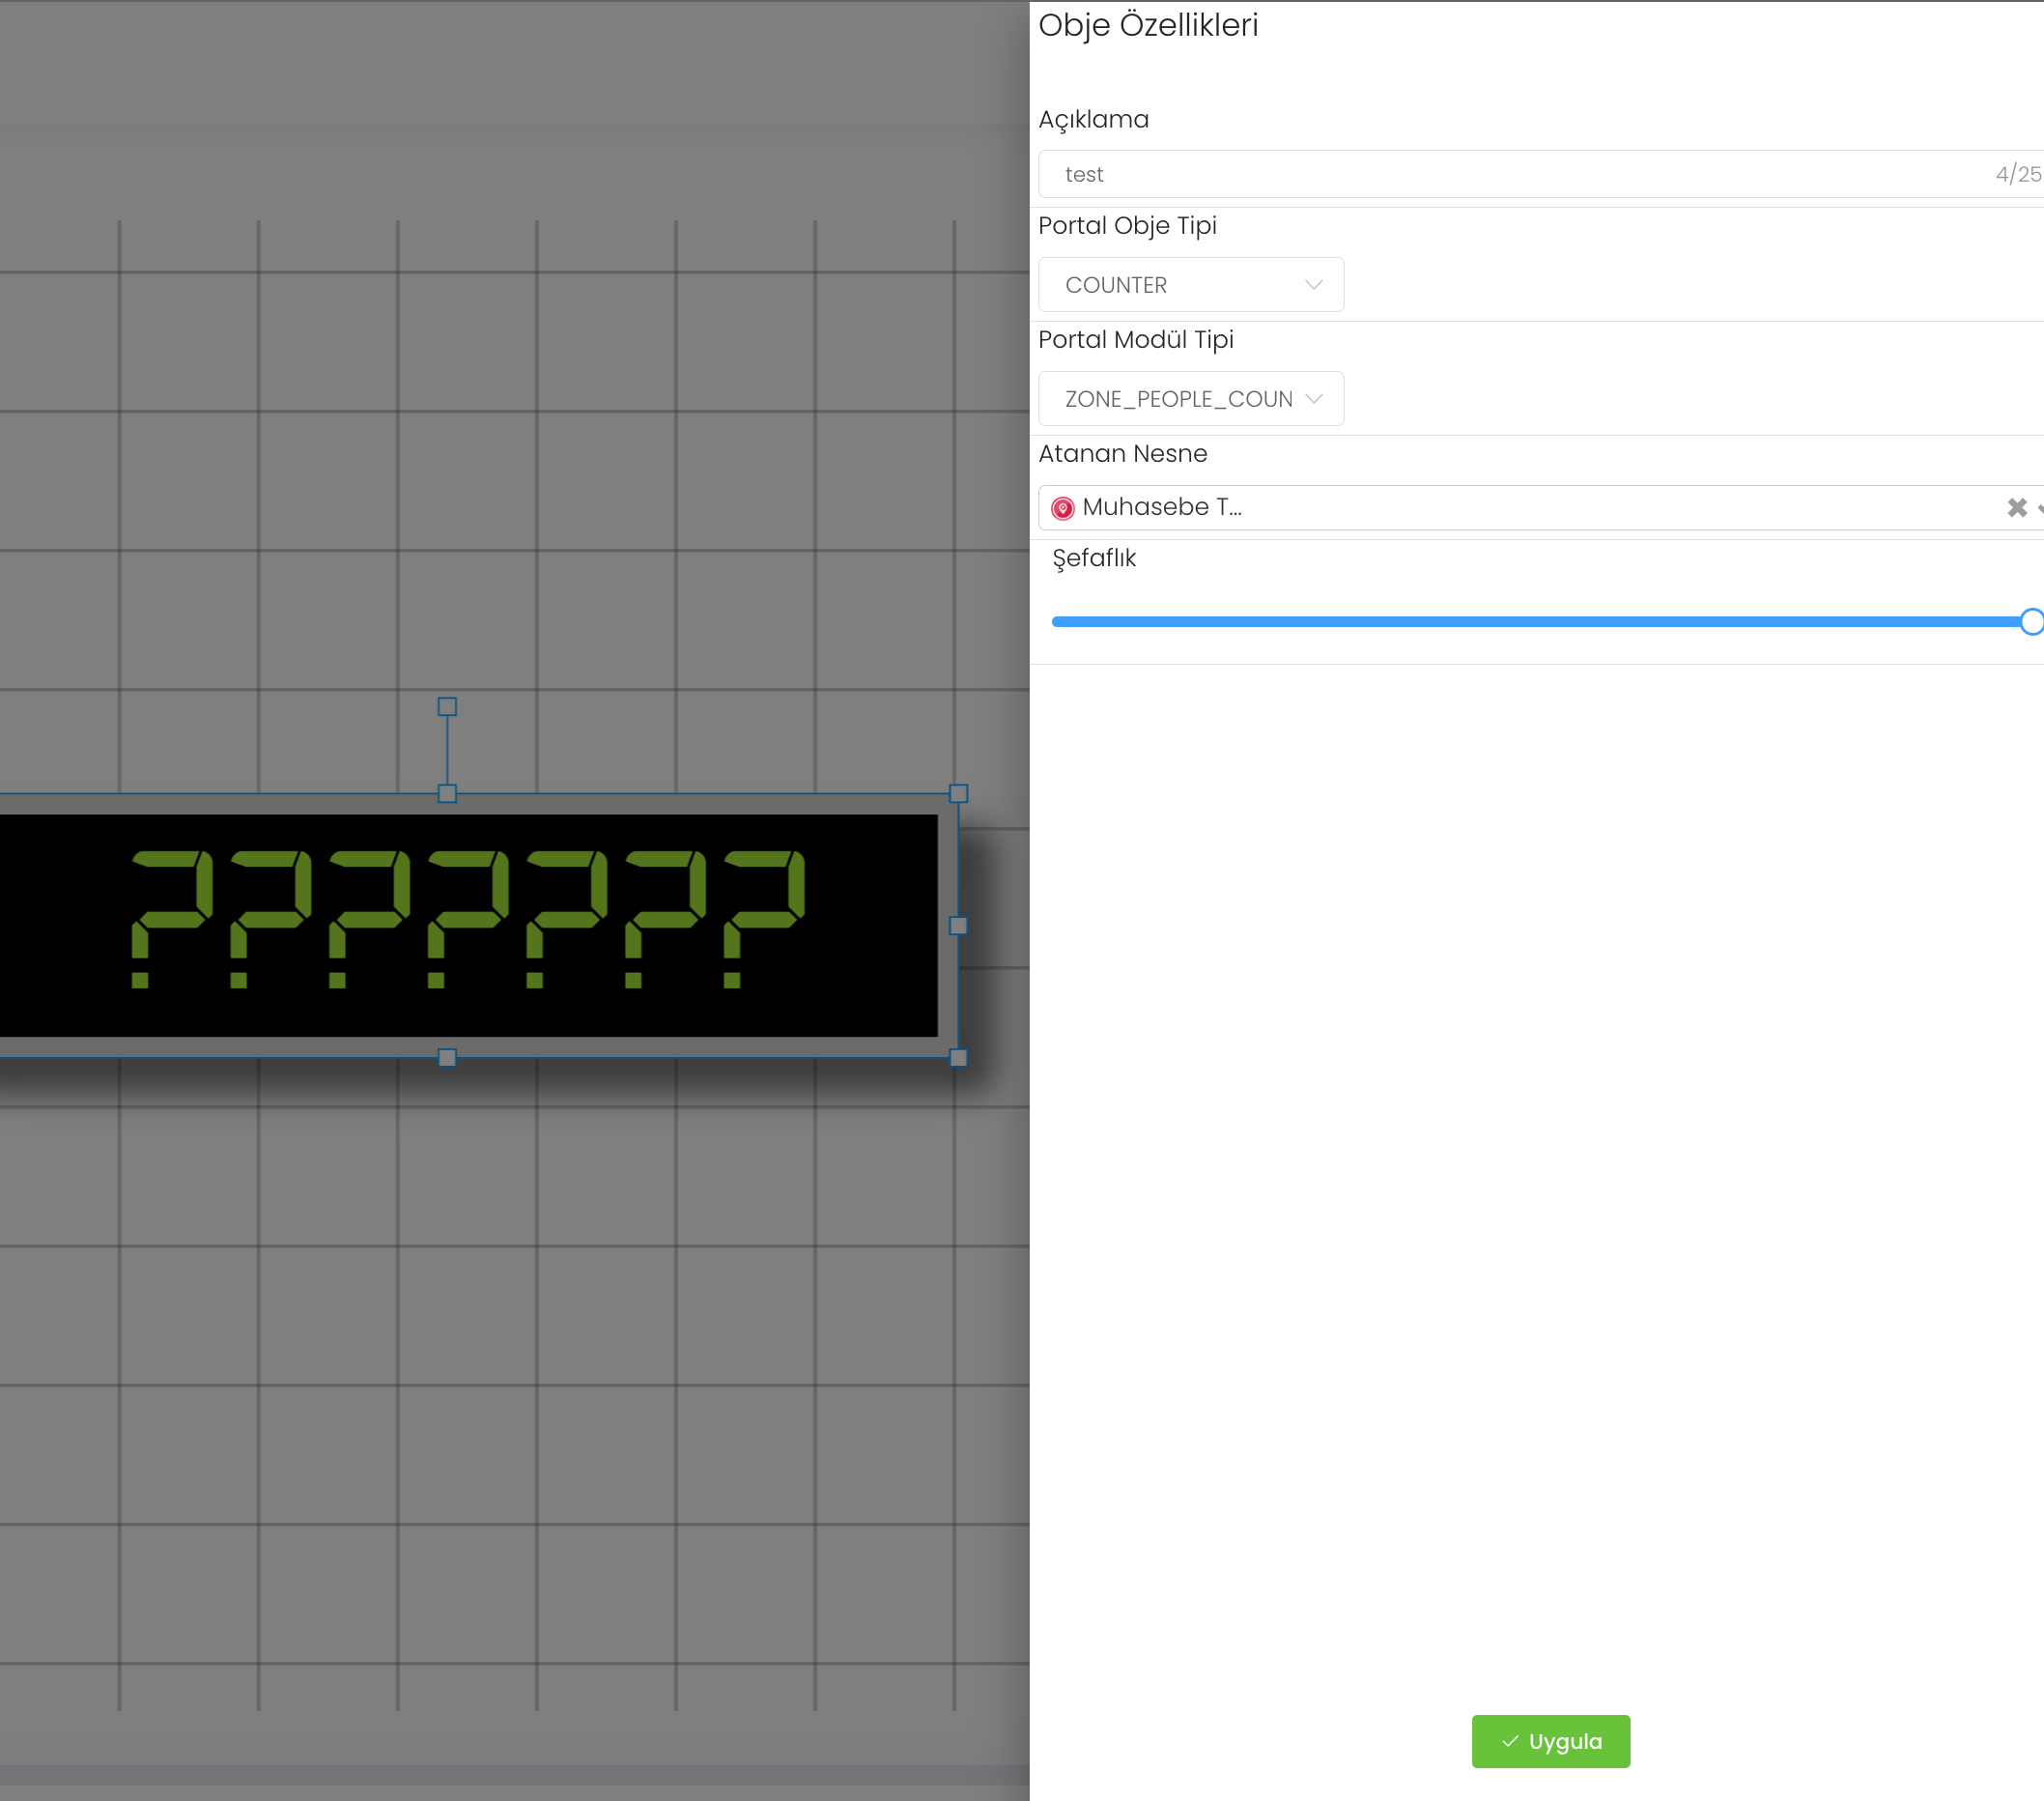
15-Counter Object : After an object and a module are determined, they are assigned to an object. It starts to show the information coming from this object from the counter section.
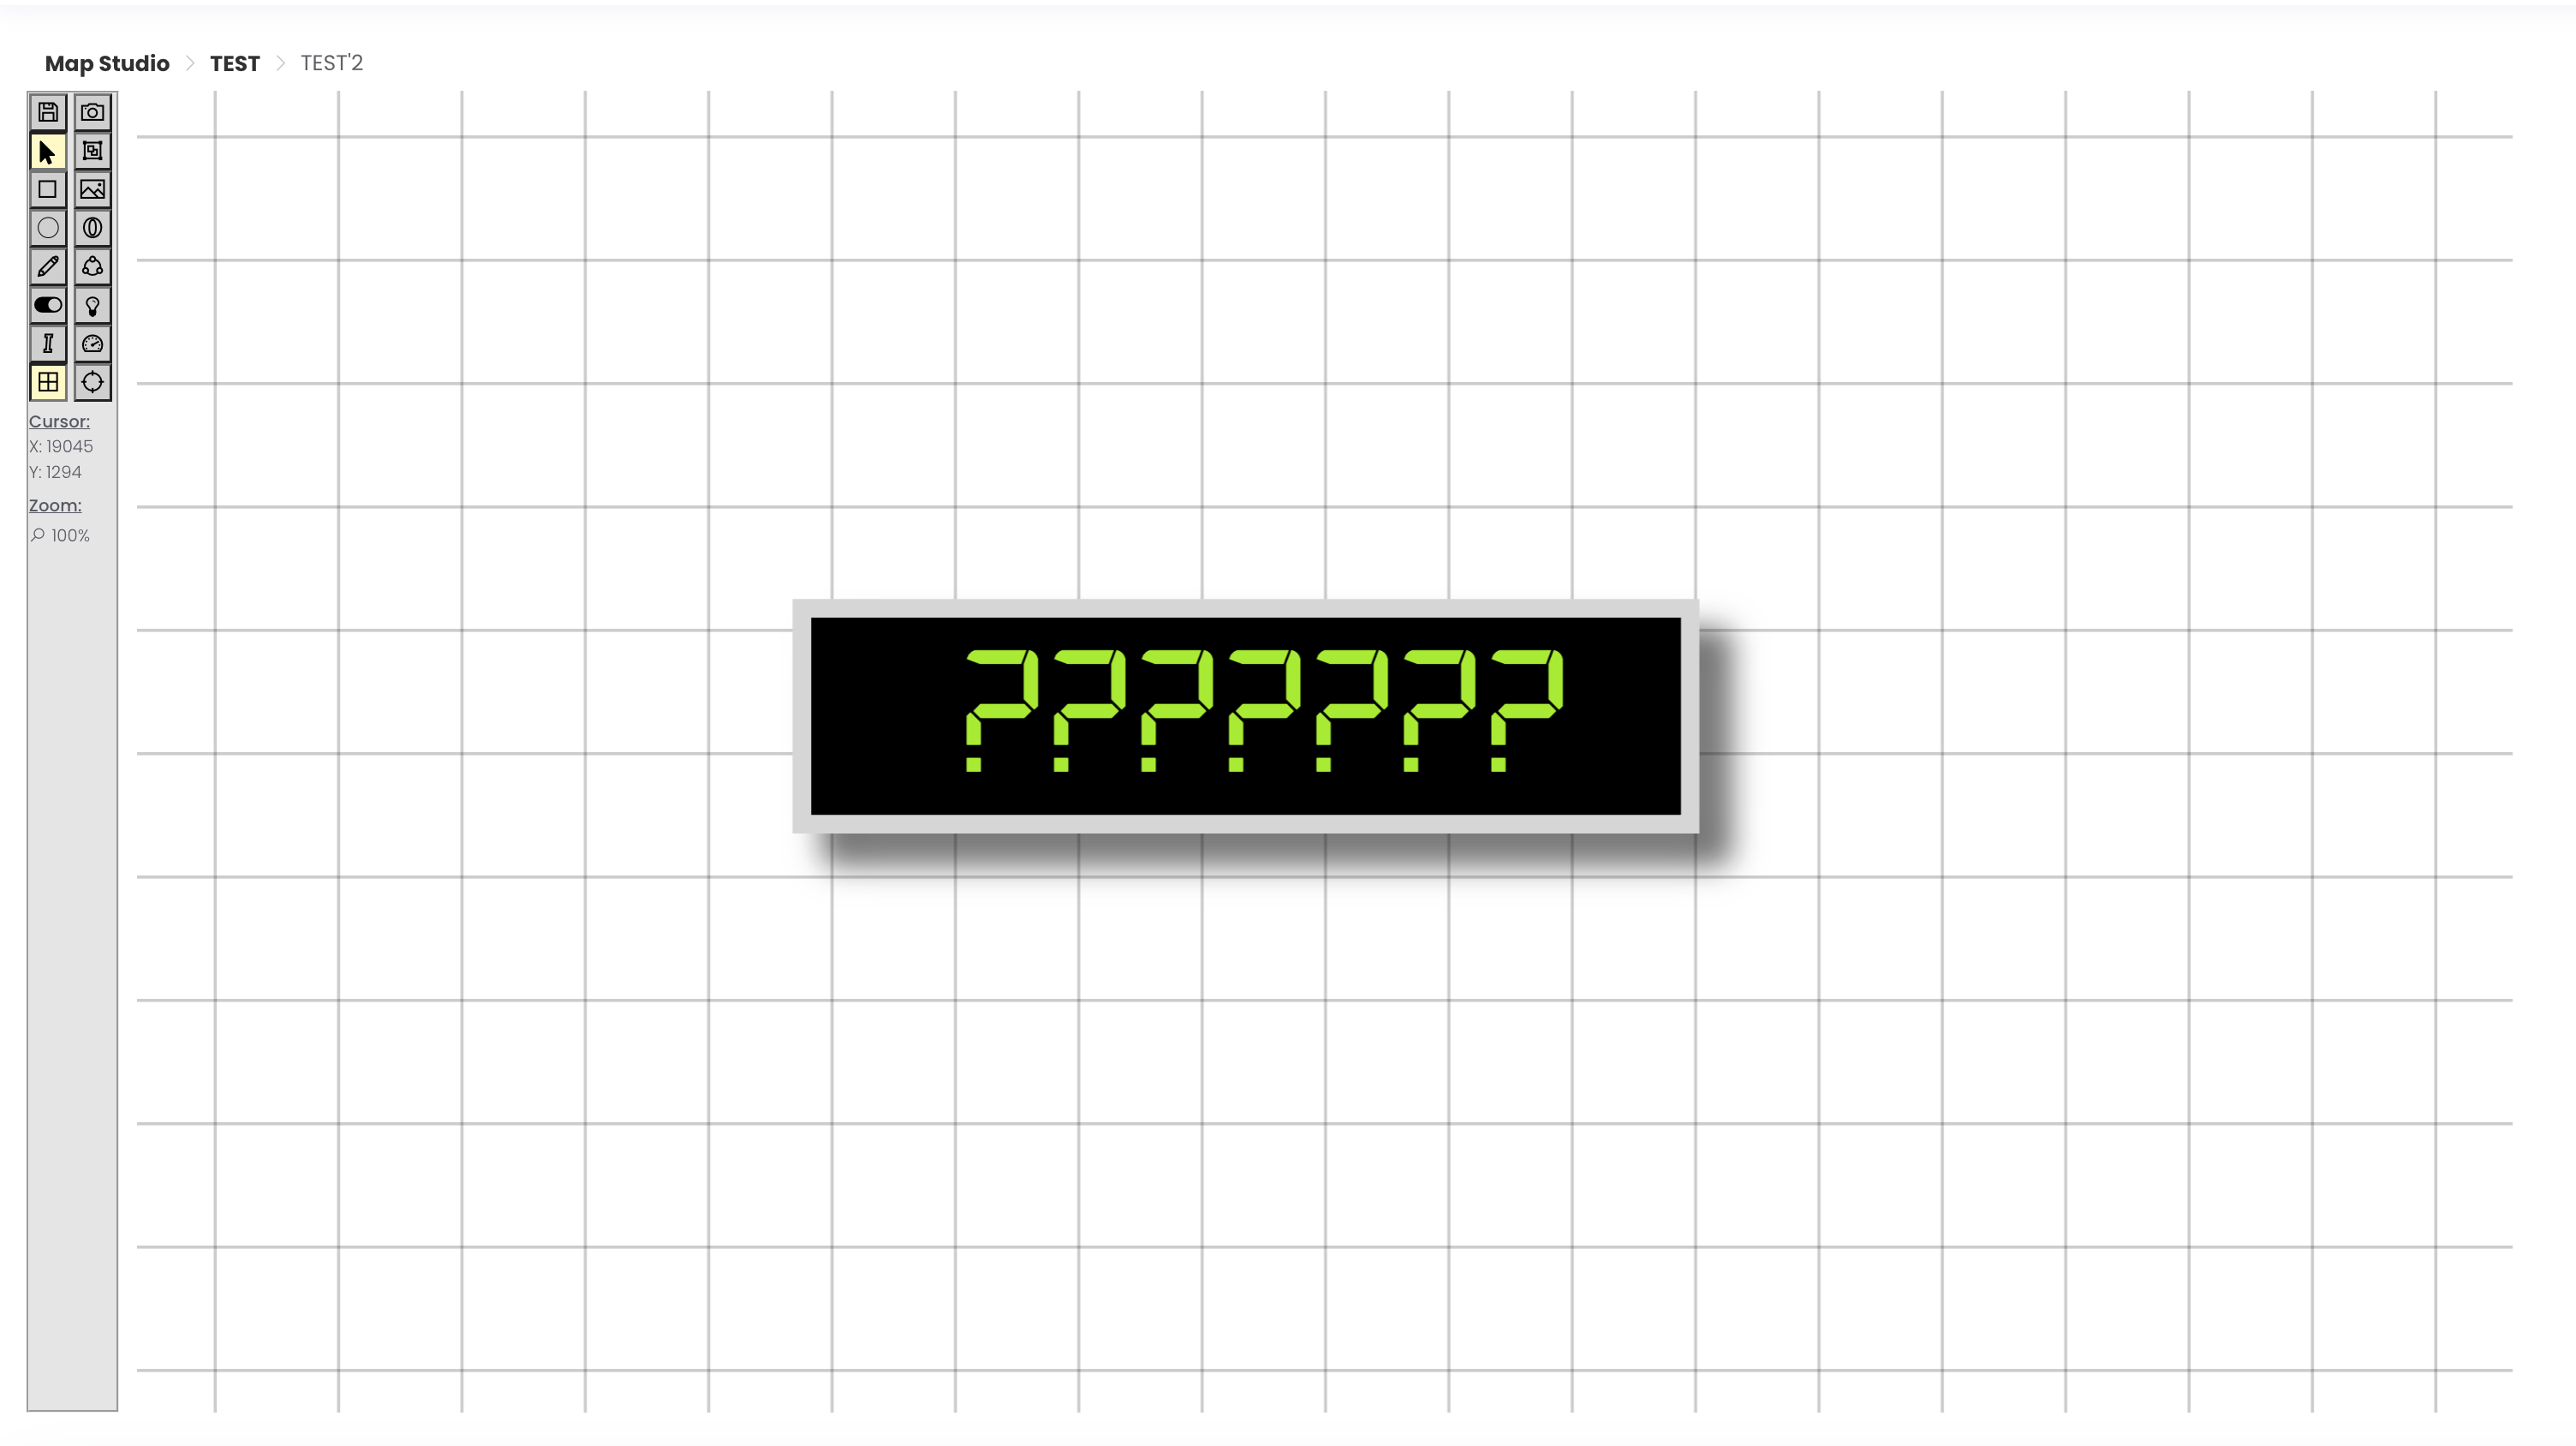
When we click on this counter a property page opens. This is the customisation area where we set Description, Portal Object Type, Portal Module Type, Assigned Object and transparency. You can save the change you have made by clicking the Apply button.
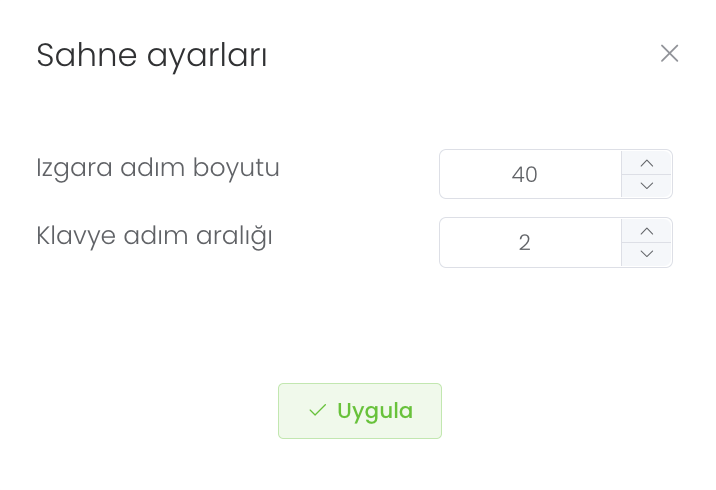
16-Stage Settings : This is where you set the grid step size and keyboard step interval.
When we click on Maps, the following extra tools are opened, these tools are ;
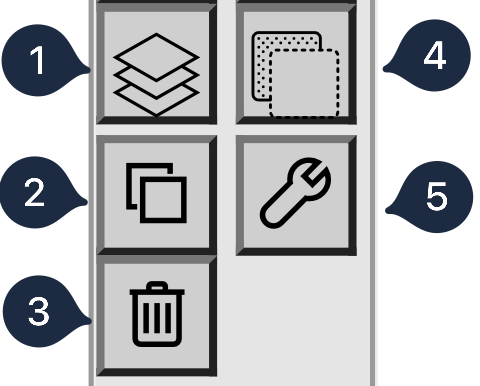
1-Move to Next Layer : Moves the selected object or objects to the next layer and changes the priority order.
2-Clone Selected Objects : It copies and clones the objects you select as much as you specify.
3-Delete Selected Objects : Allows you to delete the objects you have selected.
4-Move to a Lower Layer : Moves the selected object or objects to a lower layer and changes the priority order.
5-Object Properties : Thickness, height, colour, hatching, font, surface texture etc. They carry qualities. Objects get these properties from related object settings.