RFID Adapter
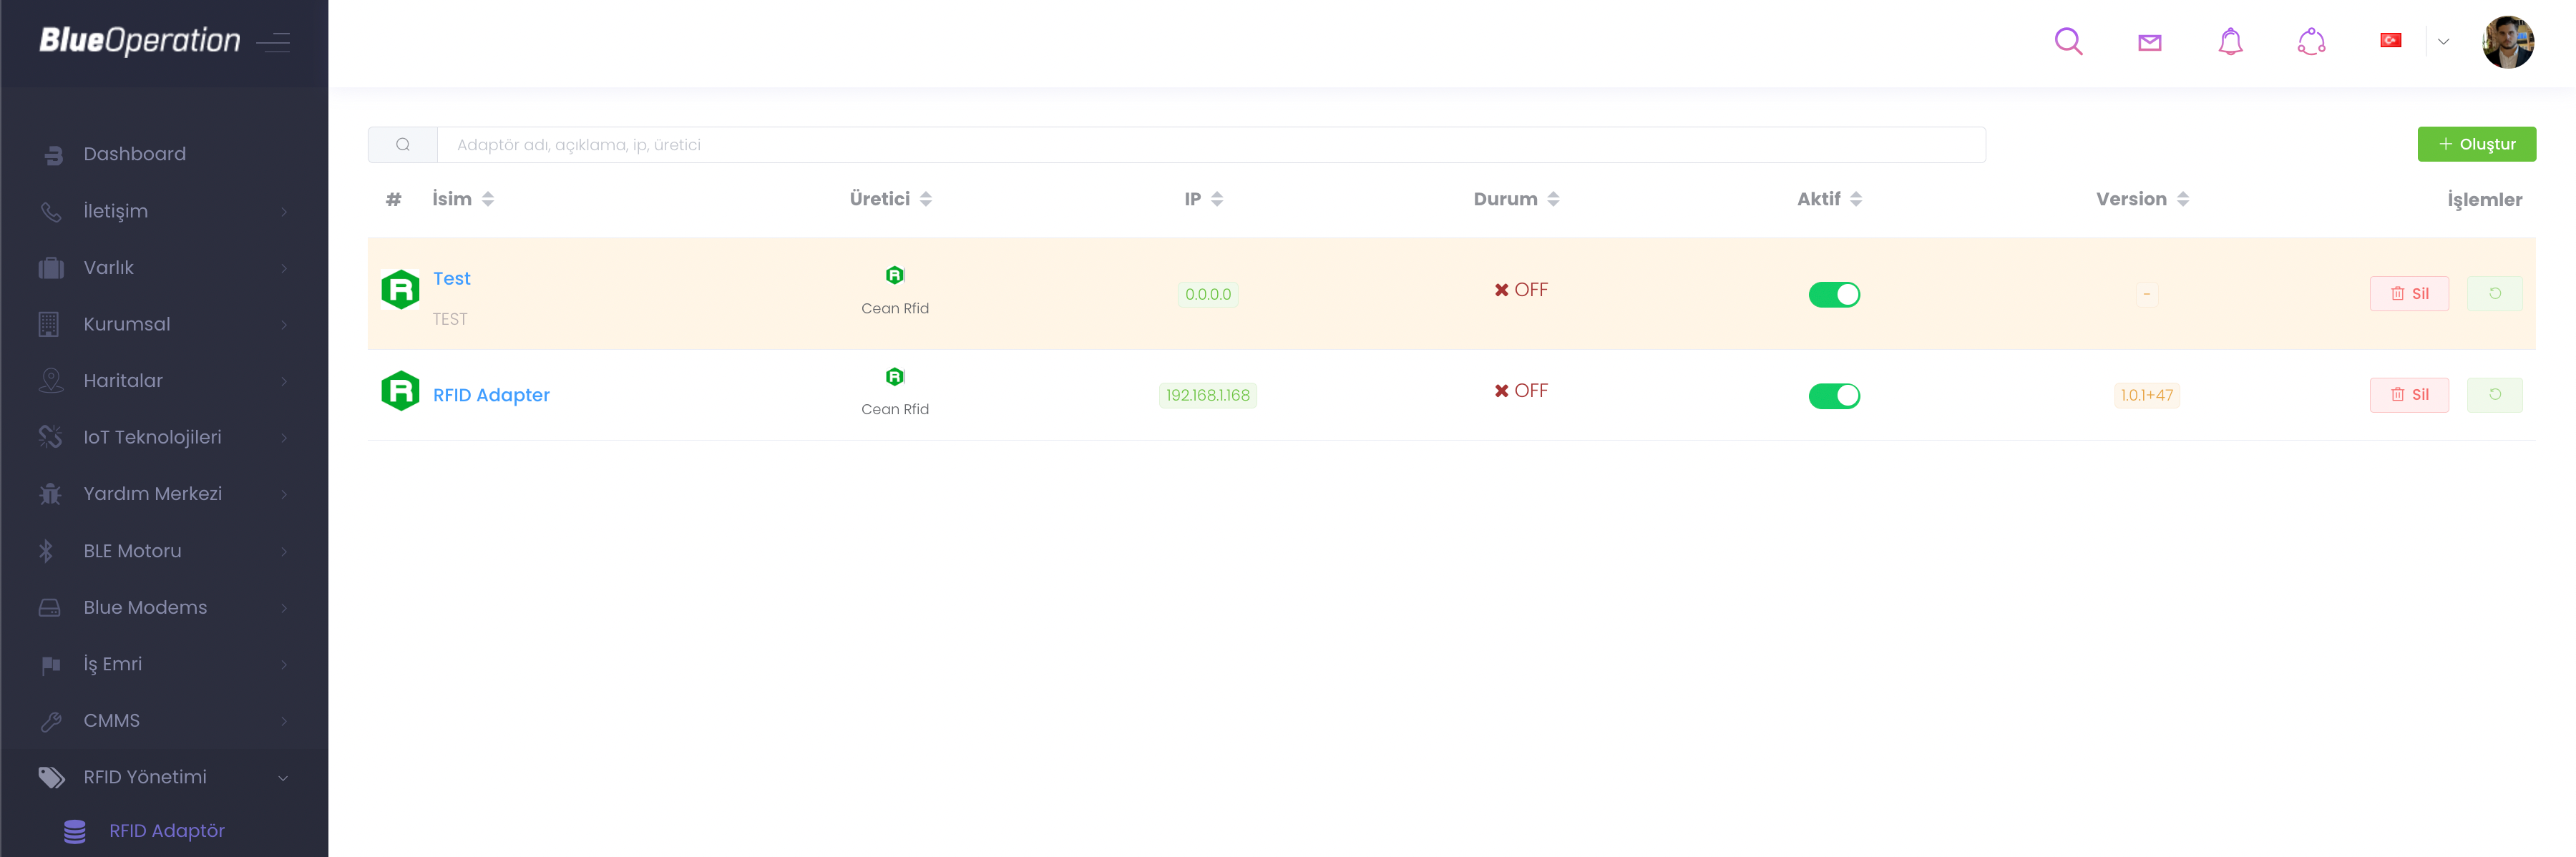
RFID Management panel is the panel where you manage all RFID reader, tag, region, settings etc. models. If you have not defined an existing RFID, you can create a new RFID Adapter by pressing the Create button.
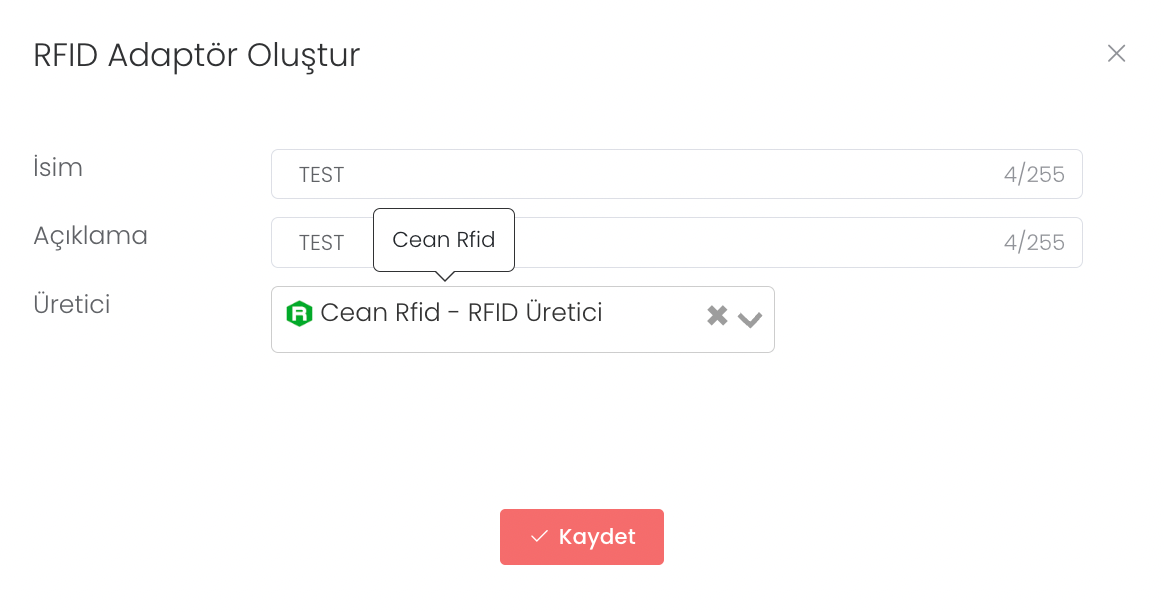
After pressing the "Create" button, enter the name, description and manufacturer information in the field that appears, click the "Save" button and you will create a new RFID adapter.
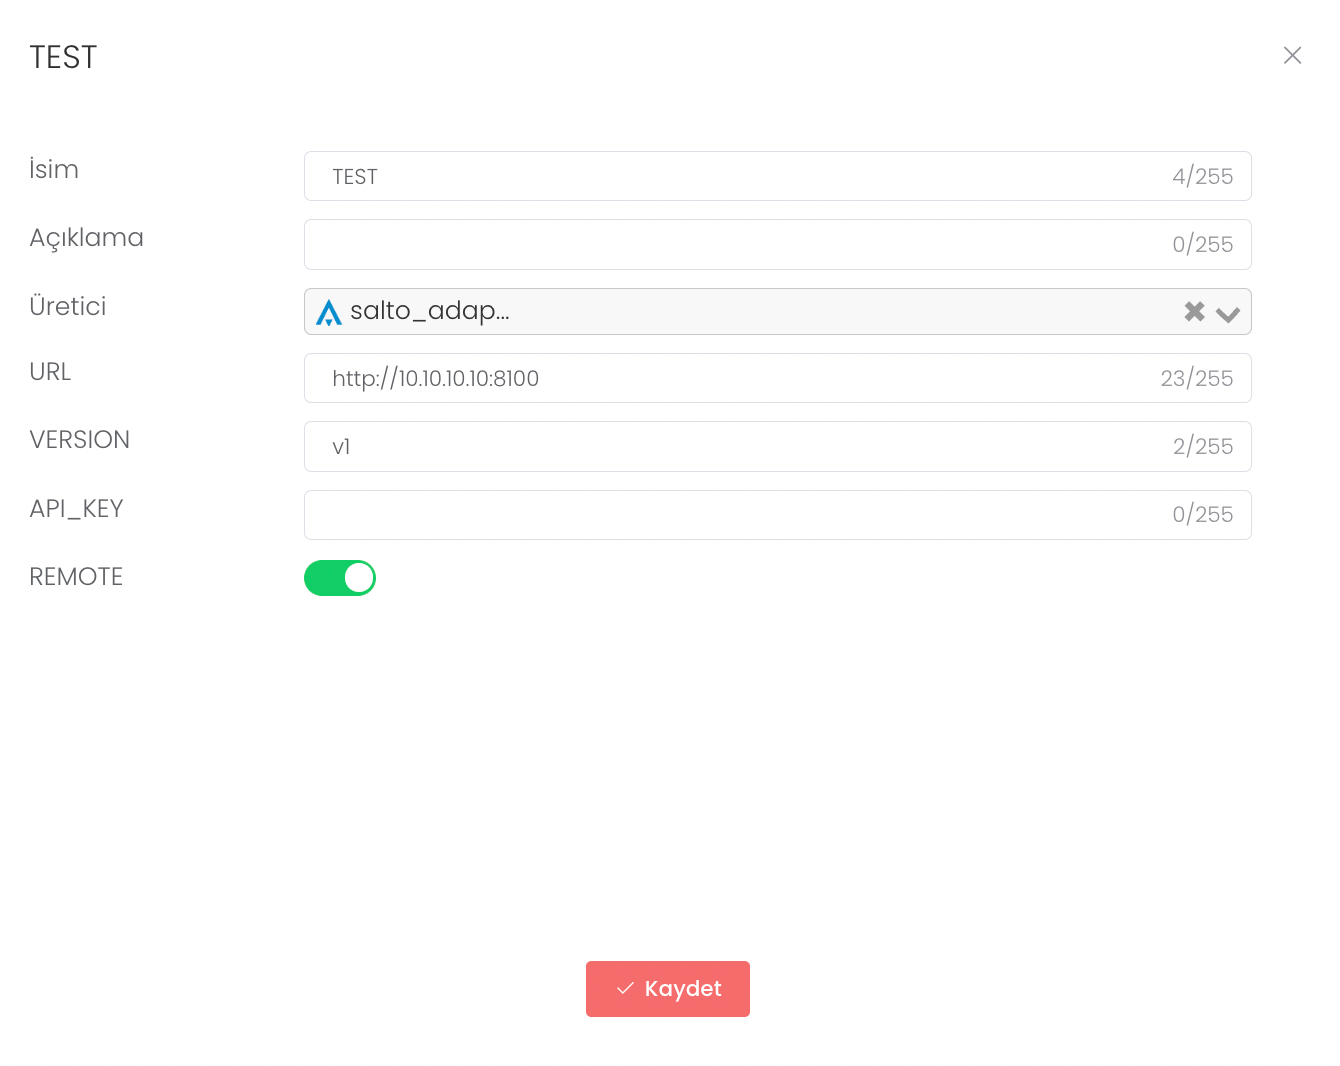
When you click on any created adapter, you will be presented with fields for customisations.
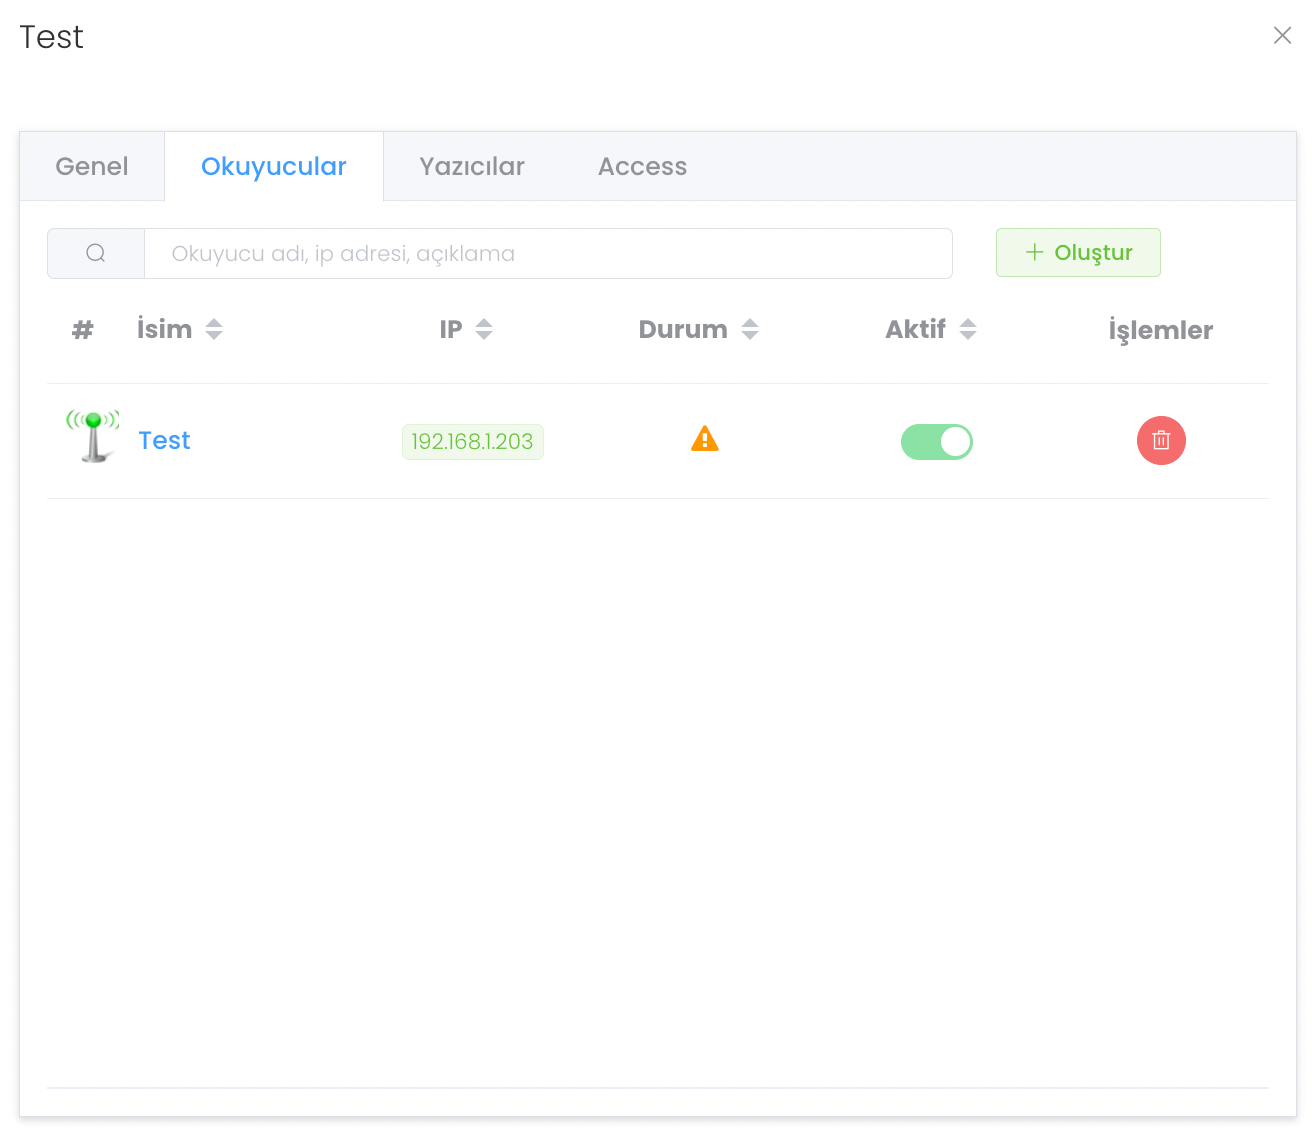
The readers section is the structure that allows information flow through channels connected to the adapters you specify.
If you want to add a new reader, you can go to the RFID reader creation section by clicking the "Create" button.
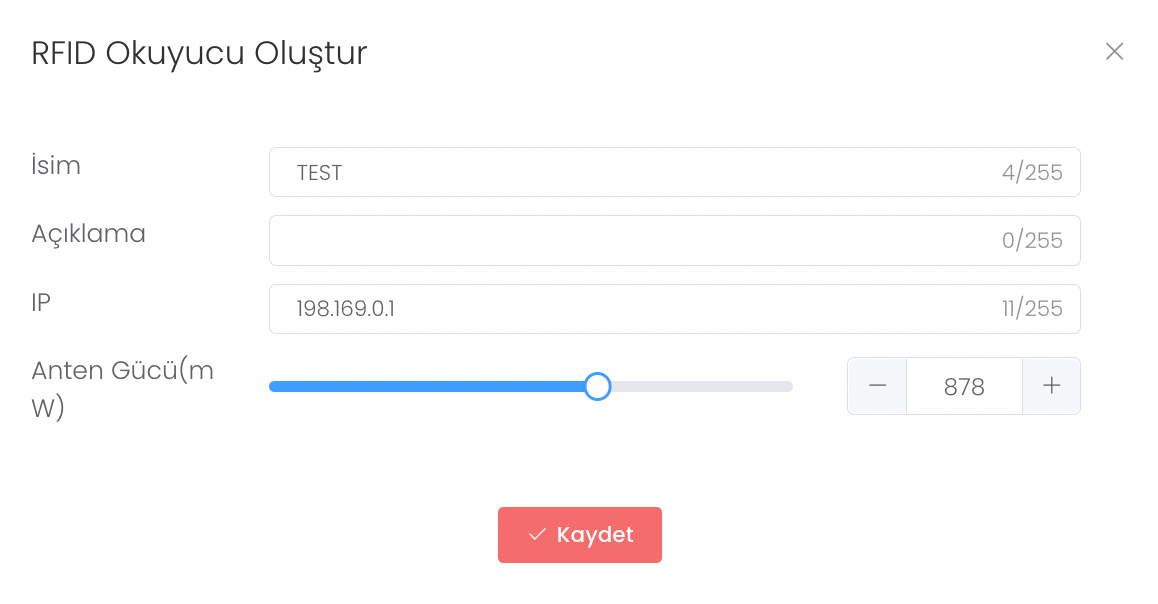
After pressing the "Create" button, you can enter data such as name, description, ip information, antenna power for the reader you will create and activate your model.
When you click on the reader you created, 3 different fields open for you. In the General section, you can edit the information you entered while creating the reader and see the status of the adapter.

In the Channels section, you can view the channels on the reader you have connected, you can set a region for the channel, and you can open different multiplexers under a multiplexer with the Connect Multiplexer button. You can deactivate the channel with the Cancel button and reactivate the channel with Enable.

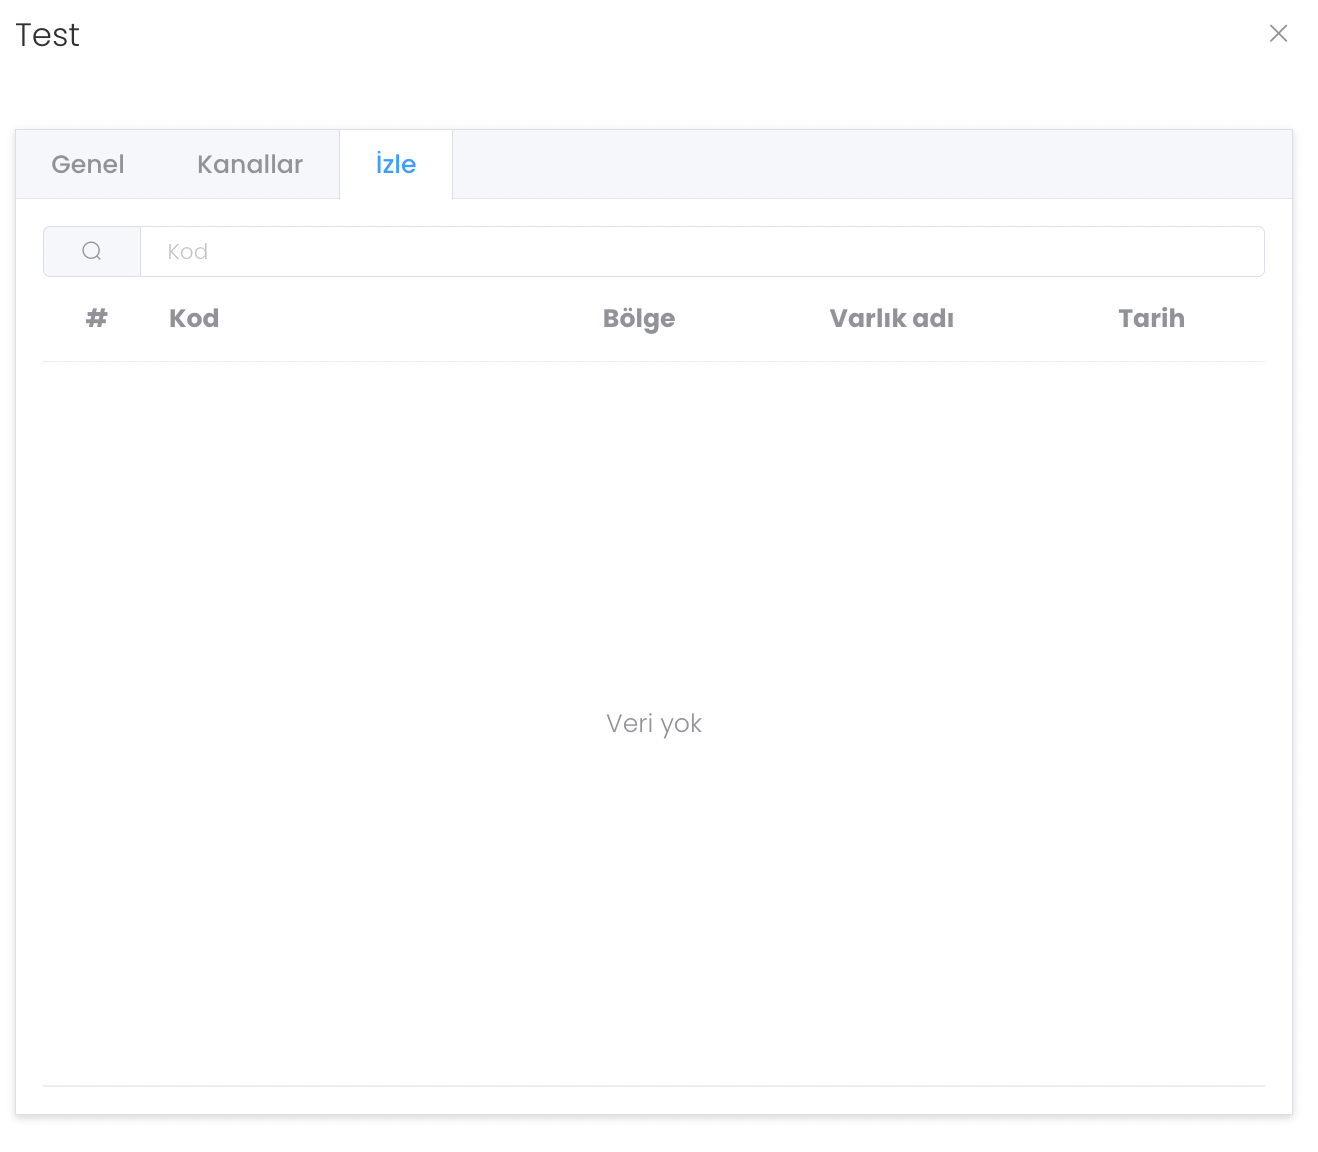
In the Monitor section you can monitor the status of the channels on the reader you have connected.
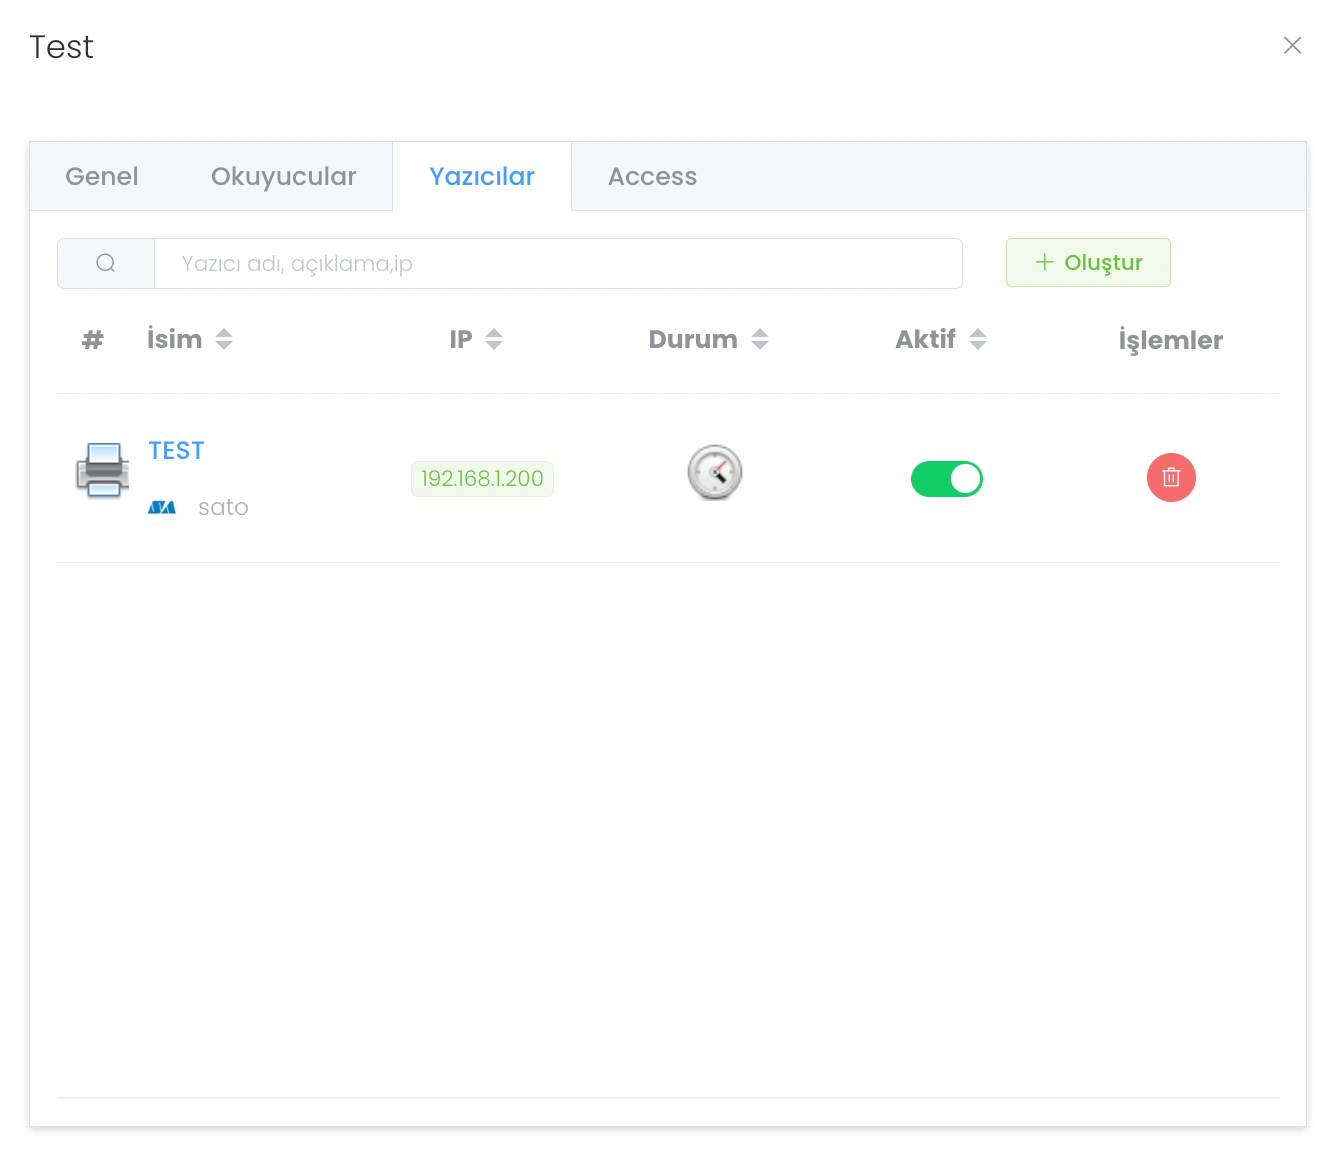
The Printers section is the printers module that will interact with the reader part of the adapter you created. If you do not have a printer defined, you can create a new printer by clicking on the Create button.
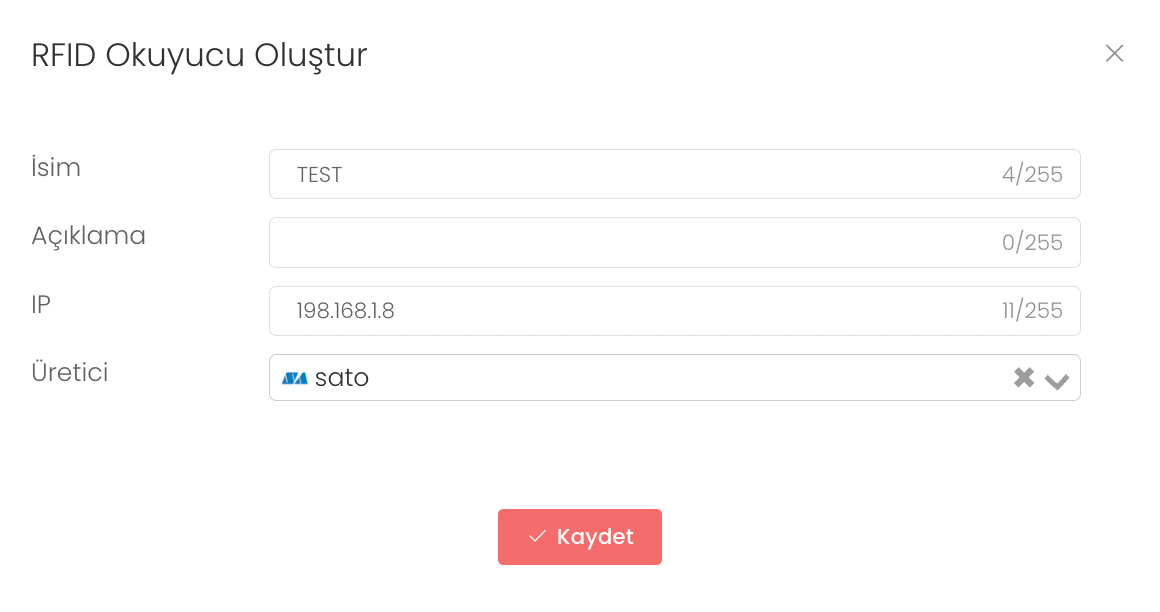
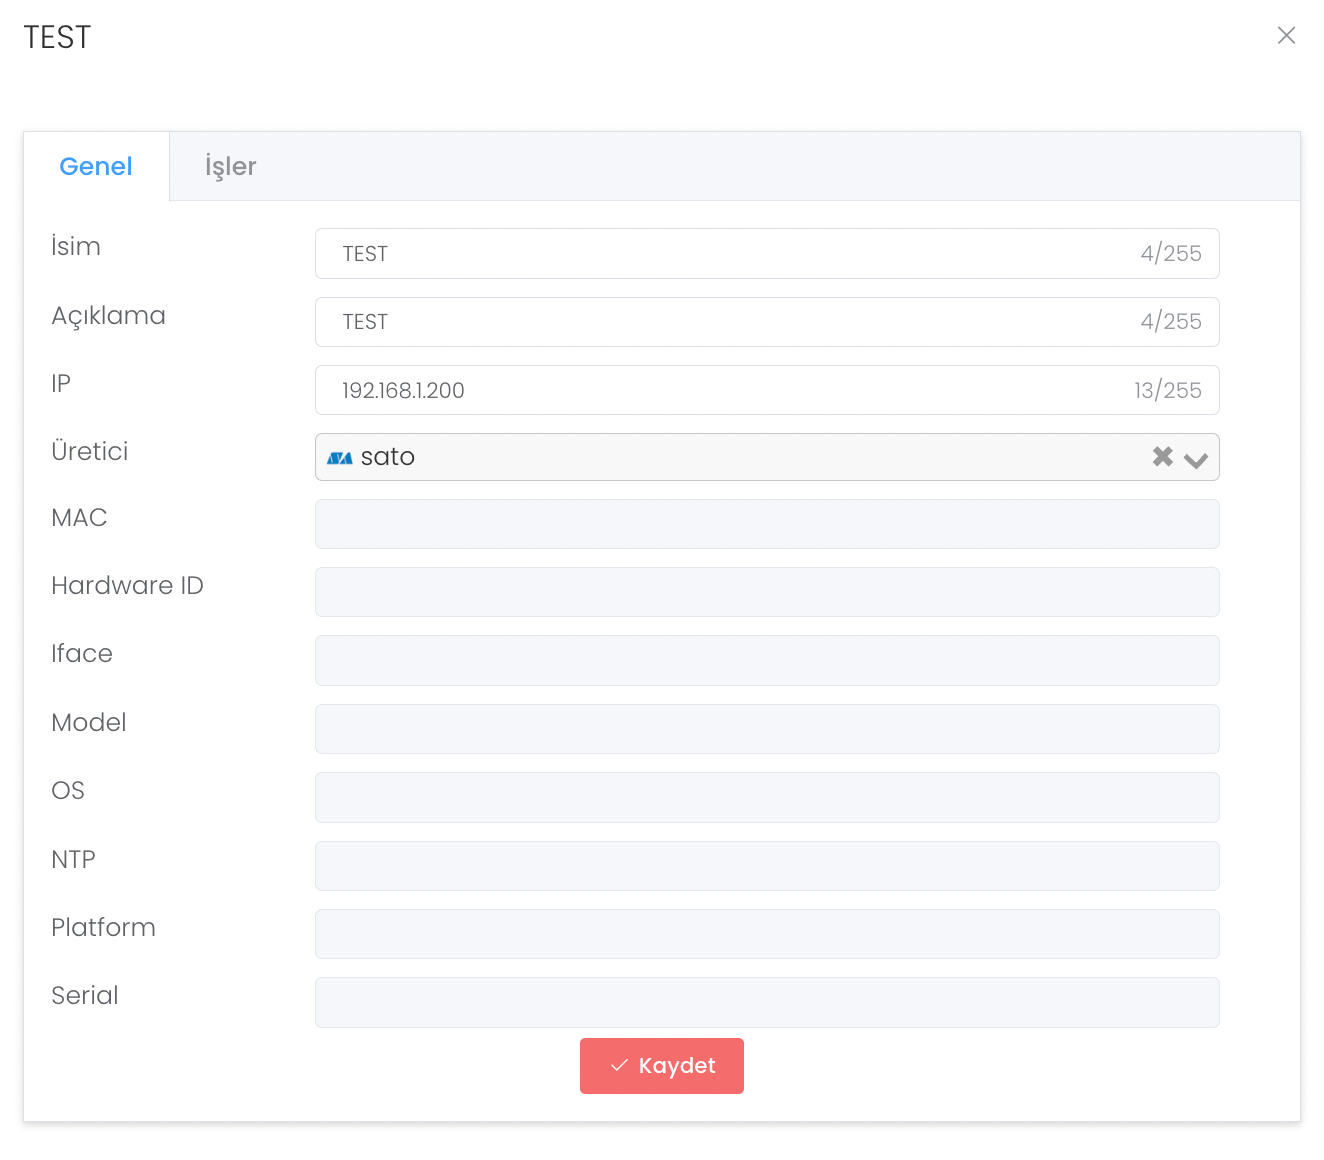
After pressing the "Create" button, name, description, Ip information and manufacturer information are entered. By clicking the "Save" button, you successfully complete the "RFID Reader Creation" process.
When you click on the printer you have created, you will see 2 different fields. In the General section you can edit the information you entered when creating the reader and you can see the status of the adapter.
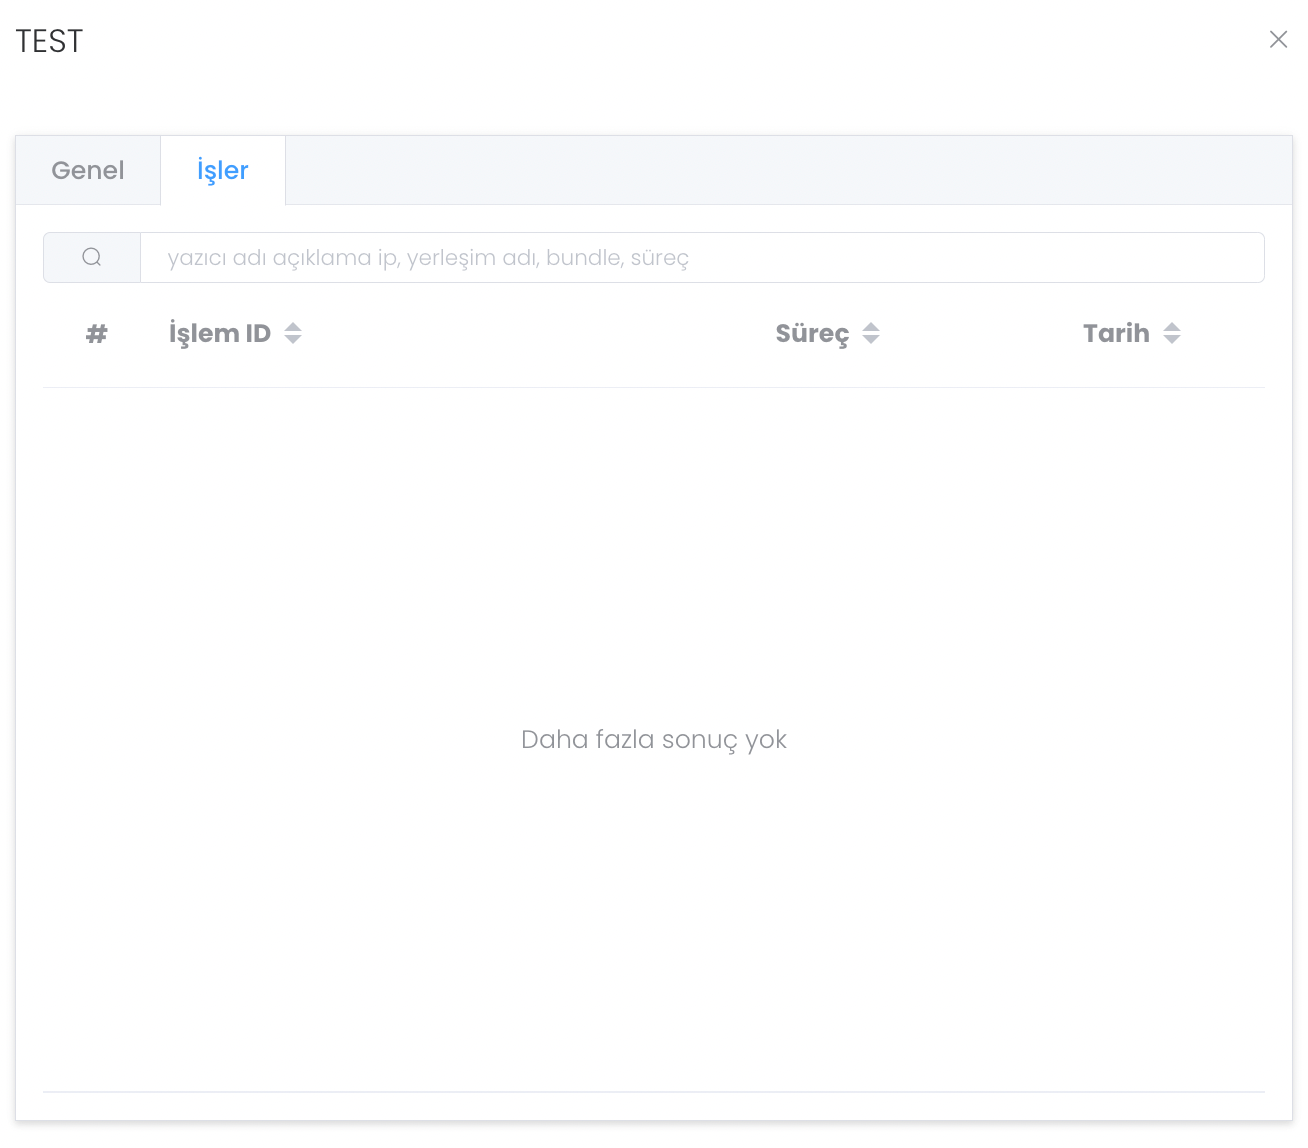
The Jobs section is the area where all information that the printer does and passes through is dropped.
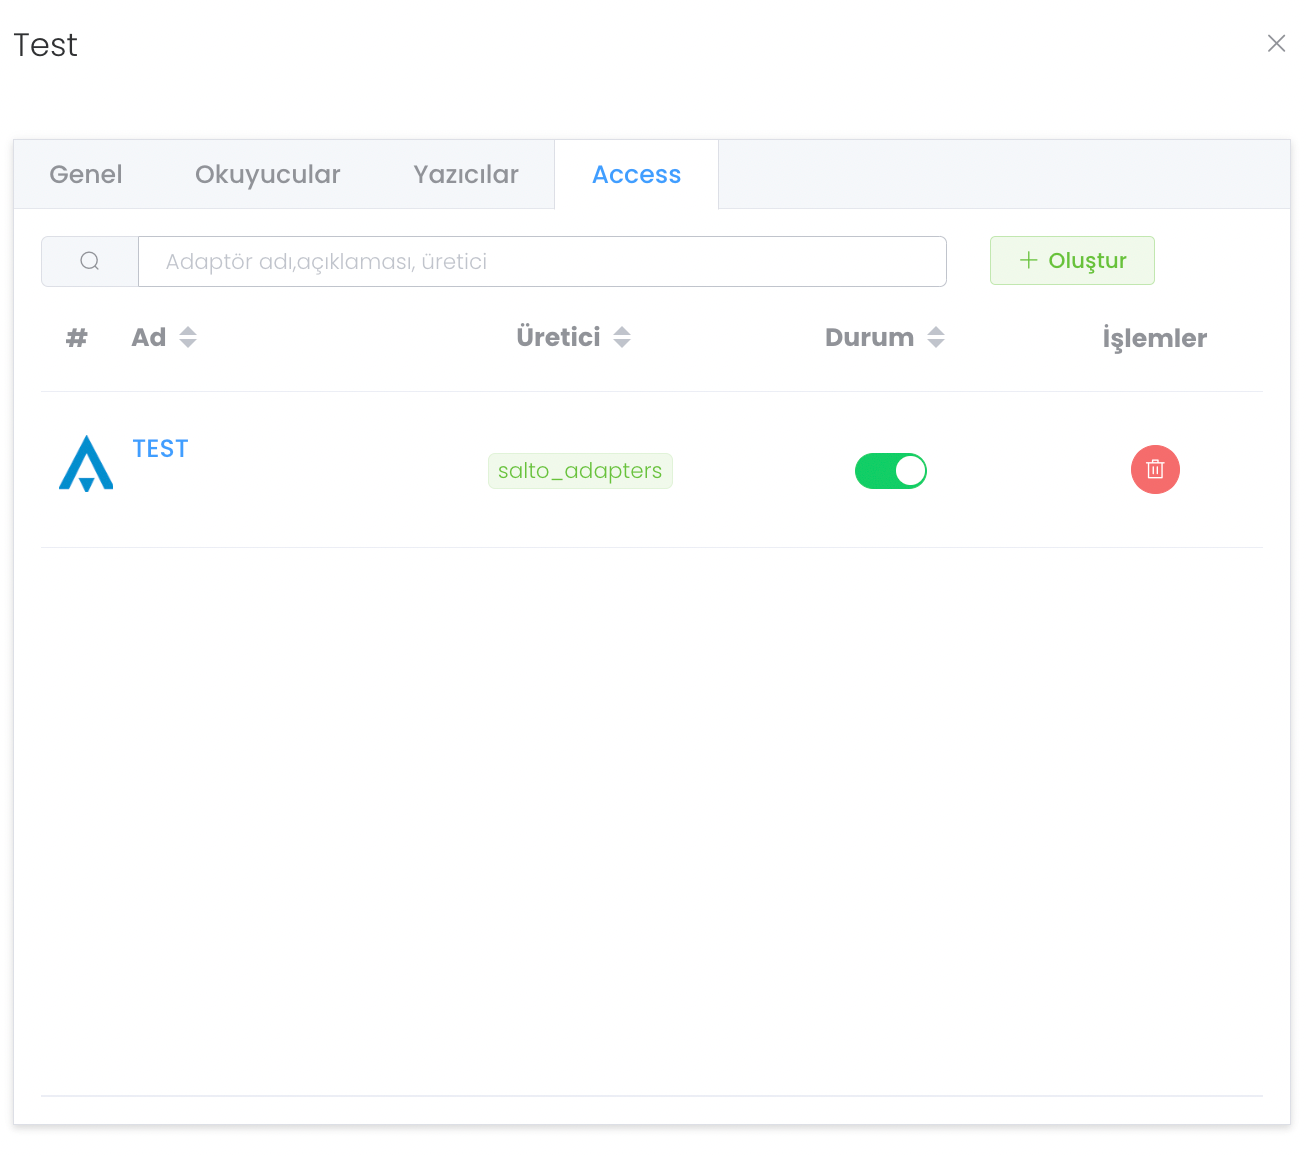
Access section is the area where administration about access of the adapter is done. You can define a new access with the "Create" button.
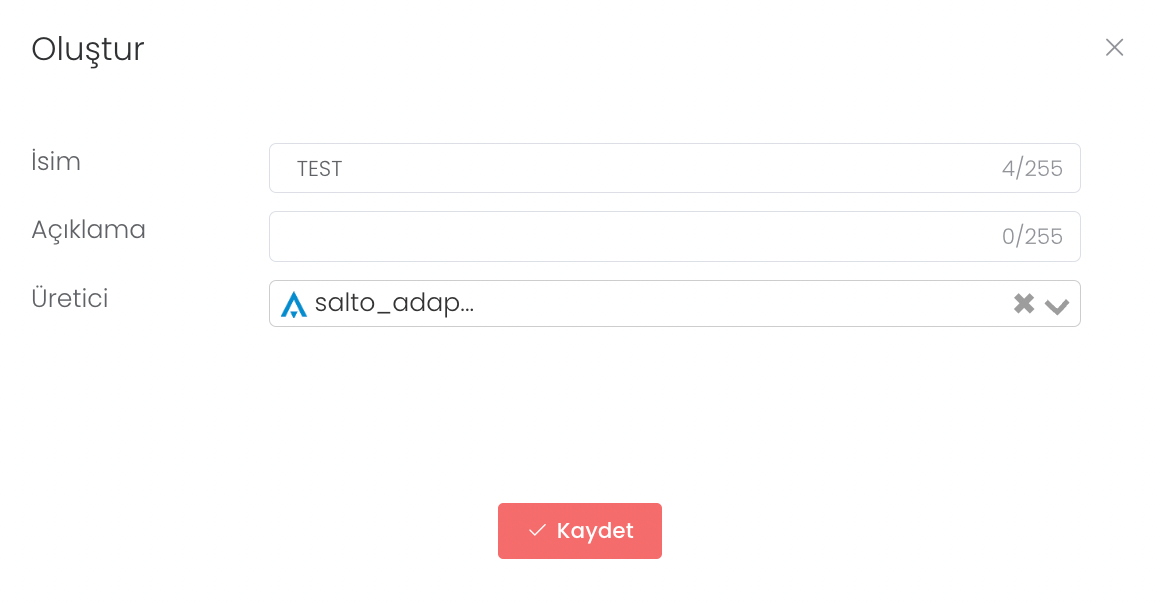
After pressing the "Create" button, you can complete the access creation process by entering name, description and producer information.
When you click on an Access you have created, you will see a field that you can edit.